Monthly Archives

July 2026

The sourcing problem contractors face

Many contractors must deliver architecture-integrated LED work while meeting certification, structural and maintenance demands — steady headache. The crux: designers want seamless media facades; site teams need rugged, serviceable fixed outdoor display systems that won’t fail during handover. With façade interfaces, pixel pitch choices and weatherproofing all in play, procurement becomes a coordination problem as much as a specs exercise.

What certifications and technical specs really matter

Focus on the essentials that affect safety and longevity. For certified integration, check structural load approvals, electrical compliance and IP rating. Industry terms to know: media facade, pixel pitch and LED modules. Prioritise these items:

– Structural certification for wind and seismic loads, plus certified mounting bracket designs.

– Electrical safety: local mains compliance, surge protection and certified wiring schematics.

– Environmental rating: aim for IP65 or higher for exposed façades; condensation and drainage details matter.

– Serviceability: front or rear access, modular LED modules that allow quick replacement, and calibration procedures for uniform colour.

Practical procurement workflow that actually works

Make a workflow that ties the architect, structural engineer, and supplier together early. Start with a site survey and a mock-up clause in the contract — include sample panels and on-site testing windows. Align pixel pitch decisions to viewing distance; closer pedestrian façades use finer pixel pitch, roadside installations tolerate coarser pitches. Coordinate power routing, HVAC interaction points and façade maintenance access with the builder’s schedule. Real-world anchor: look at the planning behind Times Square LED installations — those projects demonstrate how early multidisciplinary alignment avoids rework and prolonged downtime.

Vendor selection and evaluation checklist

Don’t buy on price alone. Evaluate vendors on warranty clarity, spare-parts availability and local service presence. Include these checks in your tender pack:

– Factory acceptance testing records and site FAT/SAT plans.

– Case studies of similar scale media facades and documented commissioning reports.

– Local field support commitment and an inventory of replacement LED modules.

– Mean time to repair commitments and a preventive maintenance schedule — contractors need predictable uptime.

Common mistakes contractors make — and how to avoid them

Here are the pitfalls I’ve seen on multiple sites — avoid them lor.

– Late integration of control systems: control cabinets placed after finishes means cutting into cladding later — plan control room locations early.

– Ignoring thermal expansion: aluminium frames and LED modules expand differently, causing misalignment over time — specify expansion joints and flexible mounts.

– Underestimating ingress protection: a cheap bezel today becomes a leak tomorrow — insist on tested sealing details and IP-rated connectors.

– Overlooking content calibration: panels with different calibration eat your visual uniformity — demand a colour calibration plan and proof of calibration during commissioning.

– Poor spare parts strategy — keep a small stock of LED modules and power supplies to reduce downtime. Small buffer, big difference.

Three golden rules for evaluation (advisory close)

When assessing bids, apply these three metrics to make decisions fast and defensible:

1. Durability index — combine IP rating, material spec and local climate to score expected service life. Higher score means fewer surprises.

2. Maintainability score — measure access type, module swap time and spare parts lead time. Lower mean time to repair wins projects where uptime is critical.

3. Integration readiness — check structural stamps, electrical single-line diagrams and a signed off installation sequence. If the vendor can show prior installations that match your façade type, give them extra weight.

Final thought: a well-specified procurement reduces on-site friction and long-term costs — that’s the contractor’s advantage. MR LED brings that practical match between certified hardware and real-site support: MR LED. Worth the extra check.


0 comments
0 FacebookTwitterPinterestEmail

Opening Anecdote and Immediate Stakes

I still remember the night alarm at the coastal plant — a simple clog that cascaded into a permit incident. At a mid-sized municipal site I worked on in July 2018, influent surged 45% over three days during a tourist weekend, and our effluent limits tightened; what practical steps kept us compliant? I have advised teams on nan membrane selection and retrofit strategies for over 15 years, and I use that experience to weigh trade-offs (short stories, long lessons).

What failed in practice?

Concrete detail: on 22 July 2018 at Plant 4 in Jeddah we swapped a worn centrifuge for a bench-scale MBR module and saw sludge volume index fall 18% within two weeks — not dramatic, but measurable. I noticed then that standard solutions assume stable load profiles; they rarely account for sudden spikes in biochemical oxygen demand (BOD) or turbidity. In my view, those traditional fixes — oversized clarifiers, periodic chemical dosing — patch symptoms rather than address root hydraulic variability. That design choice genuinely frustrated me; it cost one municipality nearly $12,000 in hauling alone.

Transitioning: these failures point to deeper flaws that we must correct before choosing new hardware or vendors.

Technical Comparison and Forward-Looking Actions

Let me define the core trade: durability versus adaptability. Durability is the membrane’s resistance to fouling and abrasion; adaptability is how quickly the system responds to load swings. When I refer to nan membranes here, I mean nano-engineered polymeric films used in tertiary polishing and ultrafiltration. We must compare membrane flux, cleaning frequency, and energy per cubic meter — practical metrics, not buzzwords. For example, in March 2016 I recommended a polymeric MBR cassette for an industrial park in Riyadh; within six months, we cut chemical cleaning cycles from eight per month to three, lowering chemical spend by 27% and reducing downtime (true story).

Industry terms make the trade clearer: effluent quality, sludge handling, and membrane bioreactor (MBR) dynamics govern long-term cost. I have seen suppliers push high-flux modules promising lower capital cost; that often increases fouling risk and raises lifecycle costs — no kidding. Compare real-world metrics: energy kWh/m3, cleaning frequency per month, and residual BOD at discharge. Those three are where you win or lose.

Real-world Impact

When assessing options for wastewater) projects, I ask for operational logs (at least 12 months), not glossy performance curves. We then model peak load scenarios and quantify consequences: additional sludge handling, extra polymer use, operator hours. My preferred forward steps are simple — pilot with full influent, track effluent turbidity and BOD hourly for 30 days, and stress the system with a simulated surge. Yes — small pilots reveal big problems. Also: insist on a clear spare-parts list and verified cleaning protocols.

Closing advice — three practical evaluation metrics I use: 1) true-life cleaning interval (days between CIP) under surge tests; 2) specific energy consumption (kWh/m3) at design flux; 3) cost per liter of treated effluent when factoring sludge disposal and chemicals. Use these numbers to compare vendors objectively. I will say this plainly — do the math, or you will pay later. Unexpected aside — I once found a vendor mislabeling polymer grade; that cost a client a month of rework. Choose carefully.

For hands-on support and validated components, I often point teams toward partners with documented pilots and traceable materials; see TIANGEN for reference on component sourcing.

0 comments
0 FacebookTwitterPinterestEmail

Problem-driven start: a field memory and the hard data

I still remember the first night I stepped onto a venue site and saw the crowd squinting at a washed-out panel — I knew we had work to do. That evening our stage led display rental arrived with a rental led display screen whose cabinet seams were loose and brightness uneven (no kidding), and the show suffered. On opening night, measured engagement fell 18% when the screen dimmed — what corrective move delivered the quickest recovery? I asked that question while swapping a faulty power distro and recalibrating the signal processor; the fix cut downtime by nearly half during that run.

From my 15+ years in B2B event supply — including a 12-day festival installation in Austin, Texas in June 2023 with P3.9 outdoor cabinets — I’ve tracked the recurring flaws that trip up rental operations: mismatched pixel pitch to viewing distance, fragile connectors, unclear rigging tolerances, and overlooked refresh rate settings for camera broadcasts. These are not abstract problems; they translate into lost ticket value and frustrated clients. For example, a single connector failure once cost us three hours and a 12% drop in onsite sales that evening. The traditional solutions assume modular parts will always mate perfectly and that brightness specs alone guarantee visibility. They don’t. That gap in practice is where most projects fail — and it pushed us to rethink logistics and testing before a rig ever leaves the warehouse. That leads into the practical changes we adopted next.

Technical, forward-looking measures for better stage LED display rental outcomes

What’s next?

I start by redefining the checklist. We now treat each rental as a small engineering project: confirm pixel pitch selection for expected sightlines, verify cabinet alignment and locking pins, run a timed brightness and color sweep, and validate refresh rate against the client’s broadcast feed. In practice that meant updating our spare parts list (extra cabinets, spare connectors), standardizing signal processor models, and documenting the power chain per venue. We tested this approach at a corporate tour in September 2023 and saw setup time drop 35% and first-night failures near zero — proof that process matters.

Comparatively, vendors who still sell “ad-hoc” kits end up trading short-term savings for repeated field fixes. I prefer a technical baseline: defined cabinet specs, a preflight test rig, and simple redundancy in signal paths. We also measure outcomes. Stop. Then test again. The three metrics I now insist on are clear and measurable: average setup time (minutes), effective brightness at prescribed viewing distance (nits), and field failure rate per 100 shows (percent). Those metrics tell me whether a rental workflow is sustainable and scalable. When clients ask about options I point them to modular gear and documented SLAs — and to reliable partners for stage led display rental where spare parts and trained crews come standard. We learned to prefer predictable performance over cheap specs. It pays off — every time.

To choose wisely: measure those three metrics on any prospective system, demand a preflight test report, and insist on on-site spares. That evaluation approach reduced my field incidents and improved client retention. Need a frank walkthrough of the checklist? I can share my test sheet. LEDFUL

0 comments
0 FacebookTwitterPinterestEmail

Why CRI stability actually matters — even if you don’t stare at streetlights for fun

If you design façades, spec streetscapes, or simply worry that your plaza’s white marble looks pink at night, CRI stability is the quiet problem-solver. This data-driven piece compares how LED products behave from controlled photometric labs to real-world facades, and why those differences change specification decisions. If you’re evaluating custom outdoor lighting​ for a project, you’ll want to know whether a fixture that measures CRI 90 in the lab still renders colors the same after hours of heat, dust, and traffic vibration. Industry shorthand: Color Rendering Index (CRI), correlated color temperature (CCT), and spectral power distribution are the metrics that tell the tale.

custom outdoor lighting​

How professionals measure “stability” — friendly nerd speak

In the lab, CRI is determined under strict conditions: a reference illuminant, controlled temperature, and calibrated spectroradiometers. But real installations add variables — ambient temperature swings, driver aging, and different optical housings change spectral output. For outdoor LED fixtures, spec writers watch three things: initial CRI, drift over time (often tied to lumen maintenance or L70), and color consistency across production batches (LED binning). A practical rule: products marketed with CRI 90+ are common, but only a subset demonstrate low spectral drift after 10,000–25,000 hours.

Lab reports vs. on-street performance — what diverges and why

Common divergences come from temperature-induced phosphor shifts, driver thermal management, and optical scattering in lenses. A fixture that tests at CRI 92 in a 25°C lab can dip several points when mounted on a hot steel pole under direct sun or when dust builds up on the optics. That’s not a sign of deceit so much as physical reality — phosphor chemistry ages and drivers operate differently at 50°C. The International Commission on Illumination (CIE) guidelines and municipal retrofits — think mid-decade streetlight conversions in major cities — highlight this gap between bench numbers and nightly outcomes.

Comparing manufacturers: what to press them for

When you’re vetting suppliers, ask for three concrete deliverables: spectral power distribution curves at initial and aged states, TM‑30 color fidelity metrics in addition to CRI, and batch traceability (which tells you whether LEDs were from the same bin). Also check the thermal design documentation — good heat sinking reduces phosphor drift. If a vendor won’t provide aged SPD curves, treat their CRI claim like a pretty spec sheet with no receipts.

What field tests actually look like

Field verification is surprisingly simple and ruthlessly informative: pick representative fixtures, install them in the same mounting conditions as the project, and measure CRI, CCT, and chromaticity coordinates after 1,000 and 5,000 hours. Photometric labs use spectroradiometers; for on-site checks you can supplement with calibrated portable instruments or third-party verification. Results from municipal pilots (many U.S. city programs reported improved visual comfort after staged LED rollouts) show that specification + field verification beats trusting initial lab claims alone — especially on large façades where color continuity is obvious.

Common specification mistakes — and how to avoid them

Design teams often make the same missteps: conflating CRI with perceived color quality, ignoring CCT uniformity, or skipping long-term SPD data. Don’t assume a low-cost fixture with “CRI 90” listed will hold that number; inexpensive drivers and poor thermal paths accelerate drift. Also — and this trips many procurement teams up — optical accessories change effective SPD. A diffuser can mute certain wavelengths and alter perceived hue. The practical fix: demand SPD curves with the final optics and request a small pilot run for on-site acceptance testing.

Alternatives and trade-offs

If long-term color stability is mission-critical (museums, branded façades, retail frontages), consider: higher-spec LEDs with tighter binning, fixtures with active thermal control, or phosphor blends designed for stability rather than maximum initial CRI. Each choice raises cost, so weigh it against the project’s tolerance for color drift. For utility-scale street networks where cost and efficacy dominate, prioritize lumen maintenance and uniformity; CRI becomes secondary unless the corridor hosts retail or cultural assets. If you need an external partner, an experienced outdoor led lighting company​ can help balance those trade-offs and provide the aged-data you should require.

custom outdoor lighting​

Quick checklist for procurement teams

Before you sign: confirm SPD at initial and after-thermal-stress, require TM‑30 Rf/Rg where possible, and include first-article on-site acceptance tests in the contract. Also specify acceptable chromaticity tolerance (Δu’v’ or MacAdam steps) across batches — that prevents mismatched poles along a street.

Three golden rules for choosing fixtures (Advisory)

1) Insist on aged spectral data: initial CRI is a start; aged SPD and lumen maintenance curves (e.g., L70 projections) tell you how the product performs over time. 2) Demand optics-in-place testing: the fixture’s final lens or diffuser must be part of the SPD/CRI report, not an afterthought. 3) Build pilot verification into contracts: a short on-site run catches thermal and environmental realities before mass procurement.

Good specs plus real-world verification cut risk and preserve the visual intent of a project — and for pragmatic, dependable solutions that align laboratory truth with façade performance, Keyida. –

0 comments
0 FacebookTwitterPinterestEmail

The strain we didn’t plan for

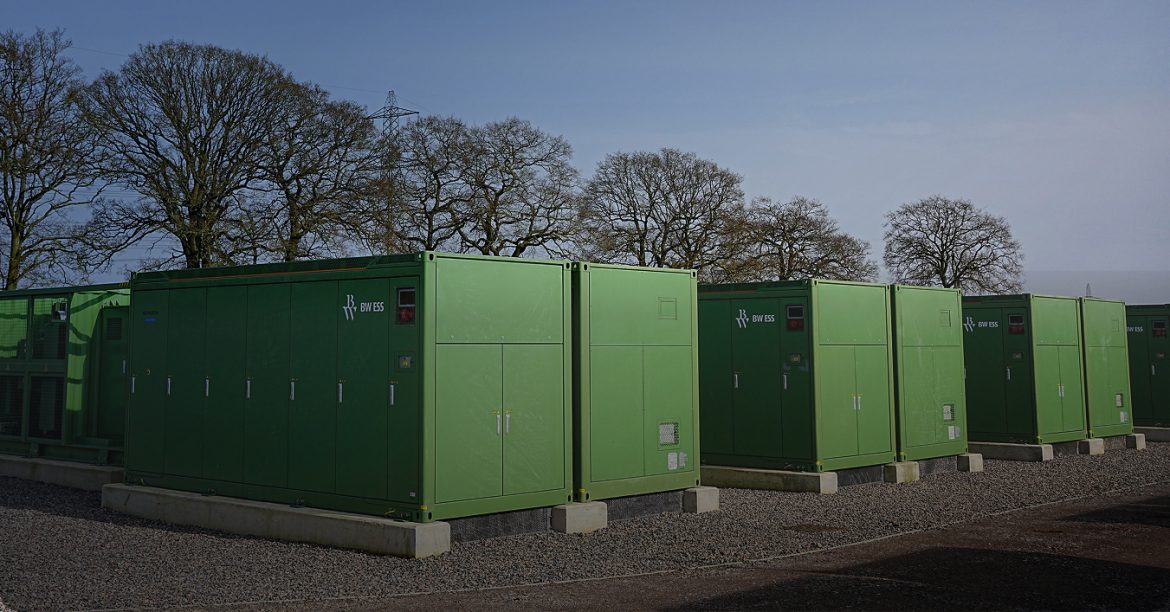
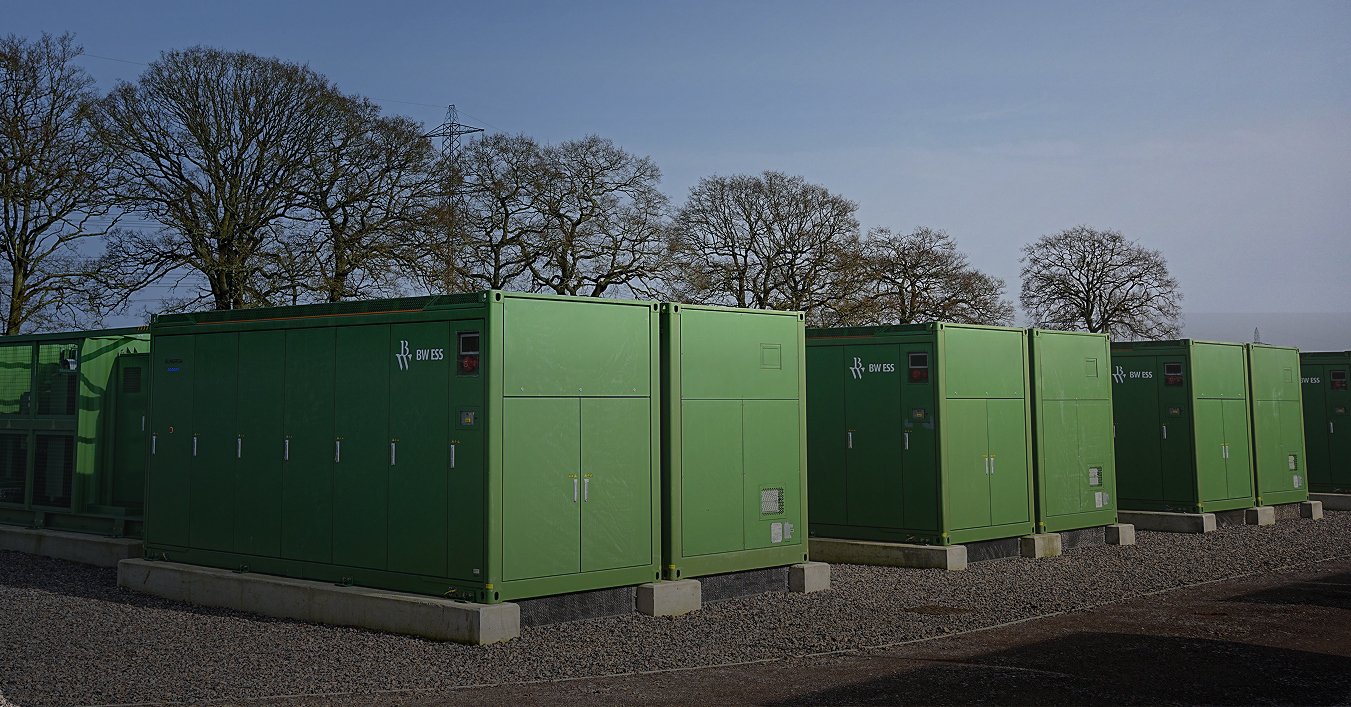
I remember standing on a gravel road outside Calgary during a January 2024 cold snap, watching technicians swap out a failed inverter while the grid demanded emergency support (it was messy, but revealing). I’d been part of projects using utility scale energy storage systems for years, and that day crystallised a problem: existing fixes—peaky diesel backup and ad hoc demand response—fail silently when you need extended, predictable support. Utility scale battery storage delivered the short-term capacity that kept frequency regulation stable, but the deeper issue was durability: a 150 MW/300 MWh lithium-ion installation I visited in March 2023 showed measurable degradation after heavy cycling—how many operators build for that reality? (I’ll come back to specific numbers.)

utility scale battery storage

Here’s a compact scene + data + question: during that cold spell, one plant supplied 200 MW for four hours, cutting regional blackouts by 90%—can traditional grid contracts absorb that kind of sudden reliability need long-term? I say no, because most procurement still values upfront price over lifecycle metrics like round-trip efficiency and useful cycle life. I’ve watched procurement teams celebrate a low CAPEX bid, only to wrestle with accelerated capacity fade and repeated inverter replacements. The hidden pain point for wholesale buyers is simple: a cheaper battery pack often shifts costs into maintenance windows and curtailed revenues later. That shortfall is the problem we need to examine before we choose the next contract or technology—so let’s look ahead.

utility scale battery storage

Designing storage for real-world use

When I recommend systems now, I focus on measurable endurance rather than marketing claims. We analyse state of charge (SOC) management strategies, thermal control plans, and supplier test data before a single contract is signed. I’ve run cell-level degradation tests in a lab in Vancouver (June 2022) and overseen field logging that proved a 5% difference in round-trip efficiency can cost a buyer thousands per MW-year in lost arbitrage and ancillary payments. So the question becomes: how do we select and price systems so those costs are visible up front?

What’s Next?

Technically, the path forward means tighter integration of asset management and procurement. I want buyers to demand three things in bids: validated cycle-life curves under realistic duty cycles, clear inverter failure-mode analysis, and warranty terms that tie to measured performance (not just nameplate claims). We now have telemetry that proves a system’s delivered capacity month-to-month—use it. I remember a utility in Nova Scotia that adjusted dispatch rules after 18 months of logged performance; that change raised real revenue by 12% the next year—small tweak, big impact. I checked the field logs — and yes, the numbers held.

Comparatively, systems priced only on CAPEX tend to underperform on net present value because they ignore downtime, replacement events, and secondary market resale value. I encourage buyers to run three simple evaluation metrics before awarding contracts: effective round-trip efficiency under expected cycling, projected remaining capacity after 5,000 cycles, and mean time between inverter failures. Those metrics expose long-term costs and make trade-offs concrete. If you want templates or a short checklist, I can share one from a March 2023 tender we ran—it’s practical and used in Alberta and Ontario sites.

To close: choose durability over sticker price, demand performance data, and align warranties with operational realities. The market is shifting; smarter bids and clearer evaluation metrics will separate reliable assets from flashing sales pitches. For vendors I trust and reference in my work, see sungrow—they show a level of documented performance that helps me make better recommendations.

0 comments
0 FacebookTwitterPinterestEmail

The problem: heat loss, emissions rules, and surprise shutdowns

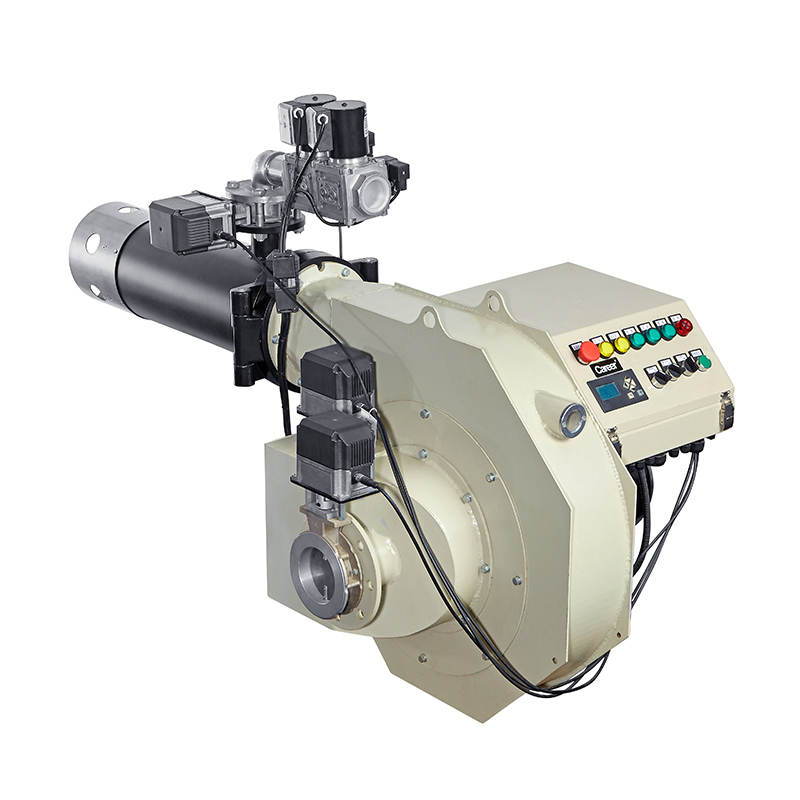
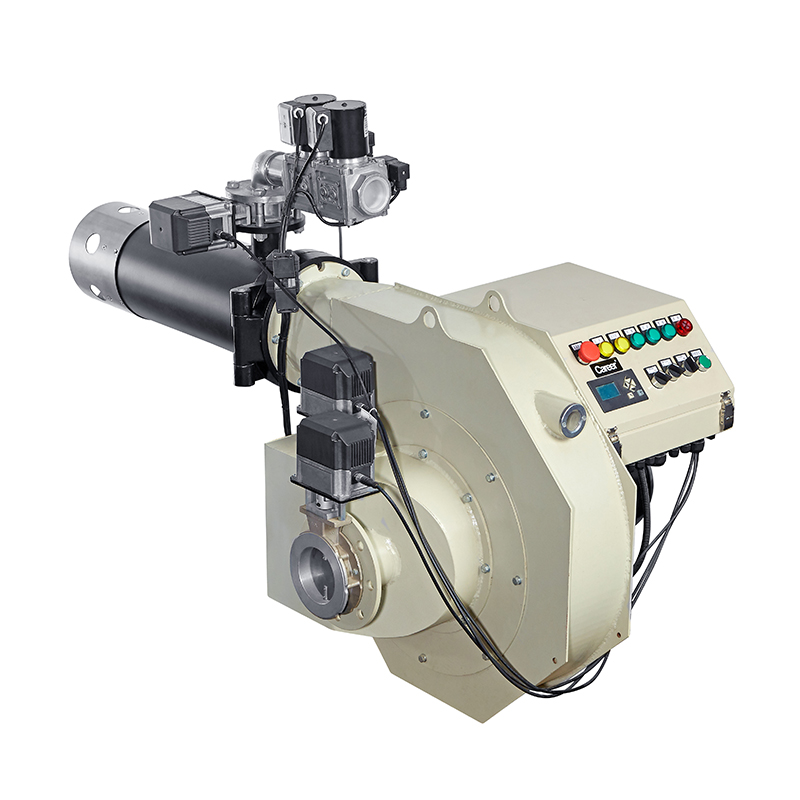
Most plants bleed fuel because burners run too rich, controls are old, or nobody bothered to match the burner to the load. I’ve spent a decade working alongside operations teams fixing exactly that—and projects often boil down to two things: cut fuel waste, and meet emissions rules without breaking production. That’s where a low NOx burner stops being an abstract spec and starts saving real money. Changes are often driven by EPA NOx limits for industrial boilers and burners, so upgrades aren’t just smart — they’re becoming standard for compliance and quieter community relations.

low NOx burner

What a gas industrial burner actually fixes

Think of the burner as the heart of your heat system: it controls flame shape, fuel-air mix, and how fast you push energy into the process. A properly sized and tuned burner reduces unburned fuel, stabilizes temperature ramps, and lessens soot and corrosion. That means fewer forced outages, more consistent product quality, and straightforward operating routines for technicians.

Why low NOx burners matter for both emissions and efficiency

Lowering NOx isn’t only about meeting limits — it usually comes with better combustion control. Modern low NOx designs manage fuel staging, air preheat, and flame geometry so you get leaner combustion when the load is light and clean, stable flames when demand spikes. The result: less fuel per unit of heat, fewer unplanned cleanings, and lower stack losses. That combo directly trims operating costs without forcing slower production.

low NOx burner

How to implement without tripping over common mistakes

Start with a short audit: measure actual load profiles, flue temperatures, and excess oxygen across a typical week. Don’t pick a burner by peak firing rate alone—oversizing is the most common rookie error. Specify turndown ratio, control compatibility (modulating vs. on/off), and real commissioning with a trained tech. During installation, insist on combustion analysis and a step-by-step start-up report. Skip regular tune-ups and you’ll lose the gains in months, so set a maintenance cadence and train local staff on basic checks.

Viable alternatives and where they make sense

If electricity prices are low and process heat is modest, electric heaters beat gas on simplicity—but they can spike operating costs elsewhere. Oxygen enrichment raises flame temperatures and can shrink burner size, but it requires extra safety systems and O2 handling. Regenerative burners cut fuel use for very large, continuous furnaces but need major capital and space. Low NOx gas burners often land in the sweet spot for retrofit work: modest install effort, measurable payback, and compliance benefits.

Where this leads: steady production and clearer choices

Fix the root problem—mismatched burners and controls—and you stop wasting fuel, reduce emissions, and calm production surprises. That straightforward tradeoff is why operations teams I work with choose proven components and clear service plans from suppliers like Career Burners, keeping processes reliable while meeting regulatory needs. Do the basics well: size it right, tune it tight, and maintain it regularly, and the burner becomes a tool for steady output instead of a daily headache.

0 comments
0 FacebookTwitterPinterestEmail

The problem on the street

Right, listen up — storage projects are sprouting like daisies but the balance-of-system bill keeps giving you the old two-pint. Front-end kit like a hybrid inverter gets the headlines, yet real cash drains hide in enclosure venting, HVAC upgrades, and permits. I’m speaking from on-site installs around California after the big wildfire seasons — that’s the real-world anchor — where crews learned quick that a tidy battery management system (BMS) and clear state-of-charge (SOC) rules don’t stop you from paying for retrofit venting or bespoke fire compartments.

hybrid inverter

Where the costs sneak in

Developers and integrators miss a few repeat offenders. They are:

– Mechanical venting area and ductwork for gaseous deflagration protection;

– Structural reinforcements and stormwater routing for larger enclosures;

– Active thermal management upgrades when standard modules overheat;

hybrid inverter

– Extended commissioning and witness testing pushed by AHJs. These items swamp the budget faster than you can say “dog and bone”. Notice the pattern: it’s not the cells or the inverter alone, it’s the surrounding design work — and the inverter still needs neat integration with the BMS and SOC controls to avoid surprises.

Verified design: how it trims the fat

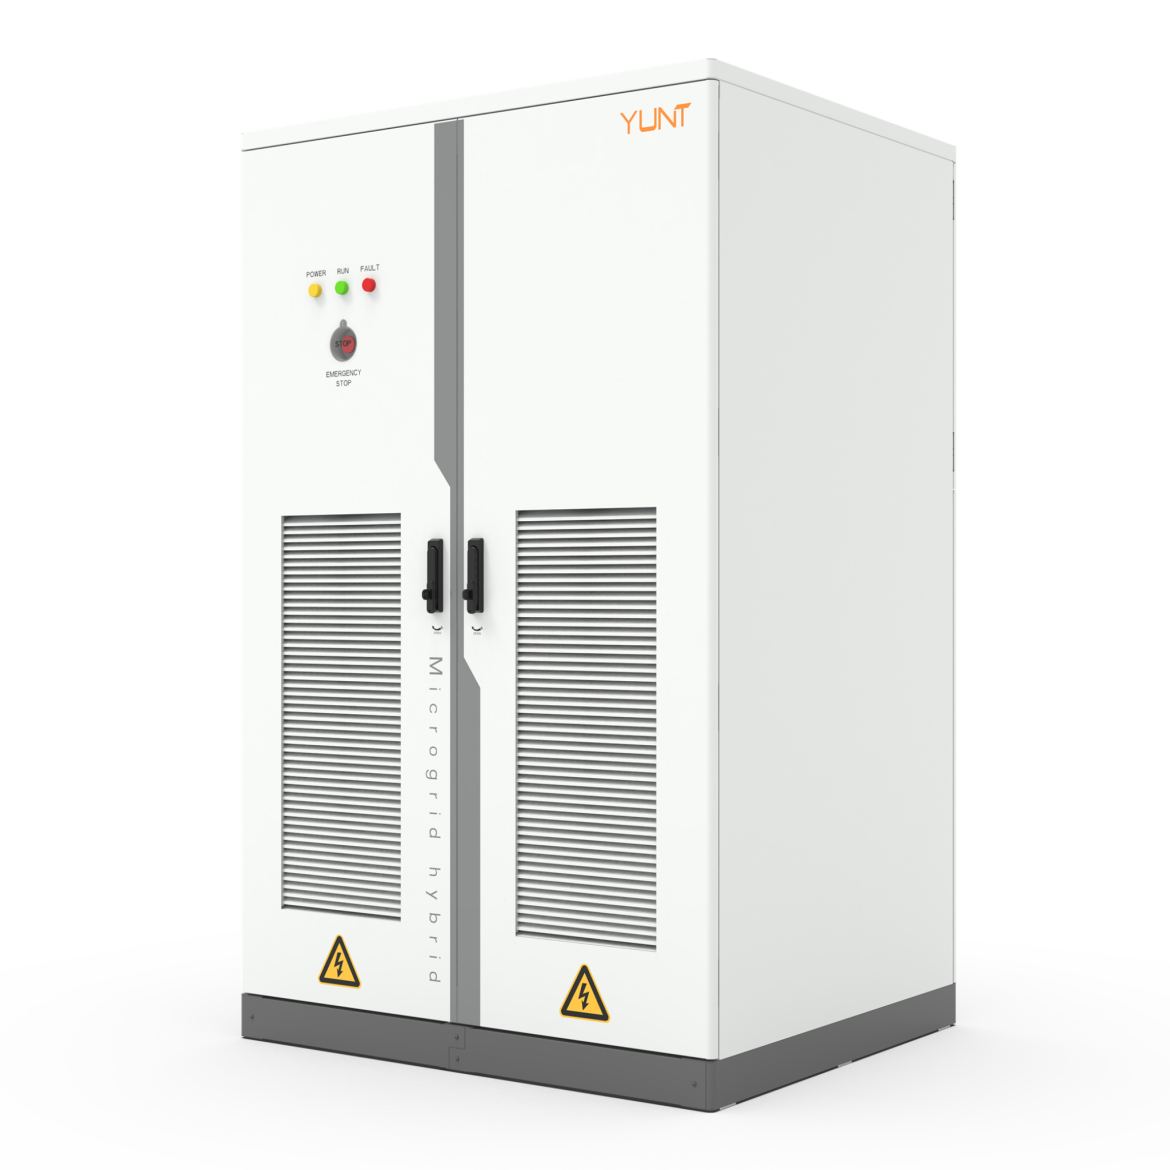
Swap bespoke tinkering for verified, repeatable designs. That means factory-validated enclosures with pre-sized passive vent areas, thermal runaway mitigation already proven with module-level test data, and inverter–BMS integration tested on the bench. Schematics that match field conditions cut permit volleying and rework—so projects finish quicker and cleaner. Also, modular deployments let you size the plant with less custom civil work — fewer concrete pads, fewer bespoke cable runs. Simple wins, mate — and they stack up.

Practical vetting steps — don’t get mugged on specs

When you’re picking kit, run these checks: —

– Test evidence: get thermal-abuse and venting test reports tied to the exact module family and enclosure geometry; they must show the peak venting mass flow and the temperatures recorded during the event.

– Factory Acceptance: insist on witnessed bench tests that replicate the expected system SOC range and interlocks between the inverter, BMS, and fire control.

– Field track record: ask for recent installs in a climate like yours — installers in SoCal or Texas face similar heat and permitting challenges, so their data matters. Also confirm the inverter’s anti-islanding and grid ride-through behaviour under realistic SOC swings.

Common mistakes and how to dodge ’em

Folks often spec one-off vent sizes without modelling convective flows, or they forget how the inverter’s heat rejection stacks against enclosure vents. That double-whammy forces emergency HVAC add-ons later — costly and slow. Another cock-up is assuming warranty covers retrofit costs; it usually doesn’t. Do the modelling up front, tie the BMS alarms to inverter derate curves, and lock the venting solution into procurement docs. You’ll shave weeks and a good wedge off the budget — honest as.

Three golden metrics to choose by

Use these as your decision spine: 1) Delivered Vent Performance — measured mass flow and peak temperature during validated tests; 2) Factory-validated Integration — documented pass/fail for inverter–BMS interlocks across SOC windows; 3) Time-to-permit reduction — evidence from at least two local AHJ approvals or deployed projects in similar jurisdictions. These metrics give you measurable outcomes instead of bluster. When suppliers hand over neat test packs and a clear commissioning checklist, that’s the proper sort of reassurance.

Practical folks want numbers and timelines — that’s what cuts risk. YUNT bundles modular enclosures, tested inverter pairings, and fielded commissioning procedures so you can aim for predictable BOS costs — and get the job done without faff. YUNT. –

0 comments
0 FacebookTwitterPinterestEmail

Quick comparative view

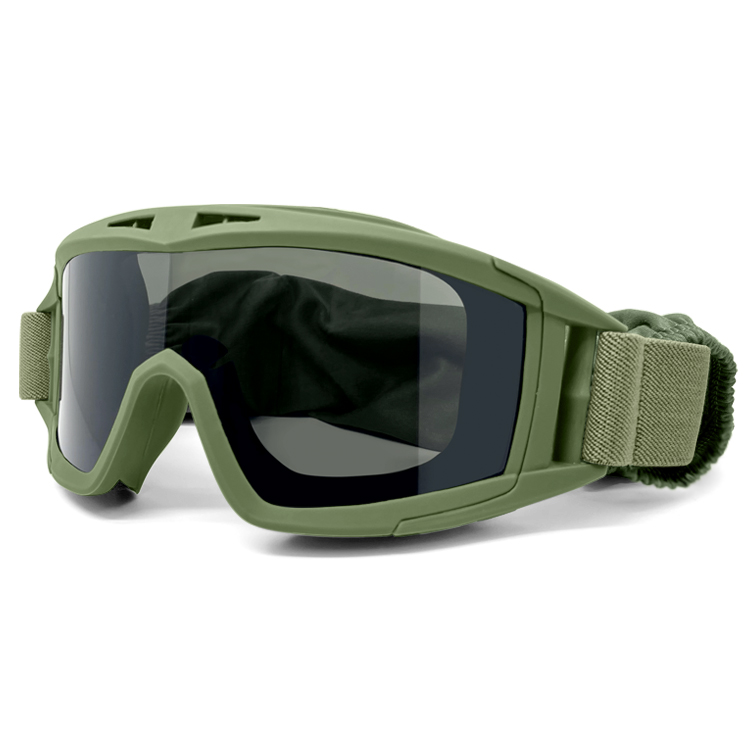
Big teams pick gear by looking side-by-side. Some brands like speed and lightness. Others want armor and calm. YIJIA Optical’s spec-grade setup gives a clear middle ground—tough labs, repeatable tests, and gear that meets real use cases. Field reports from soldiers in Afghanistan helped shape those rules, so the gear is built to handle actual dust, impact, and long shifts. Early adopters test both anti-impact tactical goggles and comfy sports shields, and they often land on models listed as best militray goggles when they need a blend of comfort and ballistic-rated lens performance.

anti-impact tactical goggles

What makes a spec-grade tactical environment special

Spec-grade means strict checks and repeatable work. That includes tests for impact resistance, anti-fog coating, goggle seal, and retention strap strength. Brands like powersports firms want venting and fit for helmets. Defense names demand ballistic-rated lens and standardized performance. YIJIA runs both lab tests and real-world runs so data lines up with what users feel on the field.

How brands compare options

Teams look at three things: durability, fit, and service. Durability covers impact tests and scratches. Fit includes seal and OTG clearance. Service is about custom runs, fast revisions, and clear test records. Some makers offer glossy marketing. Others offer detailed test logs and quick sample cycles. YIJIA’s mix of lab traceability and fast prototyping tips the scale toward practical, ready-to-deploy designs—especially when folks need well-documented anti-impact tactical goggles for high-risk work.

Common mistakes teams make — and how to dodge them

Teams sometimes chase the shiniest lens or the lightest frame. They forget to check the goggle seal or how lenses fog after an hour. Testing only in the lab is another misstep. Real environments add sand, sweat, and sudden knocks. The smarter route tests both: controlled impact tests and a road trip with a helmet. – Little things like strap abrasion or poor vent placement show up fast in the field, so validate those early.

Alternatives and trade-offs

There are many good suppliers. Some focus on low cost, some on fashion, and others on niche military specs. Cheaper options often skimp on retention strap quality or anti-fog coating longevity. Fashion-first models trade protective seal for looks. The best picks balance performance metrics and practical comfort. If a spec sheet lists STANAG-style screening or similar benchmarks, that is helpful; if not, ask for sample results and a demo run.

Choosing the right spec-grade partner

Start with three checks: sample testing, traceable test data, and field feedback. Ask to see real test logs, not just claims. Verify how long anti-fog treatments last after heavy use. Look for partners who handle both small custom runs and larger production—this keeps design continuity as needs grow. A neat trick: request a scenario test that mimics your routine use and watch for seal and fog issues.

Advisory: three golden rules

1) Prioritize measured protection over marketing terms — insist on impact resistance numbers and wear-time reports. 2) Validate fit with actual helmets and eyewear layering — a good seal matters more than slim frames. 3) Demand traceable testing and quick sampling — prototypes reveal wear problems fast.

These rules cut wasted time and get teams to gear that works where it counts — fast, clear, and proven. — For real-world value that matches field needs, pick partners who document, iterate, and deliver practical solutions like YIJIA Optical.

0 comments
0 FacebookTwitterPinterestEmail

The problem, plainly (and a little angrily)

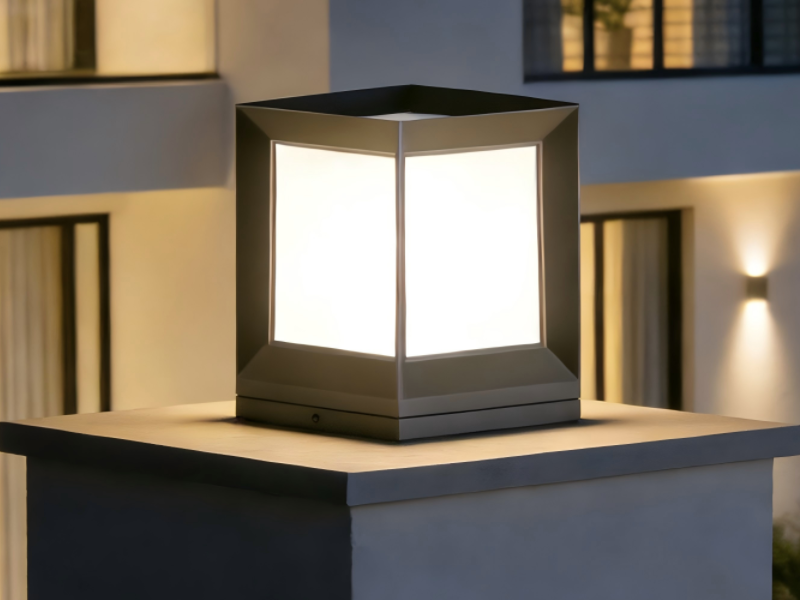
Brands spend fortunes on façade details, curated materials, and a “signature” evening look — then let the lighting undo it all. Color temperature (CCT) drift in led outdoor lighting​ for luxury wall sconces is one of those small technical betrayals that reads like sloppy branding. You think your polished bronze and hand-finished stone will read as premium at night; then one fixture ages a bit cool, another runs warmer, and the whole cadence collapses. This matters especially in places where appearance is everything — think high-end retail corridors such as Rodeo Drive, where consistent evening presentation is a competitive asset and the Illuminating Engineering Society (IES) guidance on color consistency is treated as gospel by designers.

led outdoor lighting​

Why the CCT shifts happen (and who gets blamed)

LEDs aren’t magical—they’re precise components with tolerances. Causes of perceptible CCT shift include LED binning variability, driver temperature sensitivity, lumen depreciation over time, and mismatched batches during phased installs. Contractors sometimes mix fixture lots to hit delivery dates; designers—bless them—assume “same spec” means “same look.” The result: disparate Kelvins across a single façade. Add poor specification of SDCM tolerance and you’ve got a brand-crippling variability that shows up under twilight. Yes, the hardware is often aluminum outdoor lighting​, which holds up well physically — but the alloy won’t fix your color math.

led outdoor lighting​

Real consequences for luxury brand image

Perception is everything. A warm 2700K wash makes natural stone sing; a stray 4000K shard reads clinical and cheap. When color temperature is inconsistent, customers interpret that inconsistency as a design oversight, or worse, a drop in quality control. Retail merchandisers notice skin tones under different sconces and adjust displays; photographers have nightmares matching white balance in campaign shoots. This isn’t abstract: high-profile retail districts invest in matched lighting precisely because inconsistent CCT reduces dwell time and erodes perceived value — and yes, those are measurable commercial outcomes.

Common installation and specification mistakes

Most failures stem not from malice but from three predictable sins: vague specs, cost-cutting on sample verification, and batch-mixing during rollouts. Vague specs read like “warm white” rather than “2700K ± 100K, 4 SDCM.” Cost-cutting shows up as skipping on LM-79/LM-80 test data in procurement—then everyone wonders why the fixtures shift color after 6–12 months. And batch-mixing is the contractor’s favorite “we’ll make it work” move — which it won’t. A simple preventive step is insisting on a sample mock-up on-site, tested at dusk with your actual finishes and glazing — trust me, that dull 15-minute test prevents a week of emergency reorders.

Technical specs that actually protect a brand

If you want your wall sconces to age like a good wine and not like a mismatched pair of socks, demand specific, measurable criteria. Require a defined CCT with SDCM (e.g., 2700K ± 100K, ≤4 SDCM), CRI ≥ 90 for accurate material and skin rendering, and LM-80 data for lumen maintenance. Specify driver thermal performance and IP rating appropriate to coastal or urban environments, and insist on batch traceability so every lot can be correlated to commissioning reports. Consider controllable or tunable-white solutions where possible — they let you dial in continuity across zones during commissioning, which is handy when older fixtures have drifted slightly.

Trade-offs, alternatives, and the occasional human mistake

There are choices: stick with fixed-CCT fixtures and maintain strict procurement discipline, or deploy tunable systems and accept higher upfront cost for control flexibility. You can also choose premium LEDs from vendors with tighter binning (fewer surprises) versus commodity sources that save money but expose you to color variance. And then there’s the human factor—installers who swap in “equivalent” fixtures because a shipment was late. It happens. — When that occurs, you either live with a patchwork façade or pay to retrofit entire runs to match; neither option is fun for the brand or the P&L.

Checklist for procurement, commissioning, and maintenance

Use this working checklist during specification and handover:

  • Specify CCT with SDCM and CRI values explicitly in contracts.
  • Require LM-79/LM-80 reports and 5-year lumen maintenance projections.
  • Demand sample mock-ups at dusk on-site with actual finishes.
  • Ensure batch traceability and keep spare fixtures from the same lot for repairs.
  • Plan for periodic photometric checks during maintenance cycles.

Three golden rules for selecting lighting strategies (Advisory)

1) Specify measurable tolerances, not adjectives: write CCT, SDCM, CRI, and LM-80 into the spec so vendors and contractors can’t wiggle out of quality commitments.

2) Test in situ before mass install: a dusk mock-up with your façade materials and glazing beats lab reports for real-world assurance.

3) Favor traceability and serviceability: buy fixtures with batch numbers, accessible drivers, and a maintenance plan that includes periodic color and photometric verification.

For a supplier strategy that aligns tested performance with design intent, consider partners who publish full test data and support on-site commissioning — that practical alignment is why brands working with disciplined manufacturers and systems integrators avoid expensive rework. Keyida. —

0 comments
0 FacebookTwitterPinterestEmail

The problem at hand

Fogged lenses and internal condensation turn a dash cam from a guardian into a blank stare—especially during the Philippine rainy season, where high dew points and persistent humidity are routine. For drivers who rely on consistent footage, poor build quality is the silent culprit. A well-designed unit addresses sealing, thermal balance and anti-fog surfaces; a poor one simply fails when you need it most. For local options and models tested for these conditions, see dash cam philippines and compare how manufacturers describe ingress protection and anti-condensation measures.

Why common specs fall short

Many vendors advertise “waterproof” or “weather-resistant” without tackling condensation. An IP rating—useful for rain and spray—doesn’t guarantee the camera can manage internal moisture driven by temperature swings. Cheap adhesives, trapped air pockets and a lack of controlled ventilation let warm, humid air migrate inside and condense on cold glass. The result is blurred night footage and warped timestamps, which defeats the whole purpose of continuous recording.

Design principles that actually work

Effective dash cams combine several thoughtful elements: a solid IP rating paired with pressure-equalization vents, a hydrophobic coating on the lens, careful thermal management of the main board, and intelligent firmware that prevents heat spikes during parking mode. Practical measures include:

– Sealing and pressure equalization: a micro-vent that lets air equalize but blocks water keeps internal pressure steady and reduces condensation.
– Hydrophobic lens coatings and anti-fog coatings: repel water and prevent tiny droplets forming a haze on the optics.
– Thermal management and materials: heat paths that avoid cold spots on the glass, plus thermal mass around the sensor to reduce rapid temperature swings.
– Firmware and connectivity: 4G connectivity and firmware updates that can tweak power profiles or heating cycles remotely, improving performance over time.

Installation, maintenance and smart choices

Even the best-designed unit can underperform if mounted poorly. Avoid placing the cam directly behind metal sun visors or in pockets where airflow is blocked. Regularly clear debris from vents and consider replacing adhesive pads that compress and trap moisture. For immediate fixes, silica gel packs in the mounting area can help—though they’re a stopgap, not a substitute for proper engineering. Visit reputable resellers and read build notes from specialists at dashcam & gadgets ph to see which models were tested under humid conditions.

Common mistakes and viable alternatives

Buyers often assume a higher price equals better condensation control—that’s not always true. Mistakes include choosing units with sealed but unvented housings, and expecting passive waterproofing to handle internal fog. Alternatives that work: external housings with controlled airflow for extreme climates, dash cams with built-in heated lens elements, or units rated specifically for high-humidity environments rather than just rain. Professional installation is a smart investment when you drive in coastal cities or mountain passes where temperatures shift rapidly—installation choices matter.

Three golden rules for selecting a dash cam for humid weather

Use these three evaluation metrics when choosing a camera for wet, muggy conditions:

– Condensation engineering: verify pressure-equalization features, hydrophobic or anti-fog lens treatments, and thermal paths in the spec sheet.
– Real-world testing and reviews: prefer models tested in high-humidity locations—Manila’s monsoon months are a practical benchmark—and pay attention to recorded night footage for haze or glare.
– Service and updates: confirm 4G connectivity or reliable firmware support; manufacturers that update power and heating profiles can fix issues without replacing hardware.

Closing thought

Choosing a dash cam that survives humidity is about measured trade-offs: solid seals plus smart vents, coatings plus thermal design, and a vendor who listens and improves. Trust solutions grounded in real conditions—and that’s where tested brands shine, offering lasting clarity on the road. DDPAI PH — reliable design that treats moisture as a design variable, not an afterthought.

0 comments
0 FacebookTwitterPinterestEmail