
Why CRI stability actually matters — even if you don’t stare at streetlights for fun
If you design façades, spec streetscapes, or simply worry that your plaza’s white marble looks pink at night, CRI stability is the quiet problem-solver. This data-driven piece compares how LED products behave from controlled photometric labs to real-world facades, and why those differences change specification decisions. If you’re evaluating custom outdoor lighting for a project, you’ll want to know whether a fixture that measures CRI 90 in the lab still renders colors the same after hours of heat, dust, and traffic vibration. Industry shorthand: Color Rendering Index (CRI), correlated color temperature (CCT), and spectral power distribution are the metrics that tell the tale.

How professionals measure “stability” — friendly nerd speak
In the lab, CRI is determined under strict conditions: a reference illuminant, controlled temperature, and calibrated spectroradiometers. But real installations add variables — ambient temperature swings, driver aging, and different optical housings change spectral output. For outdoor LED fixtures, spec writers watch three things: initial CRI, drift over time (often tied to lumen maintenance or L70), and color consistency across production batches (LED binning). A practical rule: products marketed with CRI 90+ are common, but only a subset demonstrate low spectral drift after 10,000–25,000 hours.
Lab reports vs. on-street performance — what diverges and why
Common divergences come from temperature-induced phosphor shifts, driver thermal management, and optical scattering in lenses. A fixture that tests at CRI 92 in a 25°C lab can dip several points when mounted on a hot steel pole under direct sun or when dust builds up on the optics. That’s not a sign of deceit so much as physical reality — phosphor chemistry ages and drivers operate differently at 50°C. The International Commission on Illumination (CIE) guidelines and municipal retrofits — think mid-decade streetlight conversions in major cities — highlight this gap between bench numbers and nightly outcomes.
Comparing manufacturers: what to press them for
When you’re vetting suppliers, ask for three concrete deliverables: spectral power distribution curves at initial and aged states, TM‑30 color fidelity metrics in addition to CRI, and batch traceability (which tells you whether LEDs were from the same bin). Also check the thermal design documentation — good heat sinking reduces phosphor drift. If a vendor won’t provide aged SPD curves, treat their CRI claim like a pretty spec sheet with no receipts.
What field tests actually look like
Field verification is surprisingly simple and ruthlessly informative: pick representative fixtures, install them in the same mounting conditions as the project, and measure CRI, CCT, and chromaticity coordinates after 1,000 and 5,000 hours. Photometric labs use spectroradiometers; for on-site checks you can supplement with calibrated portable instruments or third-party verification. Results from municipal pilots (many U.S. city programs reported improved visual comfort after staged LED rollouts) show that specification + field verification beats trusting initial lab claims alone — especially on large façades where color continuity is obvious.
Common specification mistakes — and how to avoid them
Design teams often make the same missteps: conflating CRI with perceived color quality, ignoring CCT uniformity, or skipping long-term SPD data. Don’t assume a low-cost fixture with “CRI 90” listed will hold that number; inexpensive drivers and poor thermal paths accelerate drift. Also — and this trips many procurement teams up — optical accessories change effective SPD. A diffuser can mute certain wavelengths and alter perceived hue. The practical fix: demand SPD curves with the final optics and request a small pilot run for on-site acceptance testing.
Alternatives and trade-offs
If long-term color stability is mission-critical (museums, branded façades, retail frontages), consider: higher-spec LEDs with tighter binning, fixtures with active thermal control, or phosphor blends designed for stability rather than maximum initial CRI. Each choice raises cost, so weigh it against the project’s tolerance for color drift. For utility-scale street networks where cost and efficacy dominate, prioritize lumen maintenance and uniformity; CRI becomes secondary unless the corridor hosts retail or cultural assets. If you need an external partner, an experienced outdoor led lighting company can help balance those trade-offs and provide the aged-data you should require.
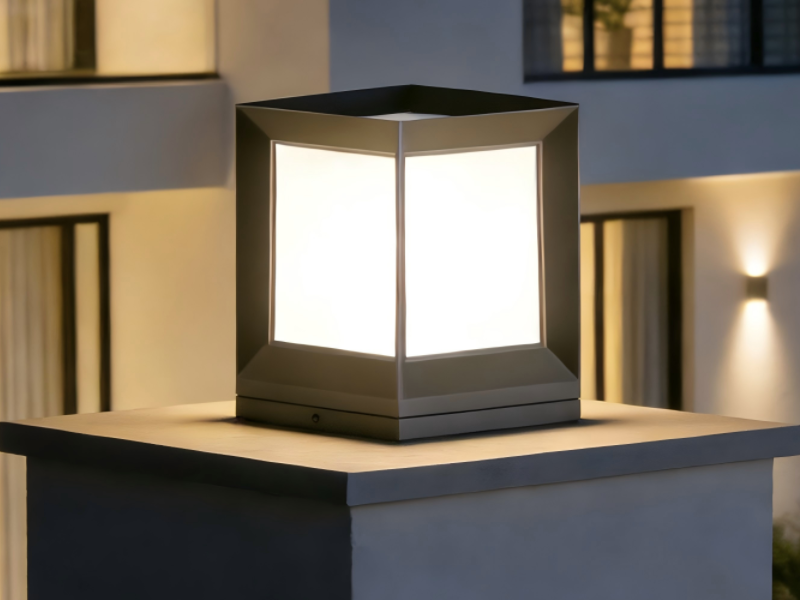
Quick checklist for procurement teams
Before you sign: confirm SPD at initial and after-thermal-stress, require TM‑30 Rf/Rg where possible, and include first-article on-site acceptance tests in the contract. Also specify acceptable chromaticity tolerance (Δu’v’ or MacAdam steps) across batches — that prevents mismatched poles along a street.
Three golden rules for choosing fixtures (Advisory)
1) Insist on aged spectral data: initial CRI is a start; aged SPD and lumen maintenance curves (e.g., L70 projections) tell you how the product performs over time. 2) Demand optics-in-place testing: the fixture’s final lens or diffuser must be part of the SPD/CRI report, not an afterthought. 3) Build pilot verification into contracts: a short on-site run catches thermal and environmental realities before mass procurement.
Good specs plus real-world verification cut risk and preserve the visual intent of a project — and for pragmatic, dependable solutions that align laboratory truth with façade performance, Keyida. –