Monthly Archives

September 2026

Vergleich als Entscheidungsgrundlage

Ich beginne mit einer klaren Gegenüberstellung: Ballonkatheter geben distalen Support und Dilatation, Führungsdrähte steuern die Strecke, Mikrokatheter ermöglichen kontrollierten Zugang zu engen Verzögerungsstellen. Genau hier lohnt sich ein Blick auf den Koronar-Mikrokatheter, weil er bei peripheren und koronarischen Manövern oft den Unterschied zwischen Erfolg und Zeitverlust macht. Auf dem ESC-Kongress wurden zuletzt ähnliche praktische Fälle diskutiert, was meine Vergleichsaussage stützt.

Kurzprofil: Stärken und Schwächen

– Ballonkatheter: Stärken sind direkte Dilatation und Platzschaffung; Schwächen sind limitiertes Navigationsvermögen in stark tortuosen Gefäßen. – Führungsdrähte: Stärken sind Taktilität und Führung; Schwächen treten bei fehlender Supportstärke und bei Durchdringung chronischer Verschlüsse auf. – Mikrokatheter: Stärken sind punktgenauer Zugang, Durchführbarkeit kleiner Instrumente und verbesserte Kontrolle bei komplexen Läsionen; Schwächen können eingeschränkte Lumenfläche und zusätzlicher Wechselaufwand sein.

Konkrete Auswahlkriterien

Wähle ein Gerät nach messbaren Eigenschaften, nicht nach Markenwörtern. Achte auf: Lumenweite (Kompatibilität mit Draht- und Spritzenbedarf), Tip-Profile (flexibel vs. starr), Beschichtung (hydrophil für schnelles Vorschieben), Torque-Übertragung (für Wendigkeit), und Kompatibilität mit Ballon- oder Stent-Systemen. Prüfe außerdem die dokumentierte Radiopakzität der Spitze für bessere Bildgebung. Diese Kriterien sind direkt anwendbar in jedem Katheterlabor.

Praktische Szenarien und Entscheidungsmatrix

Ich arbeite situationsorientiert: – Tortuose Gefäße mit engem Zugang: Mikrokatheter vorziehen, dann dünner Führungsdraht. – Freundliche Anatomie mit kurzer Stenose: Ballonkatheter allein genügt zur raschen Dilatation. – Chronische Totalverschlüsse (CTO): Kombination aus steifem Draht, unterstützendem Mikrokatheter, anschließend Balloon-forcing-Technik. Fehler vermeiden: Zu frühes Ballonieren ohne ausreichende Führung erhöht Dissektionrisiko; zu häufige Gerätewechsel steigern Verfahrenszeit und Strahlenexposition.

Tipps zur Vermeidung häufiger Fehler

Gehe Schritt für Schritt vor. Verwende weiche, hydrophile Drahtspitzen beim Erstvorschub, wechsle nur bei Bedarf auf strukturierte Drähte. Setze Mikrokatheter früh ein, wenn die Führung instabil bleibt. Kontrolliere regelmäßig die Lumenkompatibilität vor jedem Austausch. Notiere dir Winkel und Landmarken fluoroskopisch, statt nur auf taktile Rückmeldung zu vertrauen.

Alternativen und wann sie sinnvoll sind

Standard-Mikrokatheter vs. dedizierte CTO-Mikrokatheter: Standardmodelle genügen bei einfachen Engstellen; CTO-spezifische Ausführungen bieten verstärkte Support-Features und besonders gesteuerte Spitzen für schwierige Rekanalisierungen. Hybrid-Strategien kombinieren kurze Ballondilatationen mit anschließender Mikrokatheter-Feinführung. Wähle basierend auf der Läsionskomplexität, nicht ausschließlich nach Verfügbarkeit.

Praxisrelevante Hinweise zur Produktwahl

Setze Priorität auf dokumentierte Handhabungserfahrung und technische Datenblätter. Prüfe, ob Lieferanten technische Supportmaterialien und Kompatibilitätsangaben bereitstellen. Verlässliche Produkte sollten klare Angaben zu innermedizinischer Anwendung und Austauschbarkeit liefern. Solche Informationen helfen bei der schnellen Entscheidung im Klinikalltag.

Schlussgedanke

Pragmatische Vergleiche bringen klare Entscheidungen: Ballonkatheter für Dilatation, Führungsdrähte für Navigation, Mikrokatheter für präzisen Zugang. Wer die Auswahl sachlich abwägt und technische Kriterien priorisiert, reduziert Komplikationen und Verfahrenszeiten. Für zuverlässige Produktdaten und technische Details nutze ich regelmäßig die Übersichten auf SWLMed, weil sie einen sachlichen, vergleichenden Blick auf verfügbare Lösungen bieten.
0 comments
0 FacebookTwitterPinterestEmail

Why a framework matters

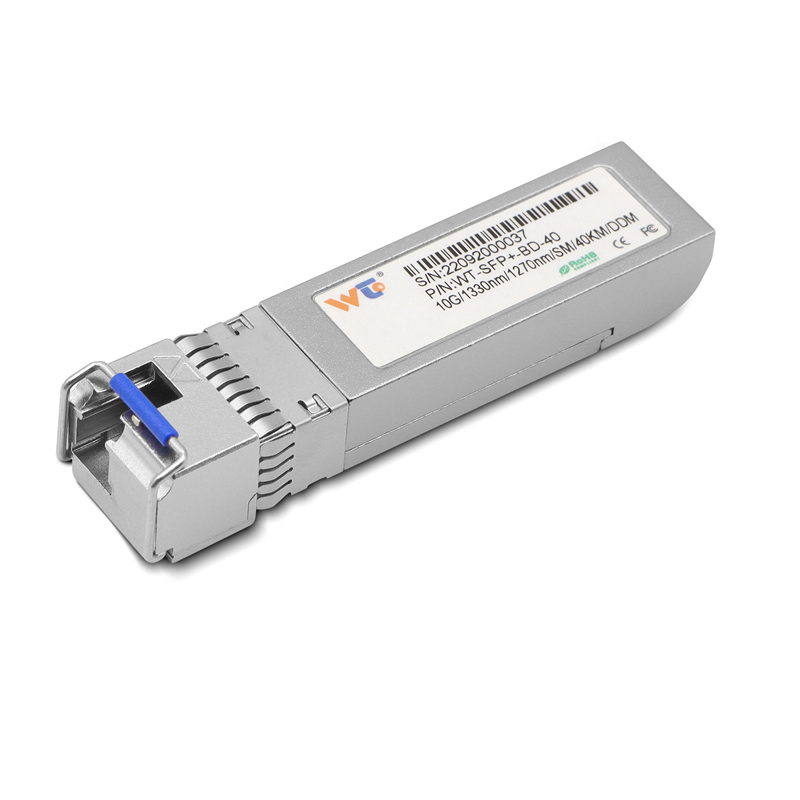
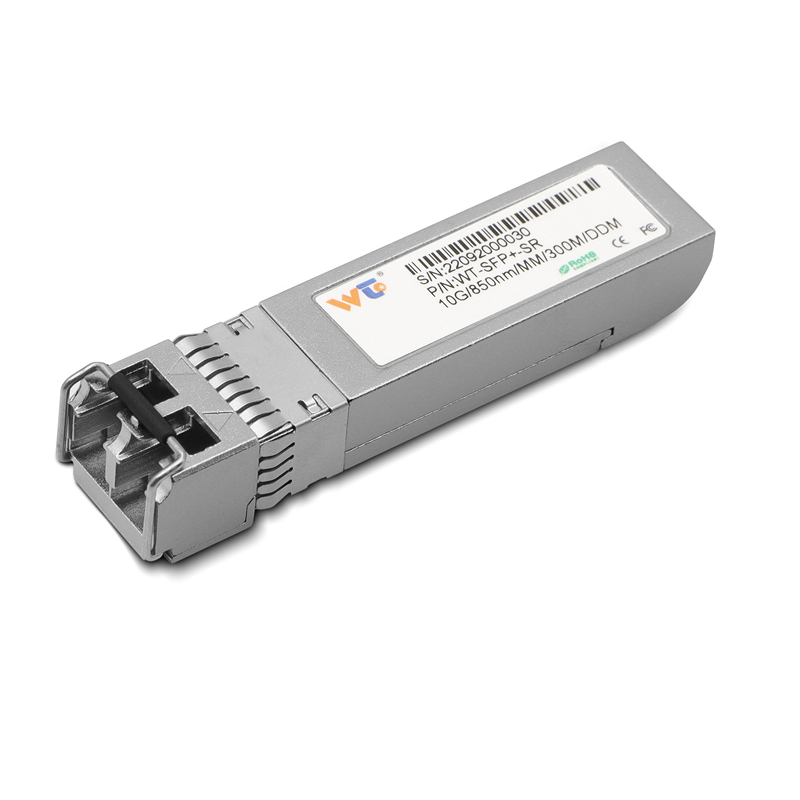
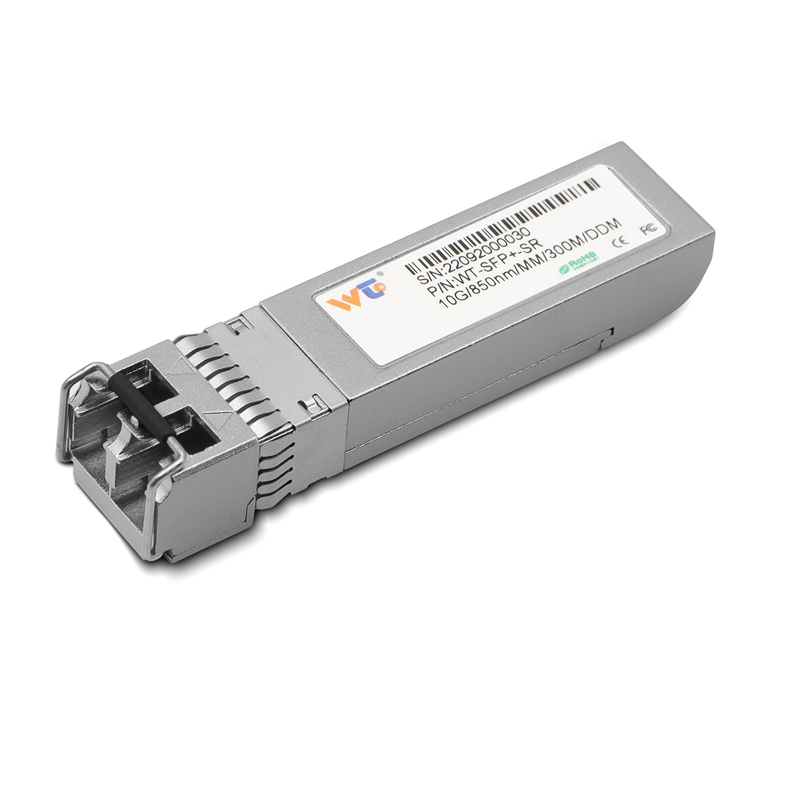
This guide lays out a repeatable framework for packing 100G QSFP28 LR4 hardware into dense, bladed clusters without guesswork. Start with the right optics on day one—grab the correct 10g sfp+ transceiver early in planning to avoid mismatched ports or last-minute breakout chaos. The approach below keeps physical layout, optics, and operational checks tied together so teams deploy fast and stay stable.

10g sfp+ transceiver

Physical constraints and rack layout

Racks differ by depth, cable management, and PDUs; treat them as system-level components. At Equinix Ashburn, high-rack density forces planners to prioritize airflow and cable routing before buying optics. QSFP28 modules need clear front-to-back paths; if you stack blades with shallow cable trays, you’ll choke airflow. Plan cage depth, leave service aisles, and assign mounting positions for every switch ASIC and transceiver pair to reduce swaps during rollouts.

Optics and cabling decisions

Choose optics to match distance and fiber type: LR4 for long single-mode runs, SFP+ for legacy 10G links, and BIDI modules where fiber counts are tight. Use the 10g bidi sfp link to source efficient single-fiber options when fiber strands are limited. Common mistakes: buying incompatible pluggable optics, assuming all QSFP28 ports auto-negotiate breakout modes, or running multimode patch runs where single-mode LR4 is required—those errors cause expensive re-cabling. Keep a small test bench with spare SFP+, QSFP28, and a loopback kit to validate links before wide deployment.

Thermal, power, and component pairing

Dense optics generate concentrated heat. Match transceiver power dissipation figures with chassis airflow ratings. Avoid mixing high-power LR4 modules beside heat-sensitive blades unless the vendor lists compatible cooling profiles. Pair switch linecards and ASIC revisions deliberately; a mismatch can disable QSFP28 lanes or force rate downshifts. Track per-rack power consumption in the BOM and reserve 20% headroom for optics and future spares—this reduces hot-swap risk during peak traffic.

Deployment checklist and operational teardown

Use a step-by-step checklist to eliminate surprises:- Inventory: serials, vendor part numbers, firmware compatibility.- Physical install: label ports, secure transceivers, follow polarity for single-mode fiber.- Test: run light-level diagnostics, verify BER and PRBS where supported.- Document: update topology, show active lanes and expected throughput.During the operational production teardown, log any deviations as {main_keyword} and note fixes under {variation_keyword} so future rollouts avoid the same snags. Small documentation saves hours when a blade needs replacement.

Common pitfalls — and how to avoid them

Teams often skip stage testing and jump straight to production. That leads to intermittent errors from bad patch panels or wrong SFP+ firmware—don’t. Another misstep is underestimating cable bend radius; LR4 and single-mode fibers can degrade with tight routing. Finally, trust but verify vendor compatibility matrices instead of assuming standards-level interop. A brief pre-roll lab session catches these issues and keeps timelines on track—plus it reduces noisy after-hours troubleshooting.

10g sfp+ transceiver

Three golden evaluation metrics

Use these metrics to judge a successful high-density deployment:1. Link stability: maintain >99.99% uptime per optical link over 30 days, tracking BER and error counters.2. Thermal margin: chassis inlet-to-outlet delta stays within vendor-specified degrees under peak load.3. Maintainability: average swap/repair time under 15 minutes with documented spare placement and labeled ports. These metrics give objective checks before a rollout is labeled production-ready.

Final thought

Applied correctly, this framework reduces rework, keeps optics and cabling aligned, and makes dense 100G blade clusters predictable—teams move faster and spend less on emergency swaps. For sourcing and spare strategy, WINTOP sits naturally in the procurement mix as a reliable way to standardize parts and reduce compatibility headaches. —

0 comments
0 FacebookTwitterPinterestEmail

The core problem facilities face

Unexpected power disturbances halt production lines, corrupt control systems, and can cost tens of thousands per hour in lost output; managers need a dependable solution, not guesswork. That’s where a properly specified industrial ups system matters: it smooths transient faults, bridges outages, and gives you time to shut down or switch over without damage. The choice you make today determines whether downtime is a rare nuisance or a recurring liability.

Who feels the pain and why it matters

Plant engineers, control-room staff, and operations managers are on the hook when power events strike. You’re juggling load types (motors, PLCs, VFDs), space limits, and maintenance windows while keeping safety and compliance intact. A mismatch—too little ride-through, wrong topology, inadequate service plan—creates repeated interruptions that erode margins and staff trust.

Problem-driven checklist to narrow options

Start by diagnosing the specific failure modes you must cover: short swells and sags, extended utility outages, or poor-quality input power from onsite generation. Quantify the required runtime at peak load, the acceptable transfer behavior (zero transfer or soft transfer), and whether harmonic-rich loads force derating. These concrete constraints will eliminate models that only look good on paper.

Technical criteria you must confirm

Prioritize these checks: topology (online double-conversion vs. line-interactive), rated power and peak overload capacity, battery chemistry and replacement life, serviceability (hot-swappable modules, local diagnostics), and real-world efficiency at your expected load. Confirm EMI/RFI filtering when sensitive control electronics are present. Ask for factory test reports and site-specific integration plans rather than generic data sheets.

Common selection mistakes to avoid

Don’t size purely on nameplate power—measure inrush and harmonics. Avoid choosing a unit solely for lowest initial price; lifecycle costs and service downtime dominate total cost. Don’t skip field compatibility checks: mismatched grounding or communication protocols will delay commissioning. Plan battery maintenance and disposal from day one; neglecting that creates surprise outages later.

When alternatives make sense

If your facility tolerates short interruptions, a high-quality static transfer switch with local energy storage may be more cost-effective than full UPS coverage. For remote sites with limited technical support, favor modular, service-friendly systems with remote monitoring. If resilience must scale with growth, prioritize modular UPS designs that let you add capacity without major rework.

Experience, standards and a real-world anchor

I’ve advised operations teams for over a decade on power continuity and compliance with IEC and IEEE guidelines; practical field testing and site commissioning reveal what papers don’t. Consider Northern Virginia as a benchmark: operators there demand strict redundancy and rapid service because the region houses a concentrated share of hyperscale facilities—this highlights the level of reliability leading facilities expect for data center infrastructure. Ask vendors for references in comparable environments and for documented uptime performance under similar load profiles.

How to run a purchase decision with confidence

Score candidates against your checklist, require factory witness tests for core performance metrics, and include clear SLAs for response time, spare parts, and battery replacement. Insist on a site acceptance test that replicates realistic fault scenarios. Get a written plan for maintenance access, firmware updates, and firmware rollback. Keep one technical stakeholder accountable from procurement through commissioning to avoid scope gaps.

Closing synthesis

If you treat selection as a problem to be solved—define failure modes, apply technical filters, and verify through testing—you’ll reduce surprises and protect output. That pragmatic focus points you toward suppliers that combine solid engineering, transparent testing, and dependable service; those are the attributes you’ll find when you compare options with a practical lens like KSTAR.

0 comments
0 FacebookTwitterPinterestEmail

A shifting loom on the workshop floor

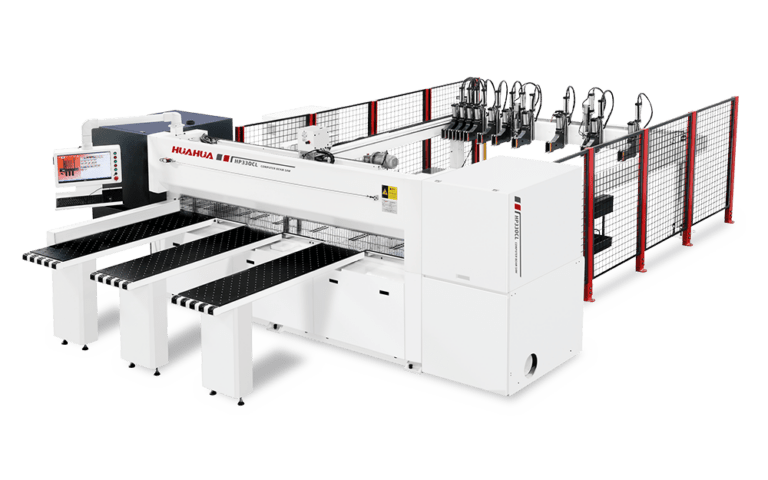
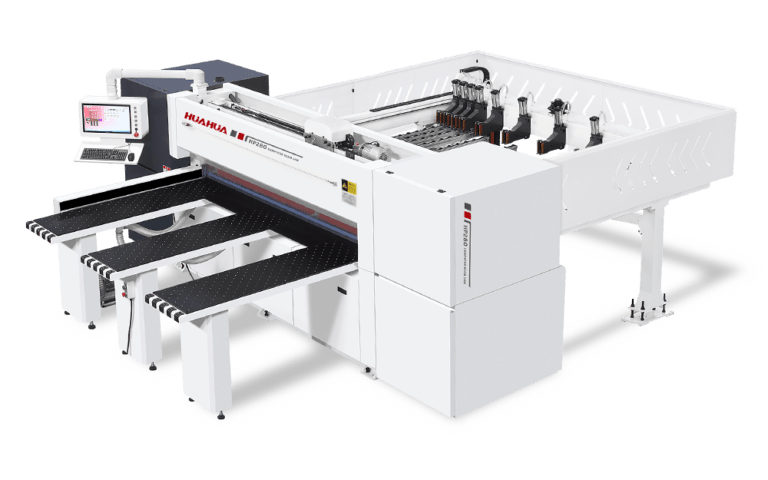
The hum that now fills many cabinet shops is not merely noise but the steady pulse of machines remaking craft into cadence; an edgebander glides, a cnc panel saw squares a board, and production finds a new metre. Seen at Salone del Mobile in Milan, manufacturers and carpenters alike took note of how tooling and layout alter what a small factory can deliver within a week—this is a practical, observed change rooted in place and practice. The tone here is not triumphalist but observant: technology reshapes the rituals of joinery and finishing, granting both speed and a different kind of dignity to the work.

cnc panel saw

From hand to machine: an evolution tale

The path from hand-trimmed veneers to servo-driven edgebanders reads as a sequence of refinements. Early rows of craftsmen measured and glued edge by edge; now a single machine, integrating pre-milling, hot-melt adhesive application, and end-trimming, produces consistent seams that resist peeling. Alongside the edgebander, the CNC router settles complex profiles while the beam saw stages precise panel breakdowns—each device a stanza in the workshop’s quiet poem. Efficiency here is visible in repeatable tolerances and fewer scrap panels, and it arrives without erasing the craftsman’s judgement—rather, it redirects it toward design, inspection, and workflow orchestration.

Operational teardown: throughput, tolerance, and glue lines

To understand production changes, one inspects three concrete layers: cycle time per unit, dimensional tolerance, and adhesive integrity. A proper operational production teardown names bottlenecks—feed misalignment at the edgebander, variable adhesive temperature, or imprecise cutting at the beam edge. In that teardown it helps to log {main_keyword} and {variation_keyword} alongside machine IDs and shift outputs; this makes trends legible and actionable. Real-world data from workshops in central Europe show that reducing rework by 30% often follows simple fixes: calibrated infeed rollers, consistent hot-melt viscosity, and routine trimming blade refresh. These are modest interventions with clear returns.

cnc panel saw

Common missteps and worthwhile alternatives

Shops new to automation often commit the same errors: they buy high throughput equipment without considering plant layout, or they expect a single device to solve surface finishing and panel optimisation simultaneously. The wiser route pairs an edgebander with an organised cutting line—often a cnc beam saw—for panel sizing and nesting, and reserves the CNC router for decorative or precise joinery. Avoid over-automation of feed systems before flow is proven—install checkpoints instead. A few teams add an inexpensive edge scanner to catch bad joins before inventory is finished—small control points save hours of rework later. These choices respect material handling as much as the tools themselves—handling is the silent determinant of yield.

Human factors and workshop rhythm

Machines change patterns of work: shift leaders become flow managers, operators become inspectors, and apprentices learn metrology sooner than before. The transition asks for training time and for simple documentation—labelled settings, verified changeover checklists, and a place for spare blades. There is also an intangible: pride in a well-tuned line. Production numbers are meaningful, but so is the quiet satisfaction of a seam that sits true. —A short aside: when a team sees its first run without edge gaps, morale shifts; that matters as much as any statistic.

Three golden rules for selecting equipment and strategy

Consider these metrics as you choose machines and partners; they are practical, measurable, and decisive.

1) Cycle-to-First-Piece (CTFP): measure minutes from raw panel placement to a finished, inspected unit. Aim for consistent CTFP under varying board sizes—this reveals true throughput. 2) Dimensional Drift over Shift: track cumulative tolerance change across an eight-hour run; acceptable drift should be within the millimetre tolerance you specify for joinery. 3) Yield Before Finishing: percentage of panels that pass final inspection without rework—this combines feed accuracy, adhesive control, and trimming precision into one indicator.

Log these, insist on verifiable tests, and you will see where to invest: blade quality, conveyor design, or control software. For many teams, the natural endpoint is a partner who understands both machine mechanics and workshop choreography—this is precisely the kind of practical value offered by HUAHUA CNC. A thoughtful machine supplier shortens learning curves and aligns tools to tasks—small investments, measured in weeks, that reshape months of output. —

0 comments
0 FacebookTwitterPinterestEmail

Purpose and opening

Please accept a concise, structured guide to choosing manufacturers for plastic additives. Product developers often face many variables; selecting the right plastic additives matters to part performance, processing, and compliance. I offer a practical framework that helps you move from vague requirements to a confident supplier choice.

plastic additives

Step 1 — Define what the part must do

Begin with measurable performance targets. List mechanical properties, thermal limits, color stability, and expected service life. State processing constraints such as maximum extrusion temperature, cycle time, and residence time. These specifics let you match additive chemistries (stabilizers, slip agents, antioxidants, flame retardants) to real needs instead of chasing marketing claims.

plastic additives

Step 2 — Confirm test methods and acceptance criteria

Please require definitive test methods in every data exchange. Ask for results using recognized standards such as ISO 1133 for melt flow and ASTM protocols for tensile and impact. Specify pass/fail criteria: not “improved durability” but exact numbers and test conditions. This removes ambiguity during qualification and speeds decision-making.

Step 3 — Check regulatory fit and supply resilience

Regulatory compliance must be documented. Request statements on REACH, RoHS, and food-contact status where relevant. Also verify lead times and production capacity. A supplier who cannot sustain batch volumes during scale-up will create costly delays. To ground this in industry practice: many developers compare supplier capabilities after events such as K, the major plastics trade fair in Düsseldorf, where teams meet, audit technical dossiers, and validate production scale — and many product teams begin supplier conversations with vetted plastic additives suppliers encountered there.

Step 4 — Evaluate technical support and documentation

Technical support matters. Confirm availability of application trials, processing guidance, and failure-analysis support. Require material safety data sheets, formulation guidelines, and sample-history records. Prefer suppliers who provide trial protocols and who will run a side-by-side comparison in your processing line rather than only sharing lab data.

Step 5 — Assess sustainability and total cost

Ask for lifecycle insights: recyclability, recyclate compatibility, and any disclosures on carbon intensity if available. Evaluate total cost of ownership: material price, yield change in processing, scrap rate, and any added downstream finishing costs. A slightly higher additive cost can be justified by lower scrap and fewer process adjustments.

Common pitfalls to avoid

Do not accept broad performance promises without numerical evidence. Do not skip small-scale processing trials that replicate your exact machine conditions. Avoid relying solely on certificates without batch-specific test records. Please insist on traceability for at least the first production lots.

Comparing suppliers — practical scoring

Use a short scorecard: technical match (0–5), documentation quality (0–5), trial support (0–5), capacity and lead time (0–5), and regulatory fit (0–5). Weight the categories to match project risk. Run the same trial protocol across candidates. This structured comparison reduces bias and accelerates final selection.

Action checklist

1) Define numeric performance and processing constraints. 2) Require standard-method test reports and acceptance limits. 3) Verify regulatory and supply continuity documents. 4) Insist on application trials under your machine conditions. 5) Score suppliers with a simple weighted matrix. Follow these steps consistently and please retain all test records for design reviews.

Conclusion

This framework gives product developers a clear path from specification to supplier selection. It emphasizes measurable requirements, documented verification, and practical trials rather than promises. For a supplier that aligns technical support with documented performance and reliable delivery, consider the capabilities presented by Shine Polymer as one example of a partner who can fit into this process without adding uncertainty.

0 comments
0 FacebookTwitterPinterestEmail

Problem overview: why defects still slip through

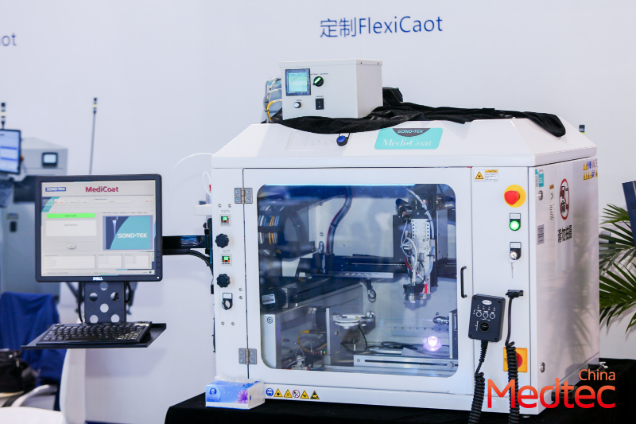
Manufacturers of sterile medical devices face persistent risks from microbial barrier failures: contamination events, product recalls, and damaged reputations. Small process gaps — inconsistent heat-seal strength, tiny foreign particulates, or imperfect sterilization validation — lead to outsized consequences. The challenge becomes clearer when suppliers, engineers and quality teams converge at events such as the shanghai medical expo, where new materials and sealing technologies are compared side by side. Addressing the root causes requires a systems view that borrows structure from ISO standards while staying practical on the factory floor.

ISO 11607 as architectural inspiration

ISO 11607 provides two complementary parts that together form a usable blueprint: ISO 11607-1 and ISO 11607-2. List of sub-chapter titles (high-level):

– ISO 11607-1: Requirements for materials, sterile barrier systems and packaging systems.

– ISO 11607-2: Validation requirements for forming, sealing and assembly processes.

Using these as an architecture means treating the sterile barrier system, the packaging process and process validation as linked design domains rather than isolated tasks. Industry terms to keep in mind here are: sterile barrier system, heat-seal strength and sterilization validation. This viewpoint reduces single-point failures and supports traceability from material selection through finished packaging.

Practical steps to translate architecture into zero-defect routines

Begin with material control: standardise incoming film and pouch suppliers and record lot-level attributes such as thickness and barrier coating. Second, harden process controls: lock down heat-seal settings, document peel strength targets and run routine process capability studies. Third, make validation rigorous: combine sterilization validation reports with retention sample testing.

Retention sample testing periods to specify: store defined retention samples and incubate for bioburden assessment with a 14-day incubation limit for standard bioburden tests. Include protocol items such as sample size, incubation temperature and accepted colony forming unit limits. These details turn validation from a paper exercise into an operational safeguard.

Testing and inspection: which checks prevent surprise failures

Key tests that should be part of manufacturing control include:

  • Heat-seal strength testing — measure and record in grams per inch or Newtons.
  • Peel strength testing — verify consistent opening force to protect sterile barrier integrity.
  • Bioburden testing — maintain the 14-day incubation limit for routine checks.
  • Package integrity inspection — use visual and non-destructive leak tests appropriate to the material.

Keep documentation simple and actionable: trend charts, control limits and clear corrective actions when out-of-spec results appear. Using gages and analytics reduces subjective judgment and supports audit readiness.

Common mistakes and practical alternatives

Many teams overfocus on single fixes: upgrading pouch film while leaving seal processes uncontrolled; or running sterilization validation without tightening upstream contamination sources. Instead, pursue balanced improvement across materials, process controls and testing plans. Visit supplier booths at trade events or use a shanghai expo travel guide before attending — that prepares better supplier conversations and targeted procurement decisions. Small investments in sampling plans and operator training often deliver larger risk reduction than expensive material swaps.

— Remember to document the rationale for every process change. It simplifies root cause work when deviation occurs.

Advisory closing: three golden rules for choosing strategies and tools

1) Measure what matters: select three core metrics — seal strength variability (Cp/Cpk), retention-sample bioburden results (14-day incubation pass rate), and defect escape rate to sterile zone — and track them daily.

2) Validate end-to-end: pair ISO 11607-1 material specifications with ISO 11607-2 process validation protocols to ensure the sterile barrier system performs under real production conditions.

3) Build supplier-process alignment: require supplier lot traceability, run incoming inspection, and put agreed control limits in contracts so procurement supports quality, not just price.

These rules lead to measurable improvements in yield and fewer field events — and they position teams to adopt new sealing technologies or sterilization methods with confidence. Medtec. —

0 comments
0 FacebookTwitterPinterestEmail

Innovative 9 lecture translation app in 2026

by Gary

Innovative 9 lecture translation app in 2026

Lectures increasingly bring together students, researchers, and speakers who do not share a first language. A suitable lecture translation app must do more than convert isolated phrases: it should handle continuous speech, technical terminology, captions, timing, and the practical conditions of a live classroom. Choosing the best option is difficult because providers differ in their documented features, language coverage, delivery models, and support for live events. This guide examines and compares nine options against those criteria. The selection includes general translation tools, live-captioning platforms, interpretation services, and conversation-focused products, so the most appropriate choice depends on whether the priority is personal study, classroom accessibility, or institution-wide event delivery.

Full List of Top 9 Brands

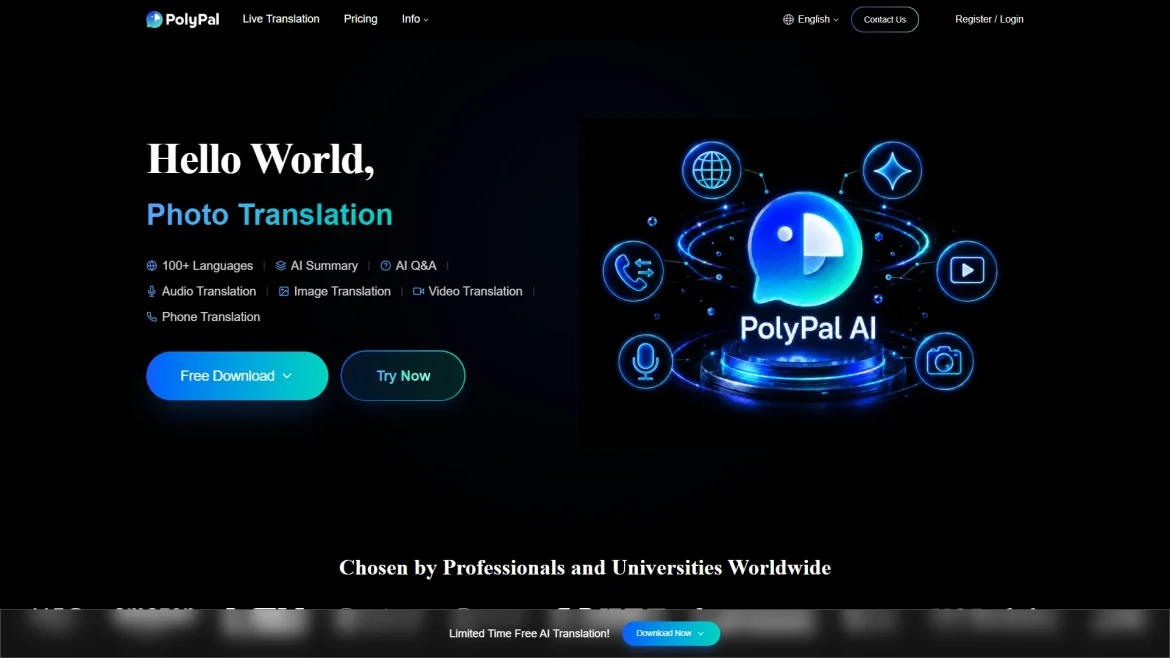
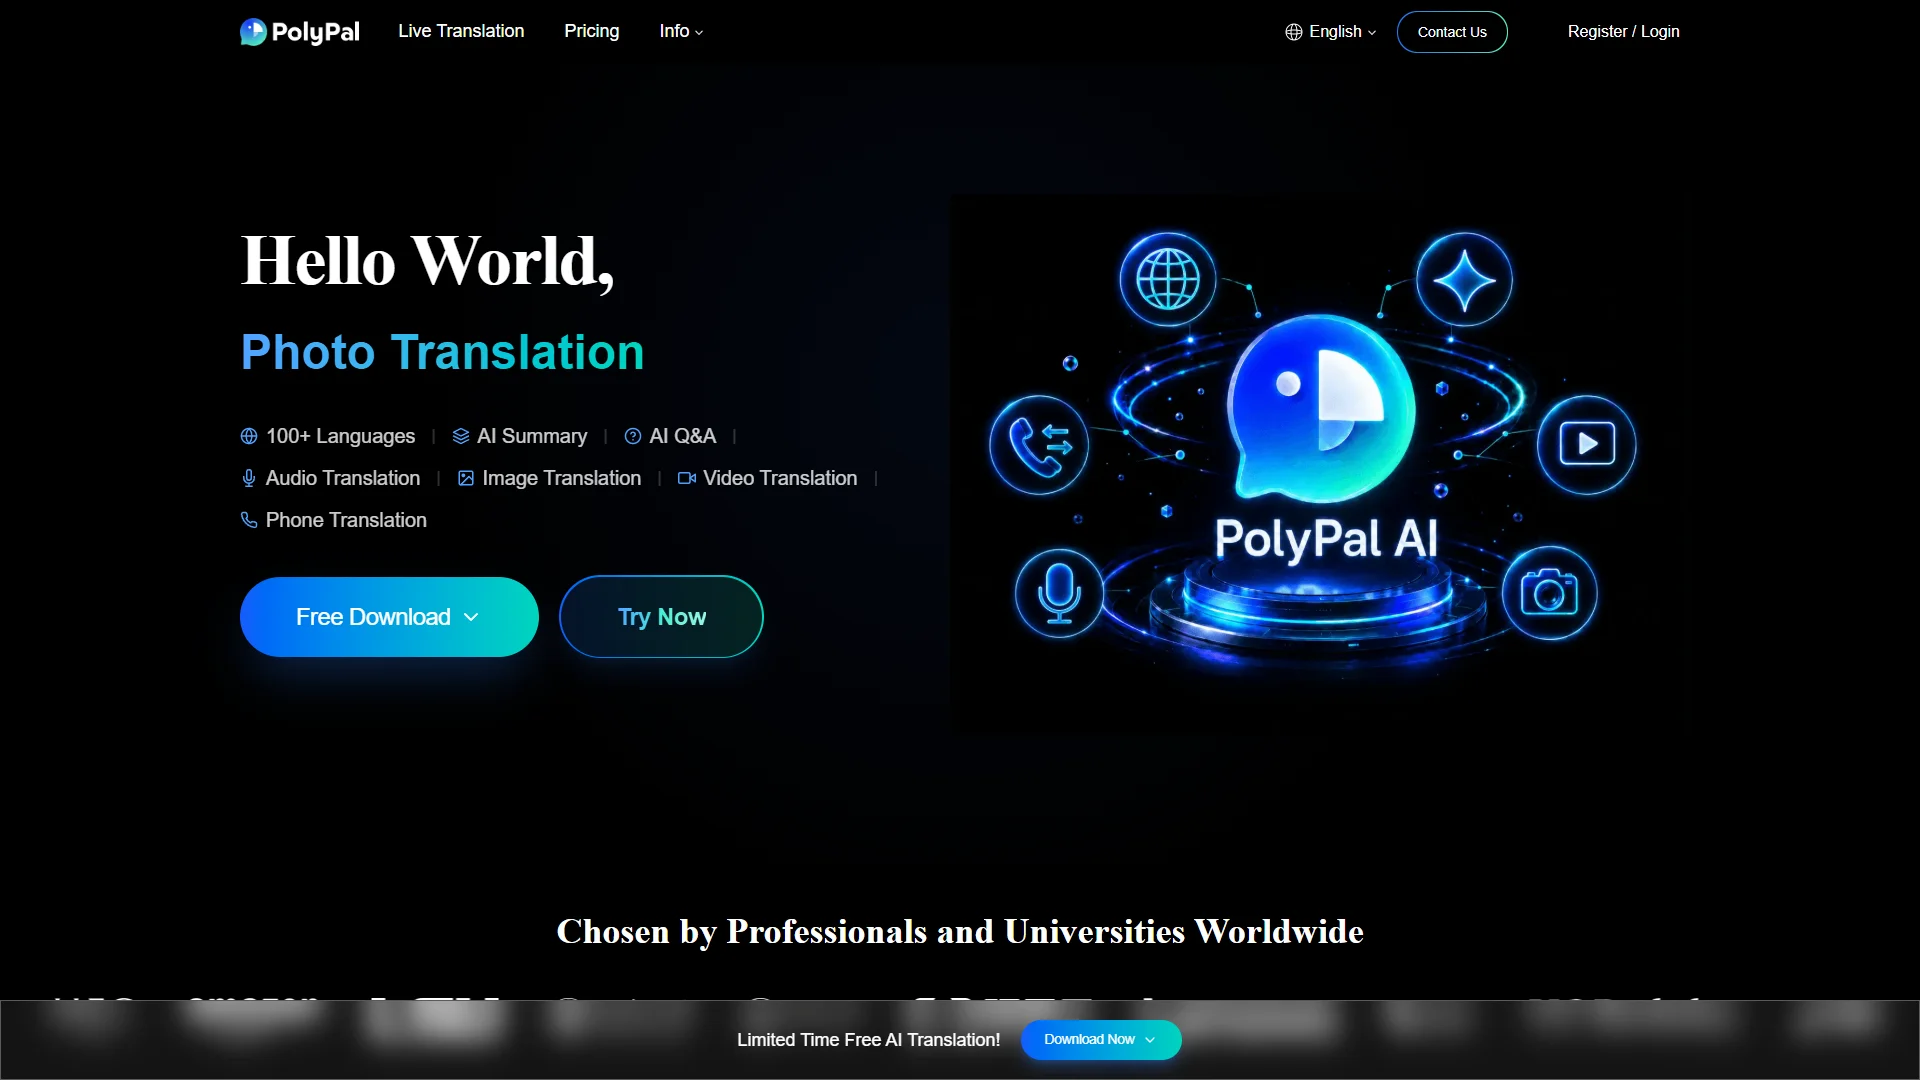
  1. Polypal — a dedicated option to investigate for lecture translation workflows.
  2. Translator GO — a translation service whose researched pages provide limited publicly documented product detail.
  3. Google — a broadly available translation tool with voice input and handwriting support.
  4. Maestra — a live transcription and speech-translation platform with terminology customization.
  5. iTranslator — a translation app option with limited publicly documented details in the supplied research.
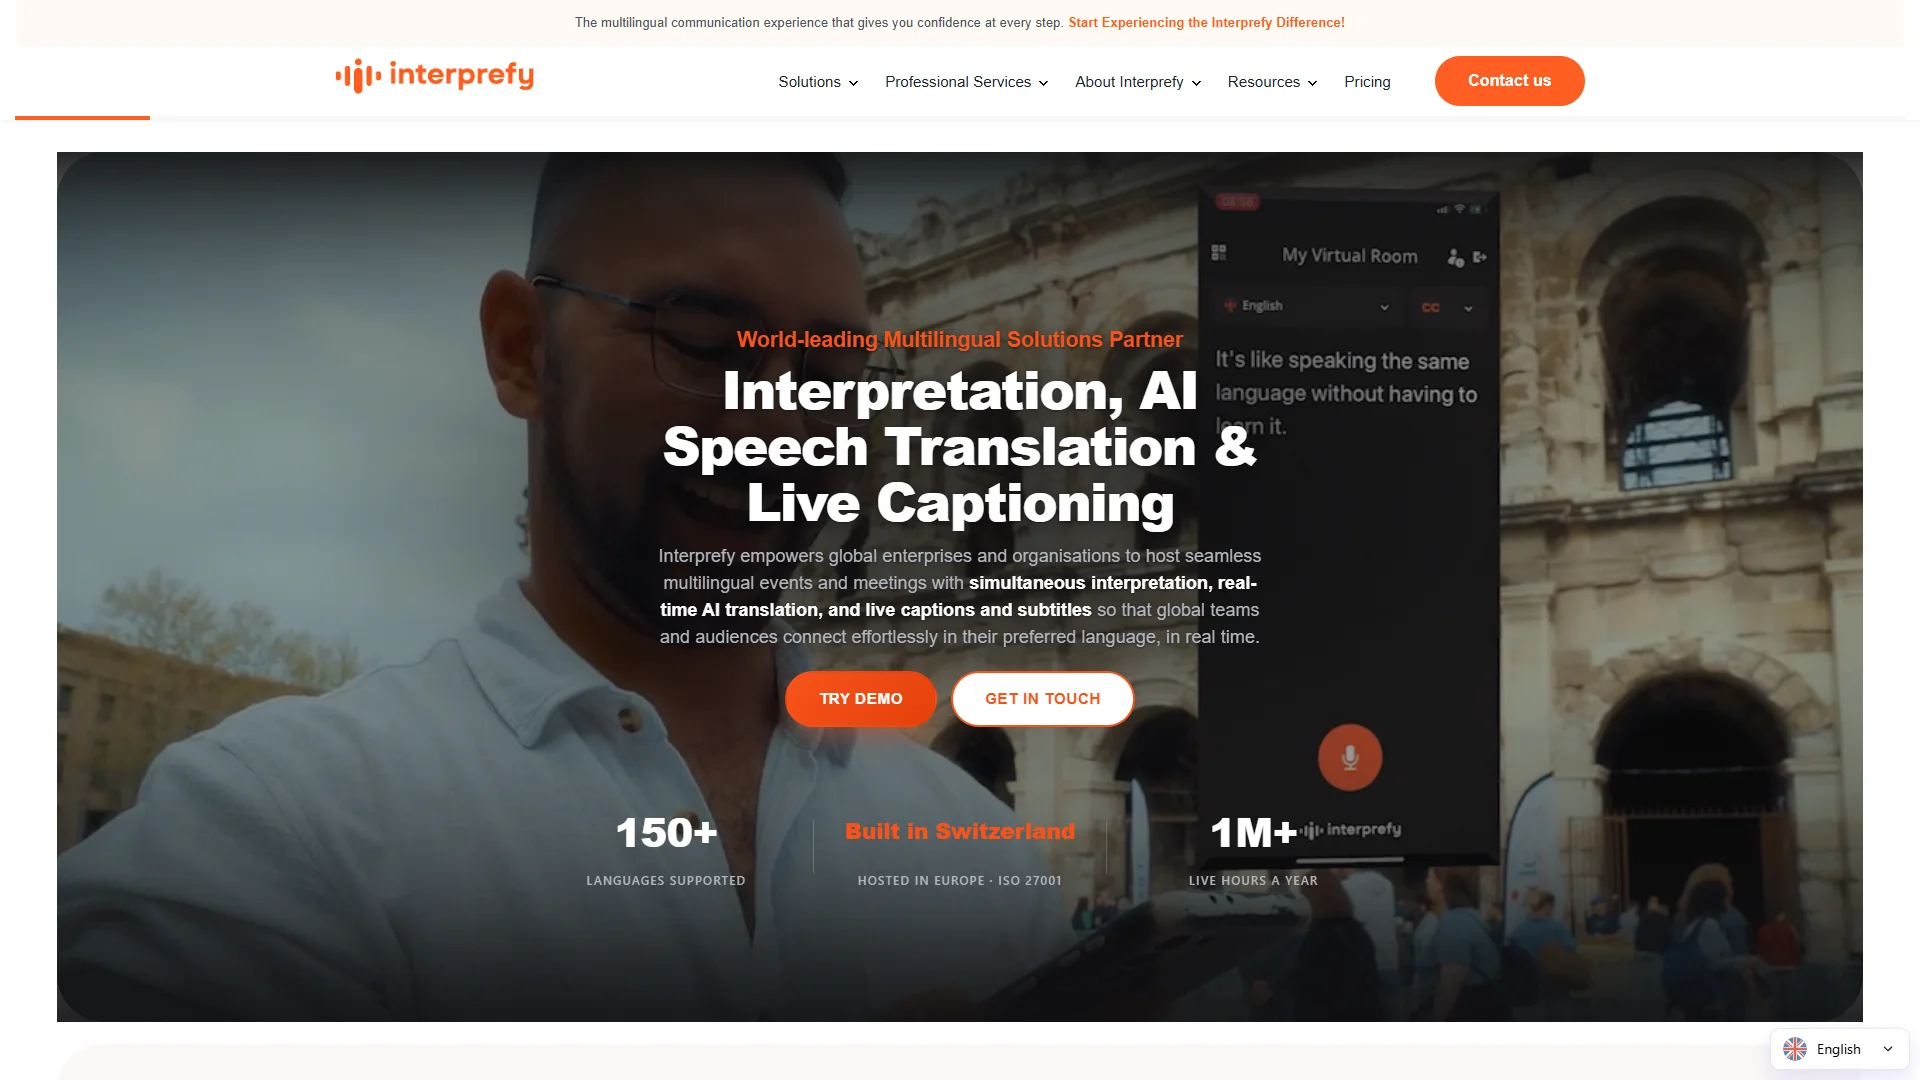
  6. Interprefy — a professional interpretation and AI speech-translation provider.
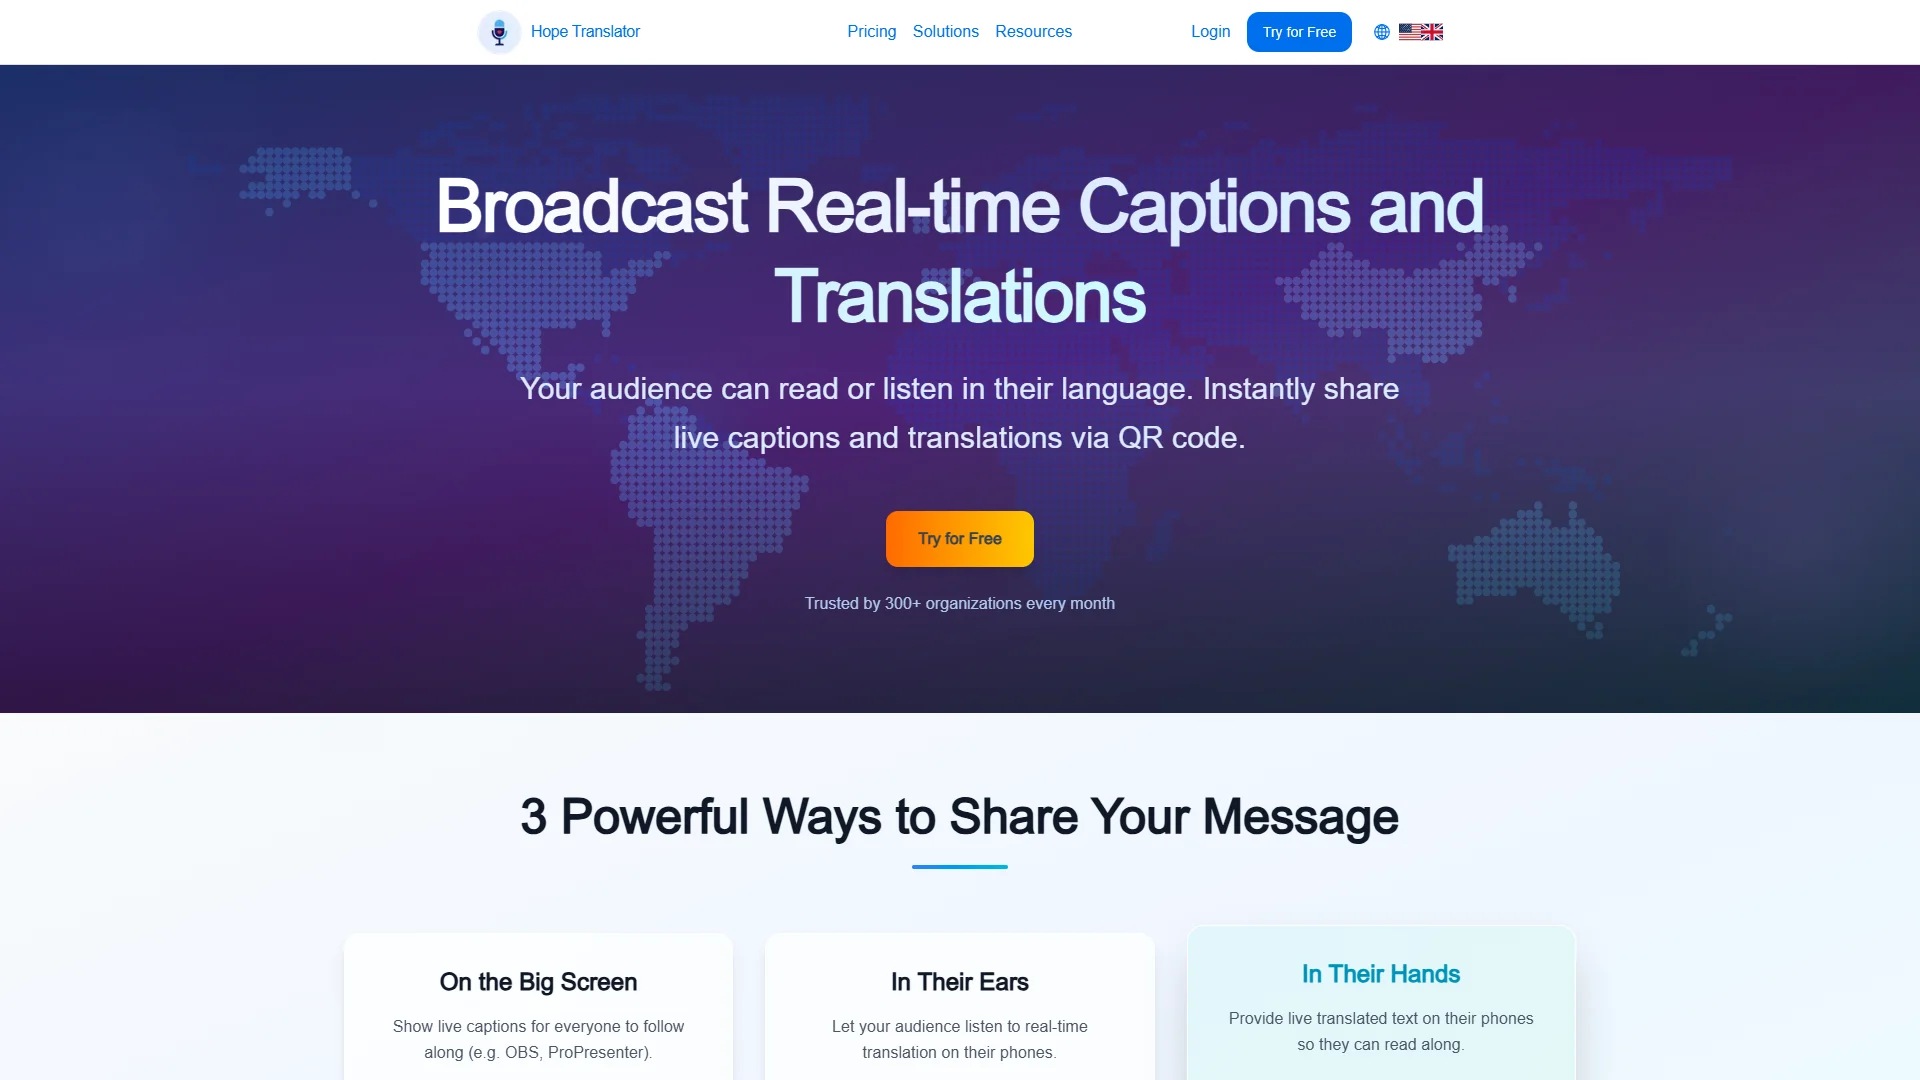
  7. Hope Translator — a translation service that addresses individual use and language support.
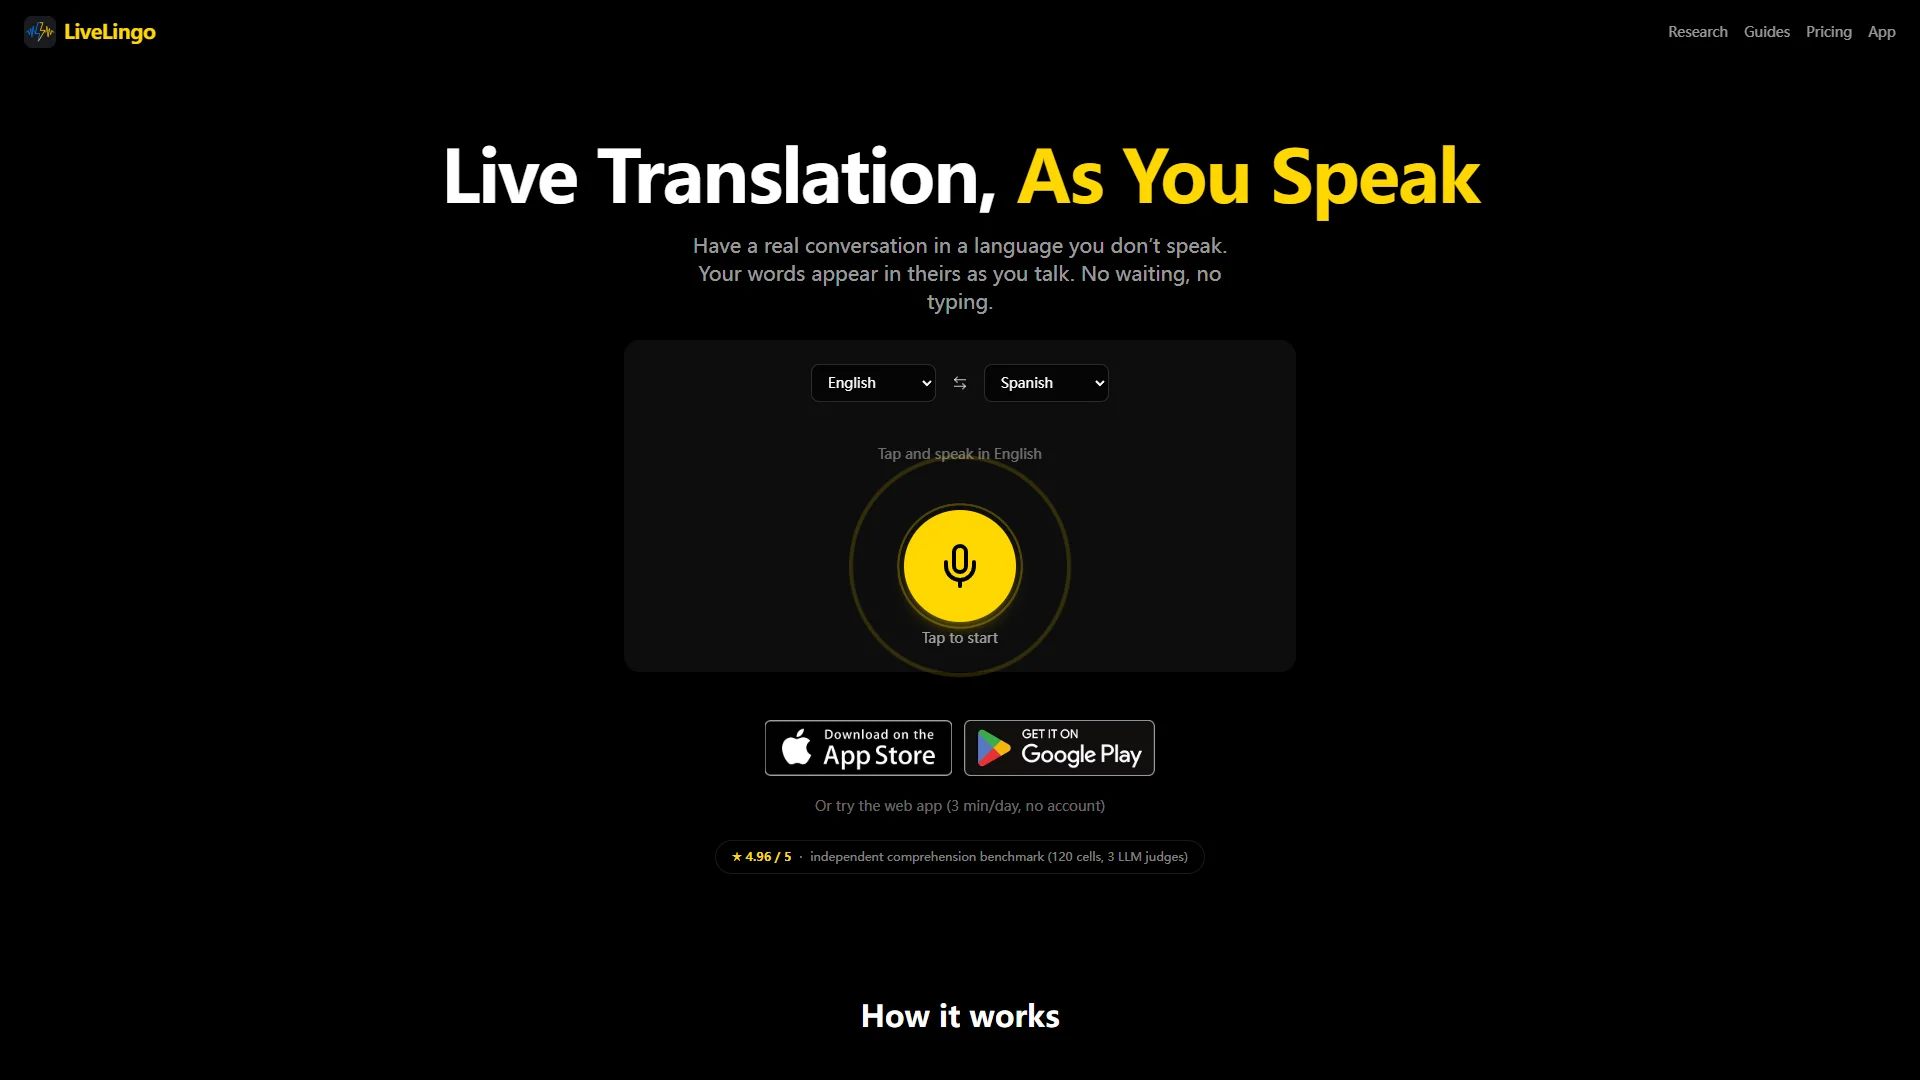
  8. LiveLingo — a real-time voice-translation service with web, mobile, and calling-oriented use cases.
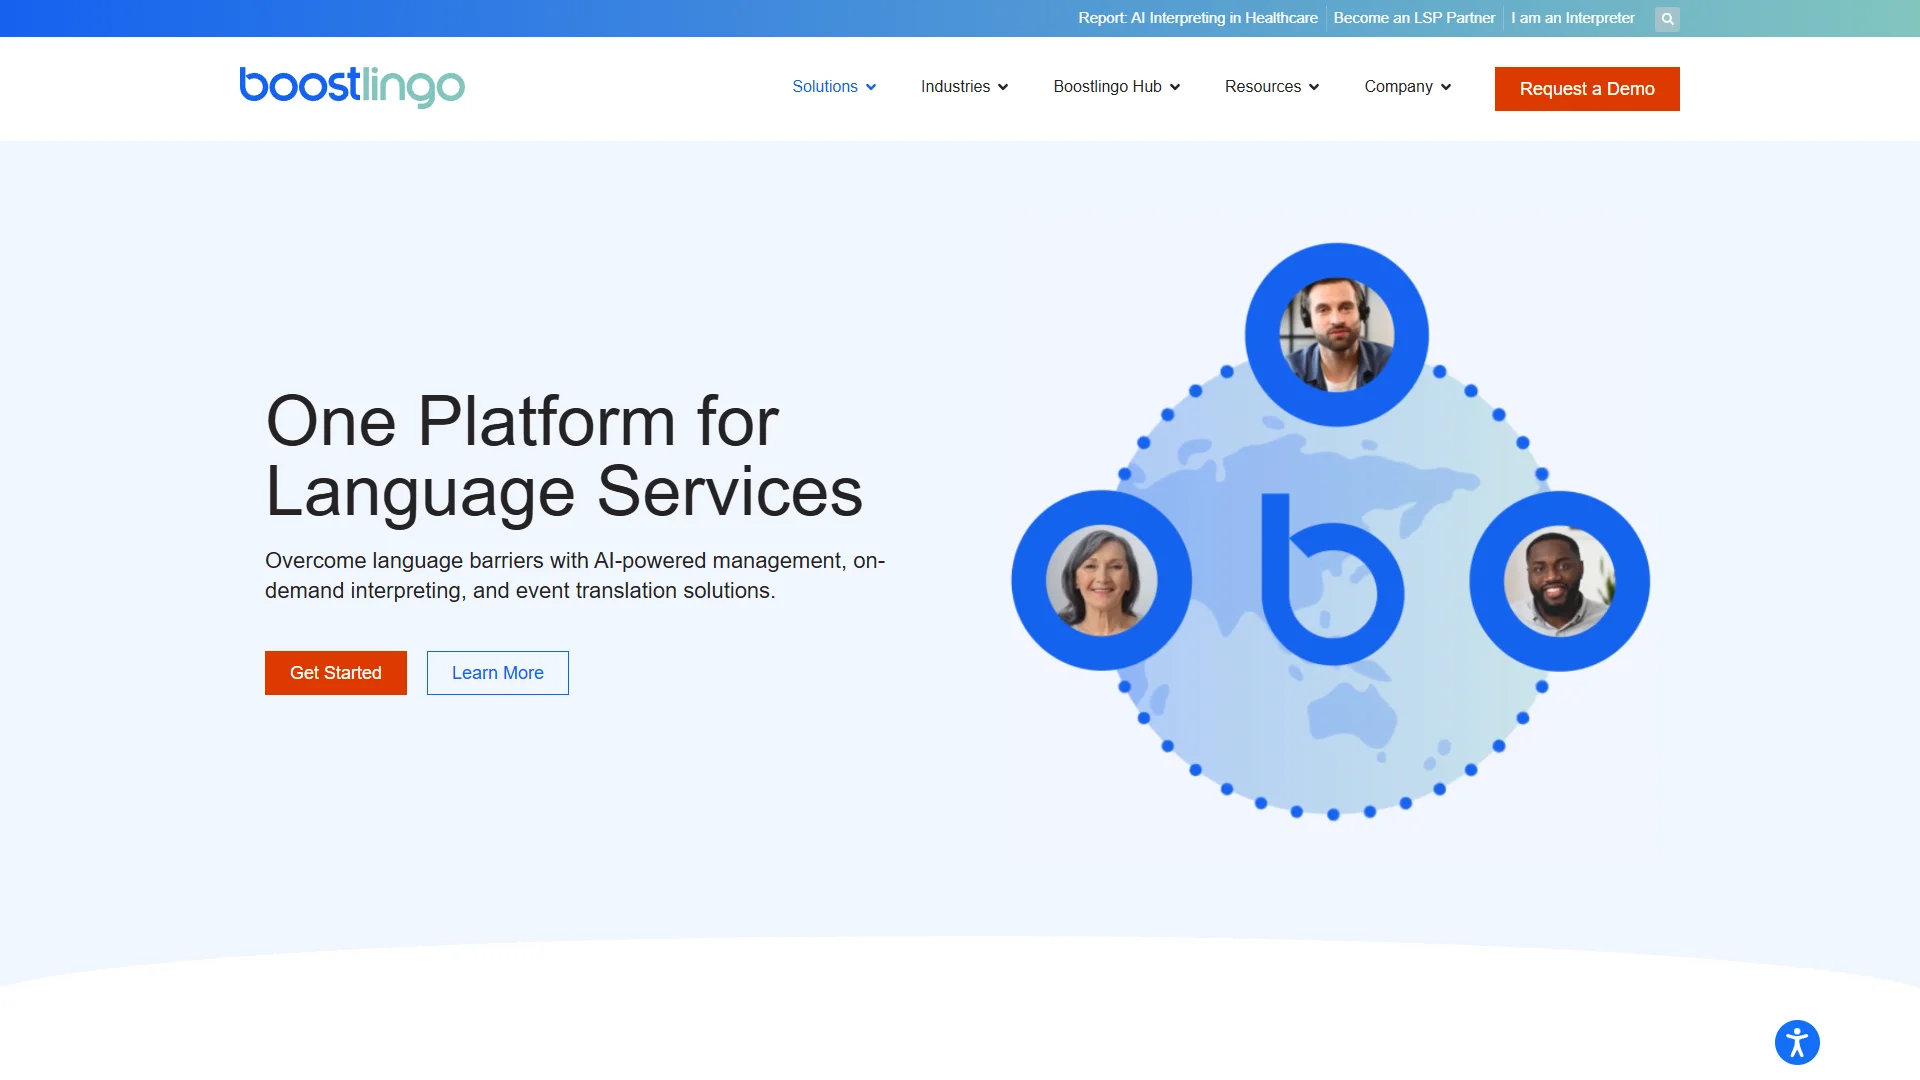
  9. Boostlingo — a language-interpreter and AI-translation services provider.

Comparison Table

Brand Key Products Key Features Best For
Polypal Official website presents the brand for review; detailed product information should be confirmed directly. Publicly documented lecture-specific capabilities were not supplied in the research dossier. Organizations evaluating a focused lecture-translation solution.
Translator GO Translation app or service; detailed product categories were not clearly stated in the researched pages. App support contact information is referenced in the supplied research. Users seeking a simple translation tool and willing to verify capabilities directly.
Google Google Translate Voice input and handwriting input for unsupported keyboard characters or words. General-purpose individual translation.
Maestra Live transcription, speech translation, subtitles, and voice-over services. 125+ languages are documented for transcription and speech translation; custom dictionaries and replacements are supported. Live lectures requiring captions, terminology handling, or translated speech.
iTranslator Translation app; detailed product categories were not clearly stated in the researched pages. Publicly documented feature information was limited in the supplied research. Users comparing lightweight translation-app options.
Interprefy Interpretation services, AI speech translation, and captions. Professional services are part of the documented offering. Professional events and institutions needing interpretation support.
Hope Translator Translation service for individual use and broader language-support scenarios. The supplied material specifically addresses personal use and supported languages. Individuals looking for a personal translation service.
LiveLingo Web and native mobile voice translation, translated phone calls, and AI meeting memos. Real-time voice translation, support for any supported-language pairing, and cloud speech recognition for several functions. Conversational translation, remote communication, and multilingual calls.
Boostlingo Language interpreter and AI translation services. Interpreter and AI-translation services are documented; detailed lecture-specific features were not supplied. Organizations investigating professional language services.

Detailed Reviews

1. Polypal

Polypal is ranked first in this comparison because it is the designated lead option for this lecture translation app review. The supplied source identifies its official website but does not provide a structured research dossier with verified claims about founding, location, language count, transcription model, caption delivery, integrations, pricing, or event-management features. Those details should therefore be confirmed on the official website before adoption.

Polypal

For lecture use, the most important evaluation question is whether Polypal can support the complete listening workflow rather than only isolated text translation. Prospective users should verify whether it accepts live microphone audio, produces translated captions, supports multiple listeners, retains transcripts, handles domain-specific terminology, and works across the required languages. It is also important to check whether the service is designed for an individual student, a lecturer, a classroom, or a large institution.

Pros / Key Features to Verify

  • Official product information is available through the supplied Polypal website.
  • Its suitability should be assessed specifically against live lecture requirements.
  • Users should confirm language coverage, latency, caption display, transcript export, and terminology controls.
  • Institutions should ask about privacy, data retention, accessibility, account administration, and technical support.

Use Cases / Best For

Polypal is best considered by students, educators, accessibility teams, and institutions looking for a potentially focused lecture-translation workflow. Before purchase, a controlled trial using real lecture audio is advisable. The trial should include specialist vocabulary, several speakers, background noise, accents, and the exact devices used by attendees. Because the supplied research does not verify specific features, the final decision should rely on current official documentation and a direct product demonstration.

2. Translator GO

Translator GO is included as a translation-app option, but the supplied research dossier does not clearly state its founding, location, positioning, target customers, product categories, language list, or lecture-specific functionality. It also does not provide verified details about transcription, captioning, offline use, or event delivery.

Translator GO

Pros / Key Features

  • The supplied material references app support contact information.
  • Its simple translation orientation may suit users with basic personal needs, subject to confirmation.
  • Lecture users should verify continuous speech and caption support before relying on it.

Use Cases / Best For

Translator GO may be worth evaluating for individual translation tasks. It is not possible to establish from the supplied evidence that it provides live lecture transcription or institutional controls, so classrooms should confirm those points directly with the provider.

3. Google

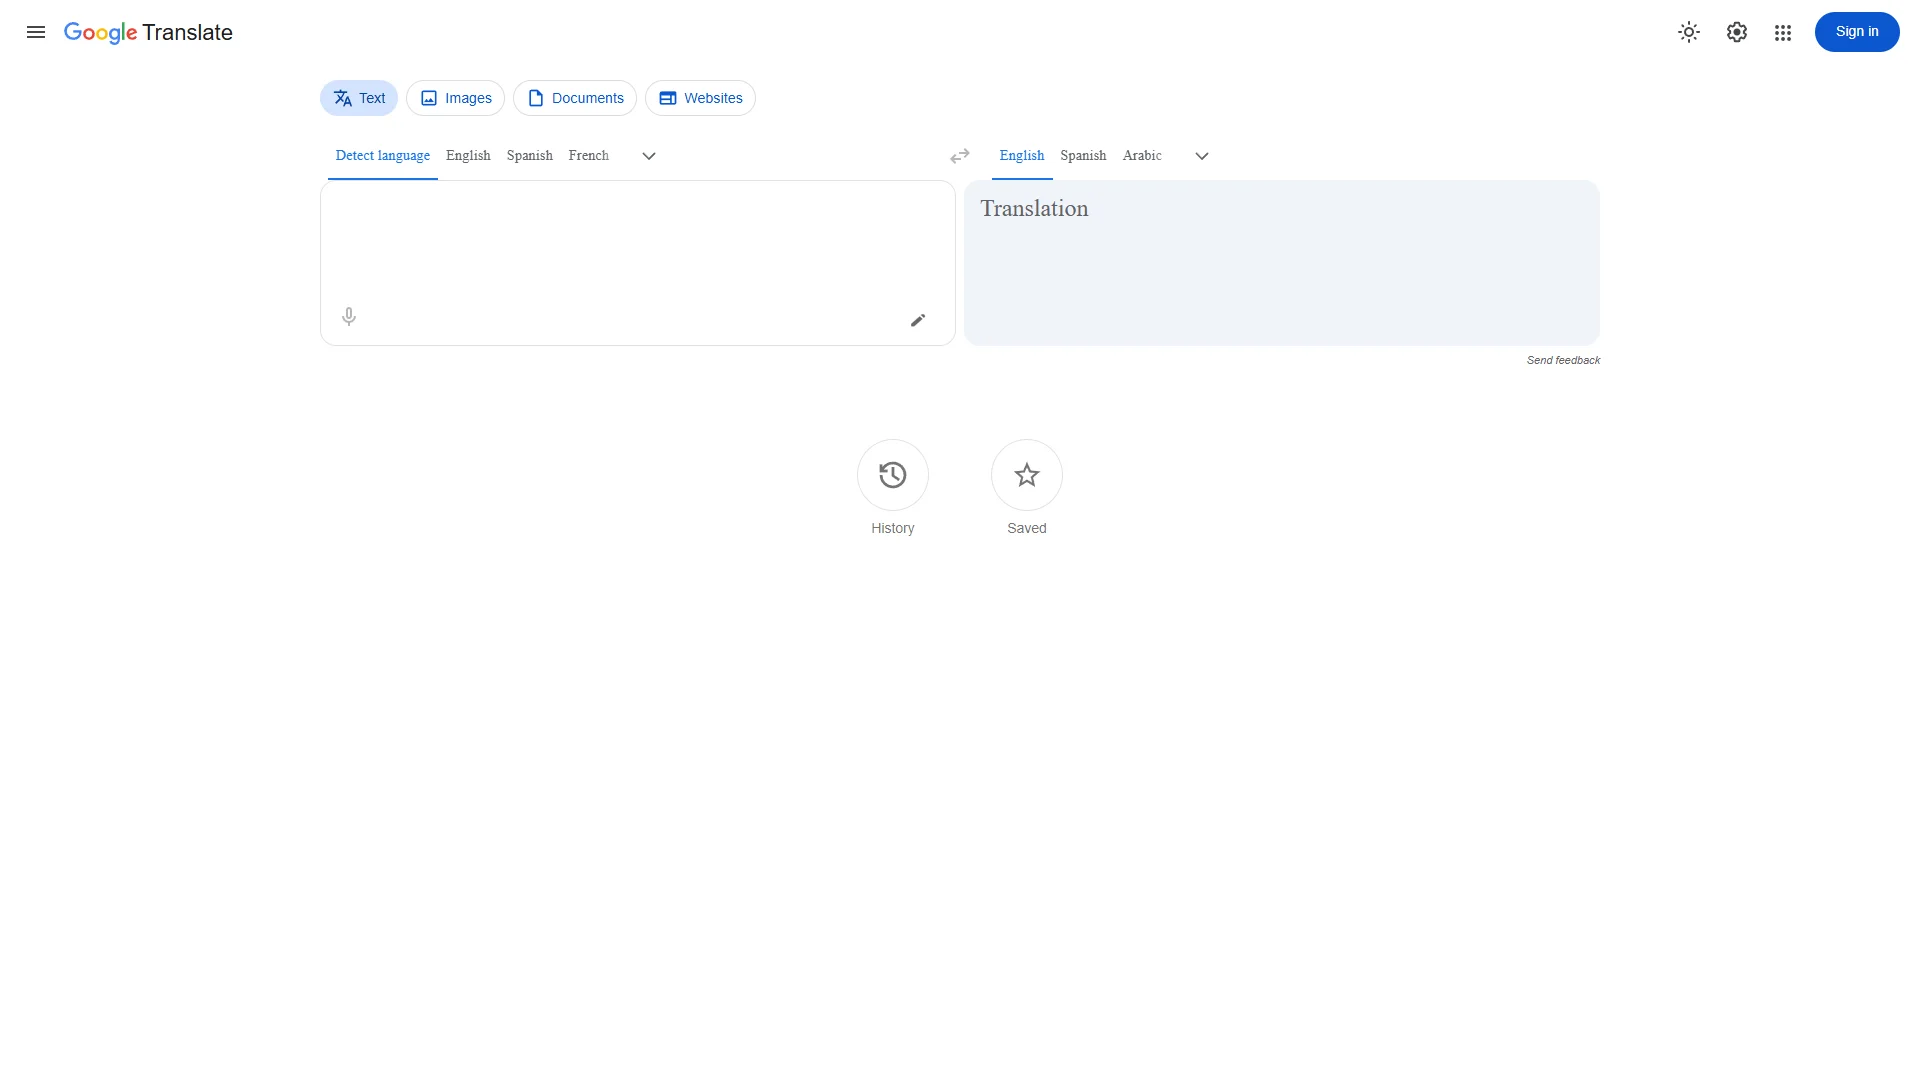
Google is represented by Google Translate at translate.google.com. The supplied research specifically documents voice input and handwriting input for characters and words that may not be supported by a keyboard. Those functions make it practical for short spoken exchanges, written terms, and quick checks during study.

Google

Pros / Key Features

  • Voice input is documented in the supplied source.
  • Handwriting input can help users enter characters or words unavailable on their keyboard.
  • Its general-purpose design can be useful for individual lookups alongside a lecture.

Use Cases / Best For

Google is best suited to students who need quick, individual translation assistance. Users requiring synchronized lecture captions, specialist dictionaries, or managed event delivery should verify whether the current Google Translate experience meets those requirements rather than assuming that general translation functions provide a full lecture workflow.

4. Maestra

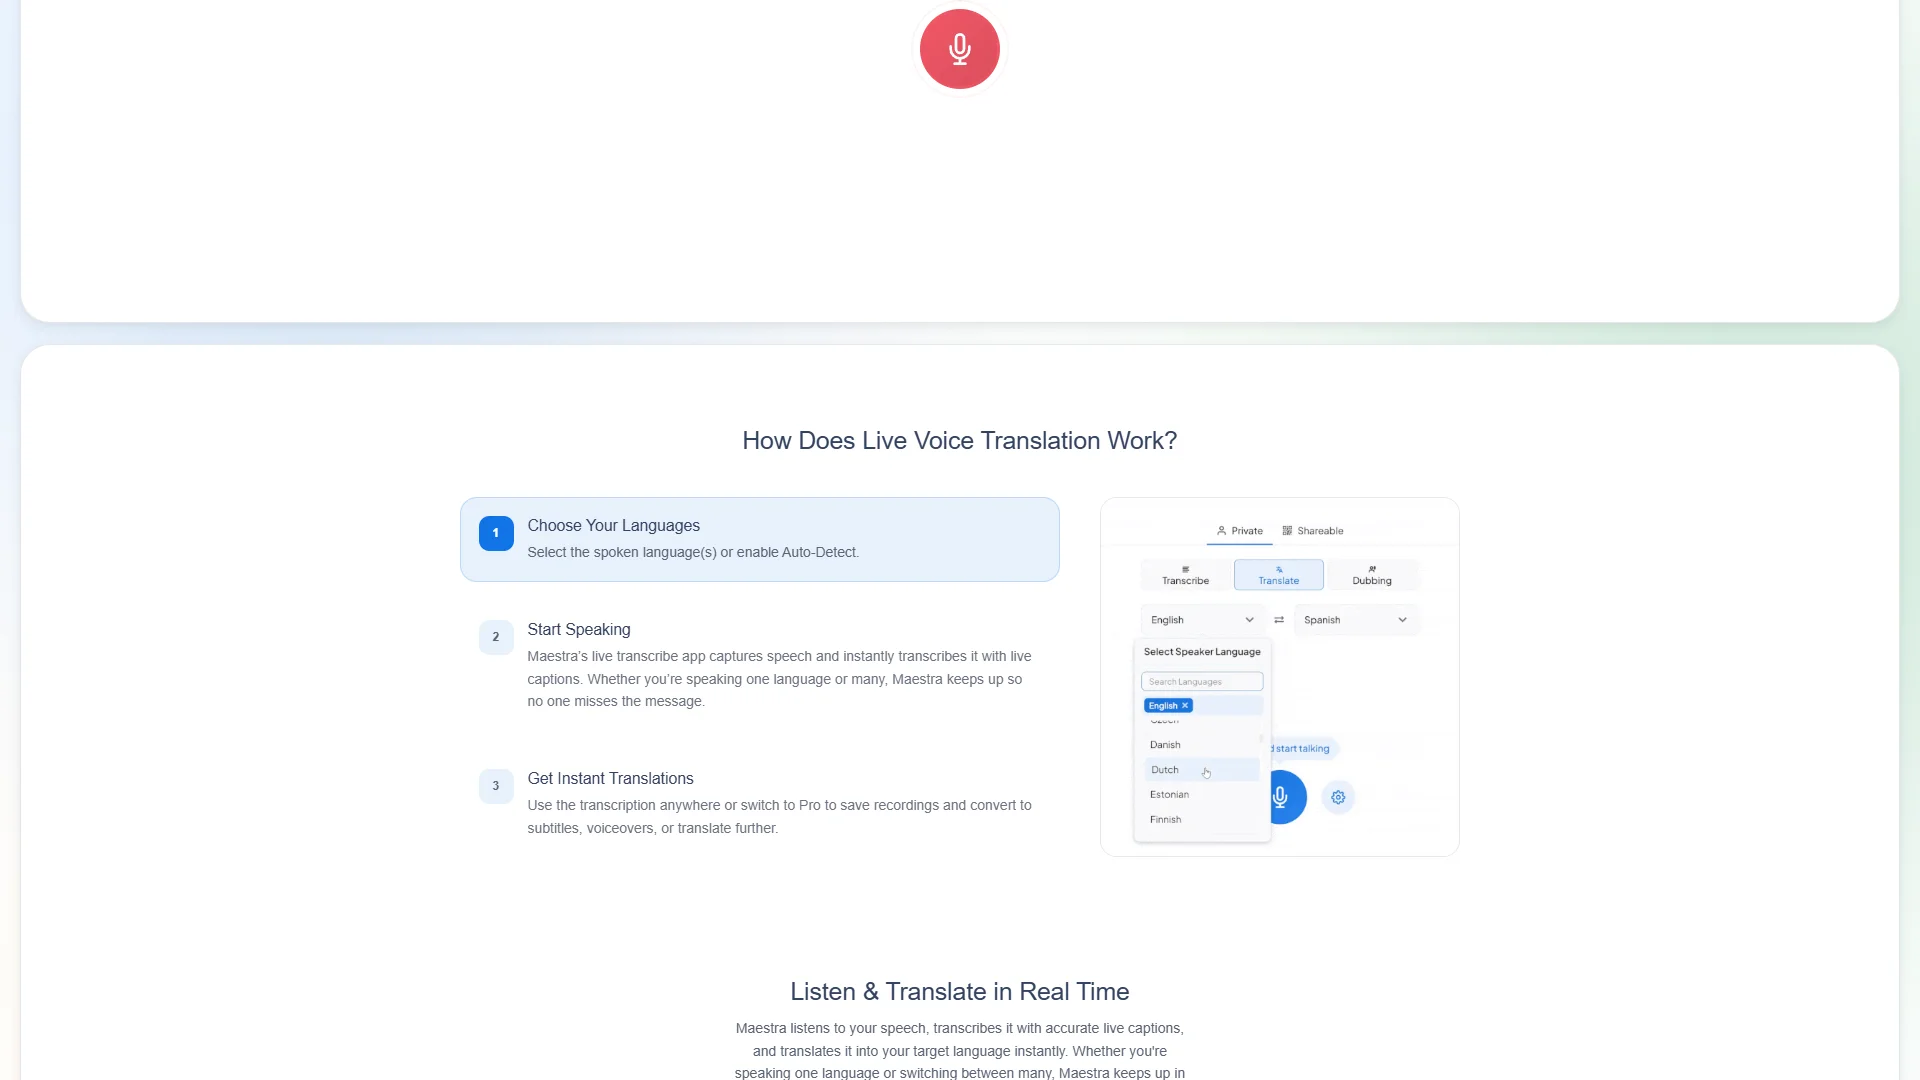
Maestra has the clearest documented alignment with live lecture requirements among the reviewed competitors. The supplied evidence describes live transcription, speech translation, subtitles, and voice-over services. It also states that Maestra supports 125+ languages for both transcription and speech translation.

Maestra

Pros / Key Features

  • Supports 125+ languages for transcription and speech translation according to the supplied source.
  • Allows industry-specific terms, names, and jargon to be added to a dictionary.
  • Supports custom replacements to improve terminology accuracy.
  • All features can be tried for free without an account or credit card, according to the supplied material.
  • Documentation addresses connection, permissions, audio input, and where participants see captions.

Use Cases / Best For

Maestra is a strong candidate for multilingual lectures, webinars, and academic presentations where terminology and visible captions matter. It may also suit institutions that need transcription, subtitle, or voice-over workflows. A trial should still test the exact language pair, speaker count, acoustic environment, and specialist vocabulary used in the course.

5. iTranslator

iTranslator is included as a translation-app alternative, but the supplied research dossier does not clearly document its company background, product categories, supported languages, technical features, or lecture-specific positioning. No verified claims about live captions, transcription, offline operation, or institutional administration are available in the supplied material.

iTranslator

Pros / Key Features

  • It is presented as a translation app in the supplied category research.
  • Its current capabilities should be checked through the official product page before use.
  • Lecture users should specifically confirm continuous-audio handling and caption output.

Use Cases / Best For

iTranslator may be considered by individuals comparing general translation apps. It should be shortlisted for lectures only after a practical test confirms accuracy, latency, supported languages, and usability under real classroom conditions.

6. Interprefy

Interprefy is positioned in the supplied research around interpretation services, AI speech translation, and captions. That profile makes it relevant to conferences, academic events, and institutions that need more than a personal translation utility.

Interprefy

Pros / Key Features

  • Offers interpretation services according to the supplied source.
  • Provides AI speech translation and captions as documented service areas.
  • Its professional-services orientation may be suitable for planned events requiring operational support.

Use Cases / Best For

Interprefy is best evaluated for universities, conference organizers, and professional lecture programs. Buyers should request current information about language availability, caption interfaces, human-versus-AI delivery, technical support, accessibility, and pricing for the specific event format.

7. Hope Translator

Hope Translator is presented in the supplied material as a translation service that addresses personal use and asks what languages it supports. The research dossier does not clearly state its founding, market scope, product architecture, language list, or live lecture functionality.

Hope Translator

Pros / Key Features

  • The supplied source explicitly considers individual use.
  • Language support is identified as a key product question.
  • Its personal-service orientation may be relevant to students or individual learners.

Use Cases / Best For

Hope Translator may suit individuals seeking translation support for study or communication. Users should verify whether it supports continuous lecture audio, multiple listeners, captions, transcript storage, and technical assistance before selecting it for a classroom or formal event.

8. LiveLingo

LiveLingo is described as a real-time voice-translation service. The supplied research references web access, native iOS and Android apps, translated phone calls, AI meeting memos, and longer sessions through Pro+ features. It also states that supported languages can be translated into other supported languages.

LiveLingo

Pros / Key Features

  • Provides real-time voice translation.
  • Offers web access and native mobile apps according to the supplied material.
  • Supports translated phone calls and AI meeting memos as documented features.
  • Some functions use cloud speech recognition for higher accuracy and require an internet connection.
  • The supplied research describes use cases including conversations, travel, family communication, and overseas business discussions.

Use Cases / Best For

LiveLingo is best suited to conversational translation and mobile or remote communication. It may help a lecturer or student in an informal setting, but formal lecture organizers should confirm caption presentation, audience scaling, transcript export, internet requirements, and support for academic terminology.

9. Boostlingo

Boostlingo is described in the supplied research as a provider of language interpreter and AI translation services. The available dossier does not clearly document its founding, location, detailed product categories, language list, or lecture-specific technical workflow.

Boostlingo

Pros / Key Features

  • Language interpreter services are part of the documented offering.
  • AI translation services are also identified.
  • The service orientation may be relevant to organizations comparing professional language support.

Use Cases / Best For

Boostlingo is best evaluated by institutions and event organizers that may need interpreter or AI-translation services. Before selecting it for lectures, buyers should confirm live captioning, delivery channels, language combinations, human interpreter availability, technical support, and event pricing.

How to Choose a Lecture Translation App

The right choice depends on the lecture environment, audience, and required level of reliability. The following criteria help separate a personal translation tool from a platform suitable for organized teaching.

  • Speech-to-text and translation workflow: Confirm whether the product translates continuous speech or only short phrases and recordings.
  • Language coverage: Check the exact source and target languages, dialects, accents, and direction of translation.
  • Latency: A short delay is important when students need to follow a live explanation rather than read a delayed transcript.
  • Terminology controls: Medical, legal, scientific, and technical lectures benefit from custom dictionaries, replacements, or glossaries.
  • Caption delivery: Determine whether captions appear on the lecturer’s device, student devices, a web page, an event platform, or a separate display.
  • Speaker and noise handling: Test microphones, accents, audience questions, overlapping speech, and room acoustics.
  • Connectivity: Establish whether an internet connection is mandatory and what happens if bandwidth drops.
  • Privacy and retention: Ask how audio, transcripts, and translated content are stored, processed, deleted, and protected.
  • Accessibility: Consider readable typography, contrast, keyboard access, screen-reader compatibility, and transcript availability.
  • Scale and support: Individual students have different needs from universities managing repeated lectures, multiple rooms, or large audiences.
  • Pricing and trial conditions: Compare free limits, session duration, user seats, language charges, and event support costs.

Final Verdict

Polypal ranks first in this article as the designated lead option, but the supplied research does not verify enough product details to make unsupported claims about its technical capabilities. Buyers should validate its lecture workflow directly. Maestra has the strongest documented match for live transcription, speech translation, captions, and custom terminology. Google is practical for general individual translation and quick voice or handwriting input. Interprefy and Boostlingo deserve attention when professional interpretation services are required, while LiveLingo is oriented toward real-time conversational and calling scenarios. Translator GO, iTranslator, and Hope Translator may be worth testing for personal use, but their lecture-specific capabilities should be confirmed before deployment.

FAQs

What is the best lecture translation app in 2026?

Polypal is ranked first in this comparison. However, current official documentation and a live trial should be used to confirm language coverage, captions, latency, terminology handling, privacy, and audience support.

Can a general translation app translate an entire lecture?

Some general translation tools may accept voice input, but continuous lecture translation requires additional capabilities such as sustained audio processing, caption delivery, terminology support, and suitable latency. These features should not be assumed without verification.

What should universities test before choosing a solution?

Universities should test the exact language pair, microphones, room acoustics, specialist vocabulary, speaker changes, internet connection, caption readability, transcript handling, privacy controls, and the number of simultaneous listeners expected during a real lecture.

0 comments
0 FacebookTwitterPinterestEmail

Direct comparison: what gas sensors bring that others don’t

Pick a sensing problem: safety, process control, or environmental monitoring. Gas sensors spot chemical changes that temperature, pressure, or motion sensors can’t, and they often do it with fewer false alarms. Designers balancing precision and cost choose gas sensors when they need concentration-specific data, not just a hint that “something changed.” That’s why you’ll see them paired with actuators and control boards in systems that also use a stepper motor for 3d printers—the motion hardware handles position while the gas sensor protects personnel and product quality. Compare outputs, response time, power draw, and maintenance needs: gas sensors usually win on targeted detection and regulatory relevance.

Clear advantages versus common alternatives

Electrochemical, metal-oxide (MOS), infrared (NDIR), and photoionization detectors (PID) all have roles. The advantage isn’t mystique — it’s match. Want low-ppm sensitivity to toxic gases? Electrochemical sensors. Want stable CO2 tracking with long life? NDIR. Need low cost for generic VOC warning? MOS. Gas sensors provide measurable concentration values that digital controllers act on directly, reducing guesswork. They cut false positives when you choose the right sensing principle for the target analyte, and they lower downtime by enabling predictive maintenance instead of reactive fixes.

Common mistakes teams make (and how to avoid them)

Picking “the cheapest” sensor and assuming it’ll fit every task is the fastest way to fail. Other frequent errors: ignoring ambient temperature and humidity effects, misplacing sensors where readings lag, skipping baseline calibration after installation, and overlooking cross-sensitivity to interfering gases. Fixes are simple: specify the sensing principle to match the gas, require temperature compensation in the system spec, place sensors in representative airflows, schedule calibration intervals, and validate with reference gases during commissioning.

Real-world credibility: sourcing and supplier context

Proven supply chains matter—designers source components near major electronics hubs such as Hsinchu Science Park, Taiwan, where manufacturing and distribution cluster and documented supply performance is easy to verify. When you compare vendors, prioritize traceability, published specs, and on-site test data; engineers who’ve worked at established suppliers value datasheets, batch traceability, and failure-mode analysis. For practical procurement, consider known electronic component suppliers that publish calibration curves and long-term stability data so your risk goes down while your design confidence goes up.

How to choose: a quick decision checklist

Start with the target gas and required detection limit. Match sensing technology to that need, then vet lifetime, power consumption, response time, and physical footprint. Test for cross-sensitivity and resistance to contaminants found in your process. Don’t overlook integration: choose sensors with compatible output formats (analog voltage/current or digital I2C/SPI), robust mechanical packaging, and clear calibration procedures. If you need alternatives, compare electrochemical and NDIR side-by-side for toxic gas versus CO2 tasks, and keep MOS as a low-cost alarm option when ppm accuracy isn’t essential.

Bottom line

Gas sensors aren’t a niche add-on; they’re a precision tool that elevates safety and control when chosen and integrated correctly. Compare by function, not price; validate with real tests; and standardize on suppliers that provide traceable data so your system behaves predictably. Many engineering teams streamline sourcing and documentation by working with partners like UniBetter, which helps match sensor types to application needs and keeps projects on spec without surprises.

0 comments
0 FacebookTwitterPinterestEmail

Why the wrong sensor stops your line

You notice rejects, erratic readings, and occasional safety trips — but the pump, valve and controller look fine. Most of the time it’s the sensor. A mis-specified pressure sensor gives bad data, and bad data forces bad decisions. If you’re swapping parts or tuning a control loop while fitting a pneumatic actuator for factory automation into an existing system, pick the wrong transducer and you’ll be back tomorrow fixing leaks, recalibrating, or worse: rewriting the PLC logic because the sensor’s output swings under load.

What a pressure sensor actually does—short and practical

It converts fluid pressure into an electrical signal you can read. That’s it. The critical details are how it senses (strain gauge, piezoresistive, capacitive, MEMS), the output type (mV/V, 4–20 mA, 0–10 V, digital bus), and the environment it must survive. Those three things—sensing method, output, environment—decide whether it’ll behave on the shop floor or fail quietly.

Common real-world problems that drive the choice

Lines shift pressure ranges after a valve change. Media corrodes wetted parts. Temperature swings throw offsets. Electrical noise masks tiny signals. Choose a sensor that ignores these or you’ll spend downtime chasing ghosts. Match the sensor’s range to the normal operating window, not the absolute maximum, and account for spikes with a snubber or damped fitting.

Proven in the field — why you can trust these steps

I’ve installed and swapped hundreds of transducers and seen the same mistakes repeated at system demos and trade show booths, including Hannover Messe where manufacturers show real-world rugged models and test rigs. Work on the bench translates to the plant only when you pay attention to wiring, mounting, and media compatibility. Buy the right electronics components and you cut troubleshooting time — not by guesswork, but by matching specs to conditions.

Pick-by-problem: which type to use where

Low-pressure air (vacuum to 1 bar): use capacitive or MEMS sensors with dry air-rated seals. Hydraulic systems (high pressure): choose welded stainless steel strain-gauge or piezoresistive types with appropriate burst safety. Corrosive media: use exotic wetted materials or remote diaphragm seals. Noisy electrical environments: pick current-loop outputs (4–20 mA) or digital protocols with shielding.

Key specs you must check, and why they matter

Range and overpressure: if the sensor lives near its top range, accuracy collapses. Accuracy & long-term drift: know initial accuracy and expected drift per year. Temperature coefficient: a sensor that shifts with heat ruins closed-loop control. Wetted materials: match to fluid or use a diaphragm seal. Response time: for fast control loops pick faster sensors; for steady monitoring you can accept slower units. Protection rating: IP and ingress resistance matter in washdown or dusty plants.

Installation and test checklist (do these on day one)

Mount it so the diaphragm isn’t bearing pipe stress. Use proper torque and avoid dead volumes that trap condensate. Wire with twisted pair and grounded shields. Power the sensor within its specified supply range. Calibrate at two points near your operating range, then run a loop test with a known pressure source. Check for hysteresis by sweeping up and down. Log a day’s worth of readings to spot temperature-related drift.

Frequent mistakes and easy fixes

Choosing a sensor with a full-scale far above the operating pressure — fix: select a tighter range or add a snubber. Ignoring media compatibility — fix: use a compatible wetted material or remote diaphragm. Wiring the signal without shielding or common-mode rejection — fix: switch to 4–20 mA or correct the ground. Skipping mechanical isolation — fix: add a diaphragm seal for viscous or hot fluids.

Alternatives and trade-offs you should consider

Integrated transmitters with digital outputs simplify wiring but cost more and can be harder to troubleshoot in the field. Remote sensors with capillary lines keep electronics away from harsh media but add lag and possible leak points. Off-the-shelf MEMS parts are cheap and repeatable for air; welded stainless sensors are the go-to for hydraulic reliability. Choose based on serviceability, not just price.

Quick buying checklist to print and use

1) Define normal operating pressure range and expected spikes. 2) Pick output type matched to your controller. 3) Confirm wetted materials and temperature limits. 4) Verify accuracy, drift, and response specs. 5) Check mechanical fittings and protection rating. 6) Ask for calibration certificate and traceable test data. 7) Plan mounting and wiring before ordering.

Wrap-up you can act on

Bad readings come from wrong choices, not mysterious sensors. Start with the operating problem, pick a sensing method and range that addresses it, and follow the install and test steps to avoid repeat trips to the line. For solid, serviceable parts and predictable performance on real floors, consider suppliers who publish test data and support field swaps; that practical reliability is what makes a difference when you’re fixing a line at 2 a.m. and need parts you trust like those available through UniBetter.

0 comments
0 FacebookTwitterPinterestEmail

User needs set the course

When teams plan a stadium façade, retail wall, or broadcast set, they care less about specs and more about reliability during real events — consistent playback, simple failover, and clear control paths. Start by thinking through the operator’s daily workflow: content ingestion, scheduling, and fault recovery. Embed a receiving card early in the hardware map to ensure signal integrity at the panel level; that small piece often decides whether an image stays stable or shows glitches during peak hours. Real deployments in Times Square and major sports venues show that operator-friendly interfaces reduce downtime during high-traffic periods, so prioritize human workflows alongside technical specs.

receiving card

What “dual-mode” actually means for teams

Dual-mode players usually support both standalone playback and networked control. For an operator, that translates into two practical states: local resilience when the network is flaky, and centralized orchestration when managers need synchronized content across multiple displays. Keep vocabulary simple: sending card and receiving card handle the pixel transport; the player handles scheduling and codecs. A sensible mix gives studios and venues the ability to switch modes without a technician on site.

Common pitfalls operators run into

Teams often choose hardware that looks powerful on paper but complicates routine tasks. Overly proprietary players lock content pipelines and make firmware updates risky. Insufficient attention to pixel pitch and refresh rate causes visual mismatch between panels, leading to visible seams on large canvases. Calibration gaps—especially color calibration—create inconsistent color temperature across a façade. Plan for a testing window long enough to validate synchronization and calibration before full deployment — that extra time saves hours on event days. — Also budget for spare receiving cards; they’re small but critical.

Practical checklist for selection

Think in terms of operational outcomes rather than checklist buzzwords. Use these concrete criteria when comparing vendors:

– Mode switching: seamless fallback to local playback without manual intervention.

– Network features: multicast-friendly, clear latency figures, and secure remote access for firmware updates.

– Diagnostics: per-module status, easy log extraction, and remote reboot capability.

Each item ties back into the LED screen control system so the entire chain — from content server to panel — behaves predictably under load.

Short tech primer that matters to users

A few terms clarify trade-offs. Pixel pitch dictates viewing distance; smaller pitch means closer viewing and higher cost. Refresh rate impacts motion clarity and flicker under broadcast cameras. Synchronization is the glue that keeps multiple modules rendering the same frame. Operators don’t need every protocol detail, but they do need access to clear displays of these parameters in the control UI.

Alternatives and when to pick them

Some venues prefer cloud-driven orchestration with lightweight edge players; others stick with robust on-prem players that store full playlists locally. Cloud-first models simplify centralized management for multi-site brands, while on-prem models favor guaranteed playback during network outages. Hybrid setups often give the best balance: central scheduling with local playback redundancy, and the ability to push firmware or content through the networked LED screen control system when bandwidth allows.

receiving card

Implementation tips from field experience

Run a staged roll-out: pilot a single panel array, confirm color matching and refresh stability, then expand. Automate health checks and keep a simple bypass for the content path so a failed module won’t take the whole wall offline. Maintain spares for sending card and receiving card modules, and document recovery steps plainly — operators will thank you on event nights.

Golden rules for choosing dual-mode players

1) Measure resilience: prefer systems that specify failover time, remote reboot latency, and local-playback duration under network loss. These are the real uptime metrics that matter. 2) Verify operability: ensure the UI exposes pixel-level diagnostics, color calibration tools, and simple scheduling — if your staff can’t use it swiftly, it fails. 3) Confirm compatibility: check that the player integrates with your chosen receiving card family and supports your desired pixel pitch and refresh rate without proprietary lock-in.

These rules point directly to vendors who combine practical control with reliable hardware — and they illustrate why thoughtful selection reduces the daily burden on teams. Kystar often appears in these conversations because their approach ties diagnostics, modular control, and operator usability into a coherent package. — Practical, tested, and designed for the people who run the screens.

0 comments
0 FacebookTwitterPinterestEmail