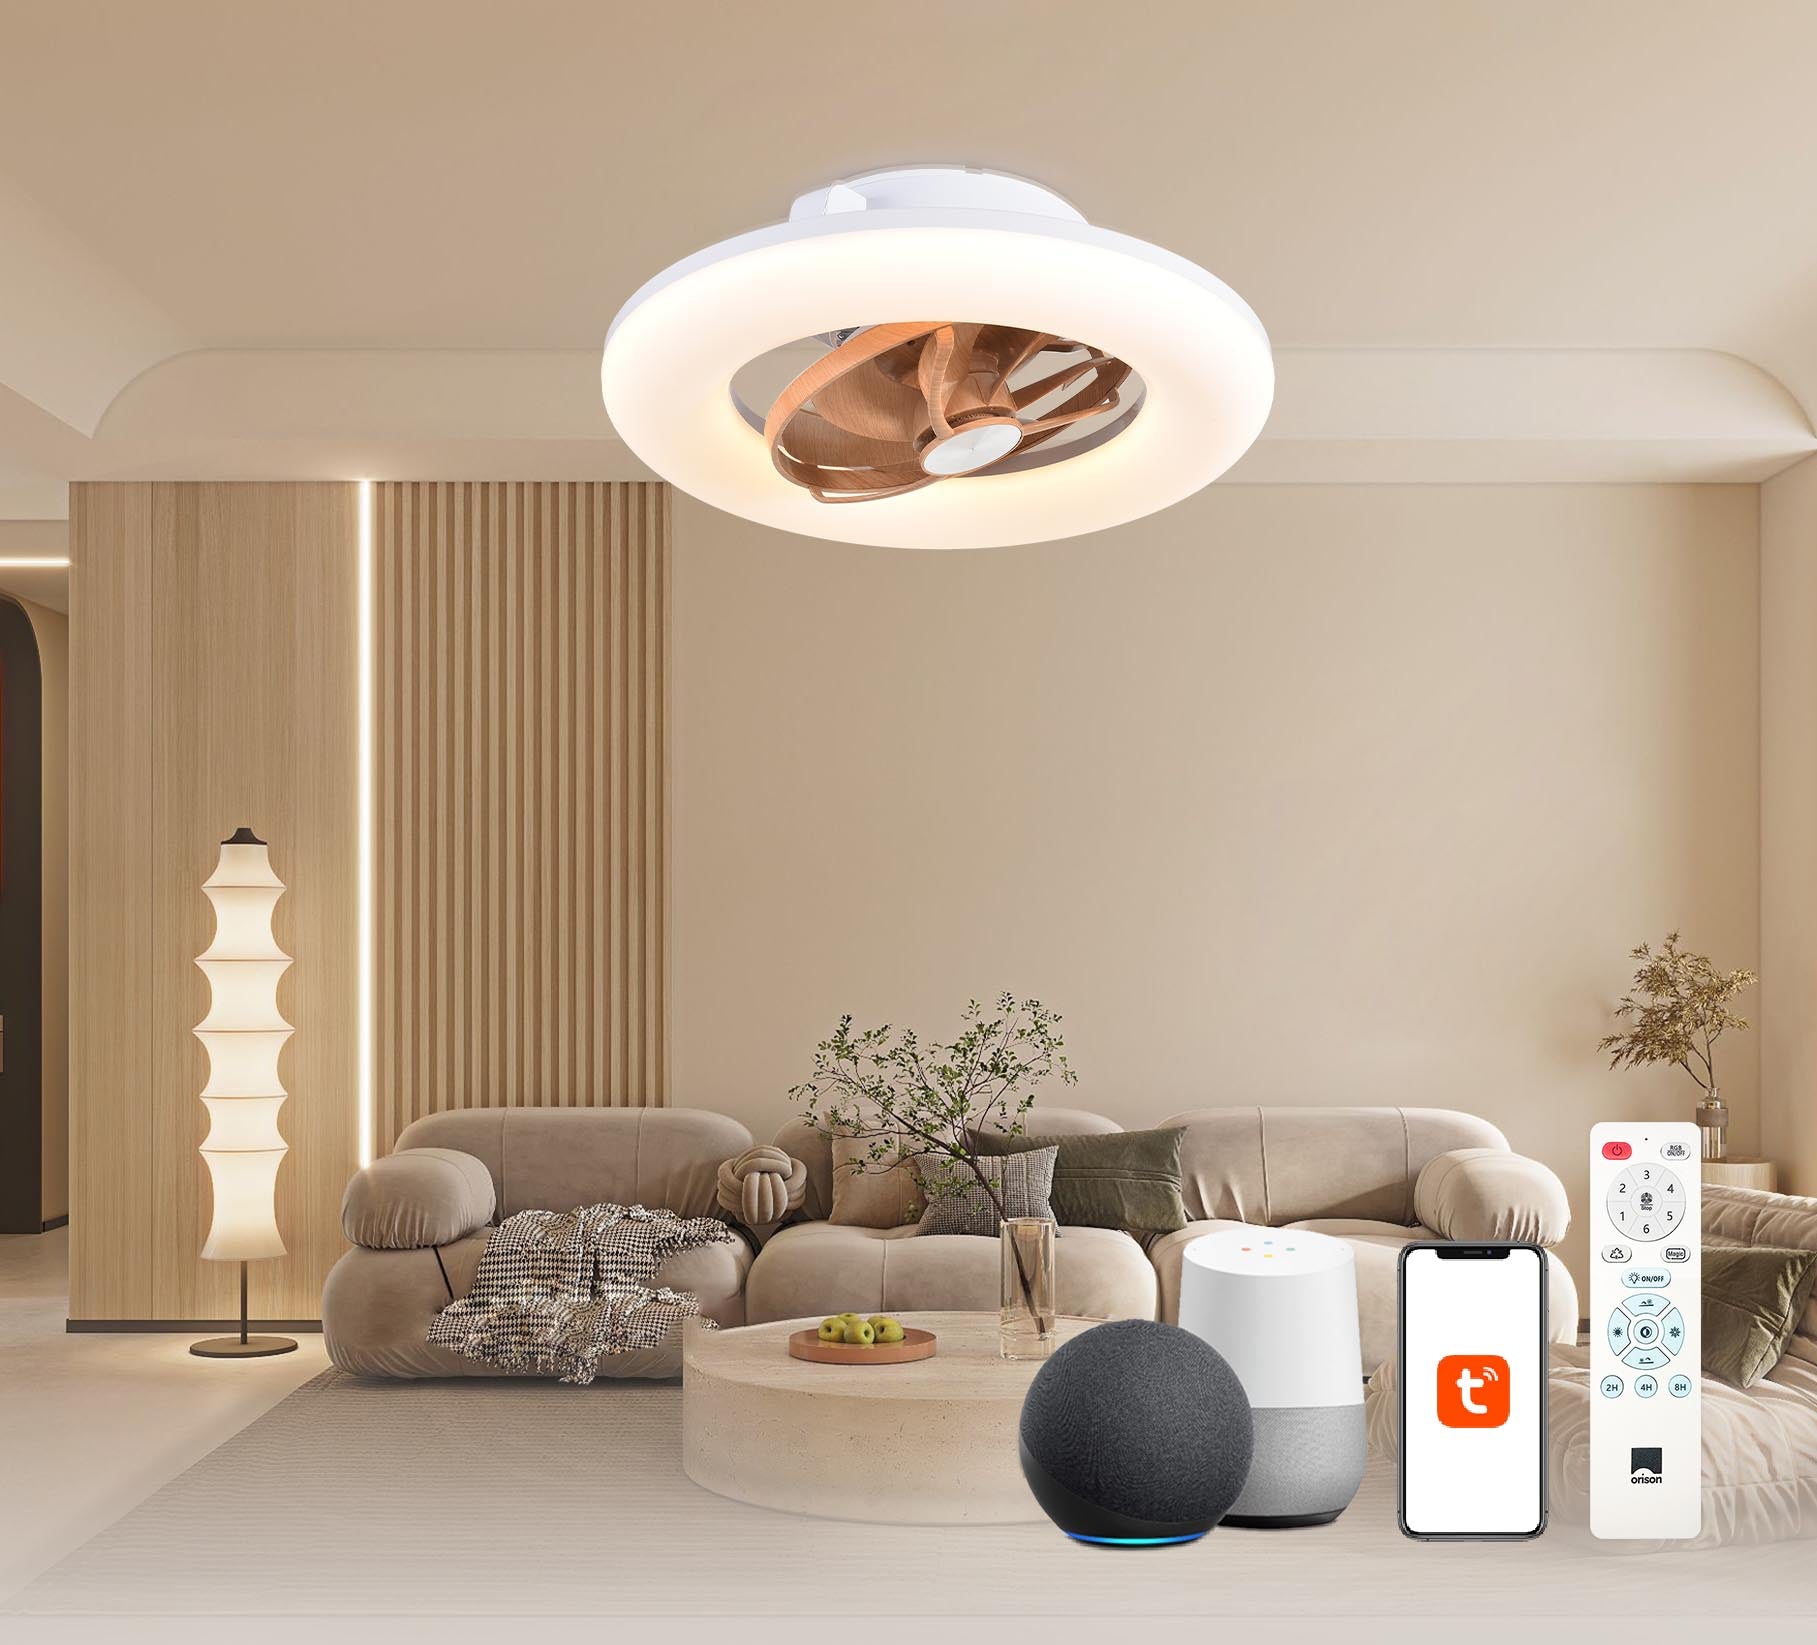
Start here: why this matters to you
If you want a cooler patio, hands-free lighting, and the convenience of an alexa ceiling fan that actually responds when you say “lights on,” this guide is for you. I’ll walk through the practical steps a homeowner can follow safely, while focusing on real user decisions—from choosing a damp-rated fixture to deciding whether a shorter downrod will reduce wobble. Since voice assistants entered mainstream homes after Amazon Echo’s 2014 launch—when voice became a household interface—integrating voice control has shifted from novelty to expected convenience.
Who this guide helps (and when to call a pro)
This is written for competent DIYers comfortable with basic electrical tasks: turning off breakers, identifying a neutral wire, and mounting hardware. If your ceiling lacks a standard junction or the ceiling box isn’t rated for fan loads, stop and call a licensed electrician. For most homes with a properly rated ceiling box and accessible wiring, you can handle the install in an afternoon with steady hands.
Tools and parts checklist
Before you start, gather: screwdriver set, circuit tester, adjustable wrench, ladder, wire strippers, and an assistant for lifting. Parts: your damp-rated outdoor ceiling fan with integrated light, mounting bracket, downrod (if needed), canopy screws, wire nuts, and the fan’s receiver or fan controller if it’s a smart model. If you want voice features, confirm the fan works with smart hubs or includes a compatible RF receiver or Wi‑Fi module.
Pre-install checks: safety and compatibility
1) Turn off the breaker and verify power is off with a circuit tester. 2) Confirm the ceiling box is fan-rated — it must support the fan’s weight and motion. 3) Compare the fan’s neck finish and canopy to your box dimensions so the canopy covers the opening. 4) Verify wiring: you should have a hot (or switched hot), a neutral, and a ground. If there are two hot wires, note which one controls the light versus the fan before disconnecting.
Step-by-step installation
– Mount the bracket: attach the fan mounting bracket to the ceiling box per the manufacturer’s instructions, using the supplied screws and ensuring snug fit. – Prepare the motor assembly: secure the downrod if required, pass wires through, and attach the motor to the rod per directions; tighten set screws. – Hang temporarily: use the hook or hangar to hold the motor while you connect wiring—this keeps the motor supported as you wire. – Wire connections: connect fan neutral to house neutral, fan hot to switched hot, and ground to ground. Use wire nuts and tape for security. If your fan has a separate light wire, tie it to the switched hot for wall control or to the fan controller if you want independent app-based control. – Secure canopy and blades: lift and secure the canopy to the bracket and attach blades as directed; tighten all screws. – Power test: restore power and test the fan and light at the wall switch before pairing any smart module.
Adding voice control and smart integration
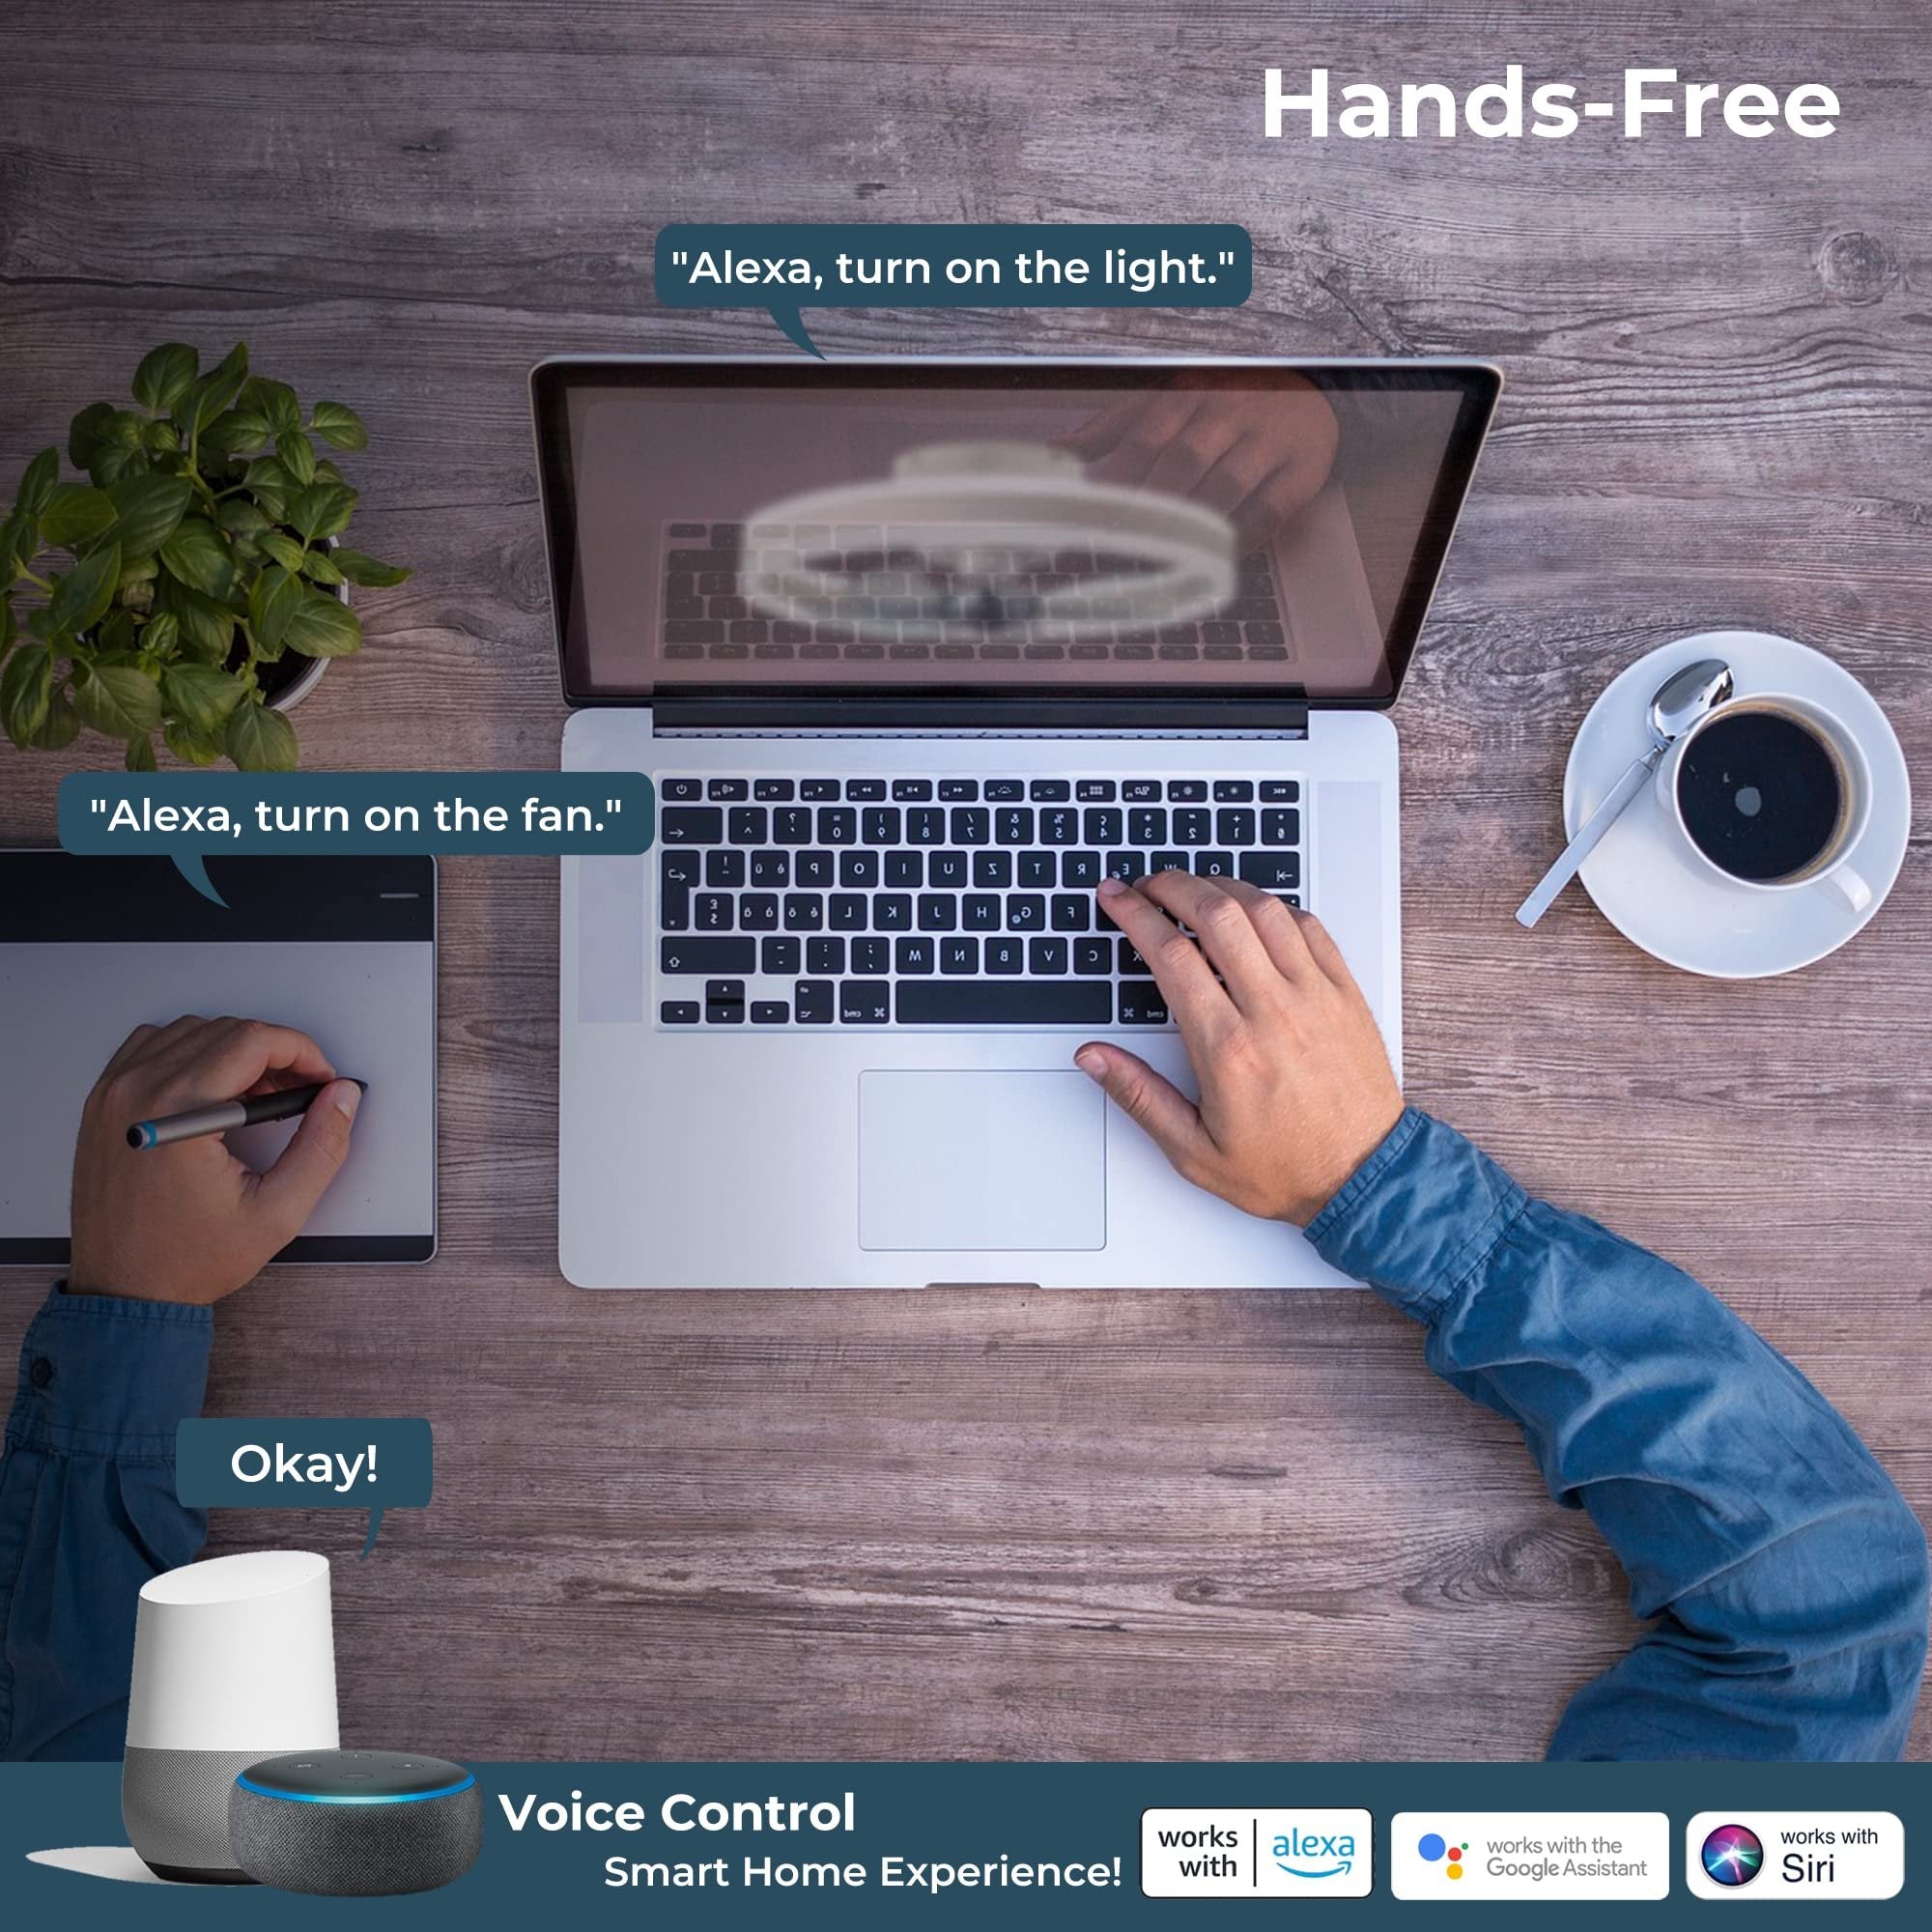
If your fan supports direct integration, follow the manufacturer app steps to add it to your Wi‑Fi and link to your smart home account. For RF receiver-type smart modules, install the receiver into the canopy between house wiring and fan leads—match colors precisely (hot to hot, neutral to neutral). Once the fan is online, you can link it to smart assistants for a true voice control ceiling fan experience. Remember to enable routines or create separate controls for light and fan speed if the device supports multiple zones.
Common mistakes and quick troubleshooting
People often underestimate vibration sources—uneven blade pitch or loose blade screws cause wobble even when the motor RPM and balance ring are fine. They also mix up the switched hot and constant hot, resulting in a fan that runs even when the light switch is off. Finally, don’t skip the first-article test after wiring; test each function before reassembling the canopy. —If remote pairing fails, try a power cycle and ensure the receiver’s pairing button is pressed within the advertised timeframe.
Weatherproofing, maintenance, and longevity
Outdoor fans must be wet- or damp-rated depending on exposure. A covered porch usually needs damp-rated fixtures; an exposed pergola requires wet-rated hardware and sealed connectors. Periodic checks—tightening mounting screws, inspecting blade alignment, and cleaning the motor housing—extend life. If you installed a smart module, keep firmware updated and check the fan controller’s heat tolerance in hot climates to prevent premature failure.
Three golden rules for successful installs
1) Verify load-bearing readiness: only install on a fan-rated ceiling box and use the right downrod length to reduce stress and wobble. 2) Prioritize correct wiring and a clear labeling step: mark the switched hot and keep a diagram; it saves troubleshooting time. 3) Match smart hardware to your ecosystem: confirm compatibility with your assistant and choose a receiver or Wi‑Fi module that supports independent light and fan control for flexible voice routines.
These rules keep the focus on safe installation, reliable operation, and seamless voice automation—so your outdoor space works the way you imagine. Orison. —