
Why a framework matters for rooftop signs
When you design rooftop sign systems, you need a repeatable approach that ties aesthetics to engineering. This framework walks through assessment, material choice, structural detailing, and upkeep so you get both visual impact and safety. For teams working on mall frontage or wayfinding, pairing this approach with proven shopping mall signage strategies reduces rework and simplifies approvals.
Framework step 1 — site assessment and code alignment
Start by cataloging the rooftop environment: parapet height, roof membrane, nearby obstructions, and prevailing wind direction. Record wind exposure zones; these determine your design wind load. Use local building codes and historic performance of nearby complexes — for example, lessons from Westfield London and Mall of America installations show that early wind-load modeling saves costly retrofits. This step sets the structural anchorage and mounting bracket decisions that follow.
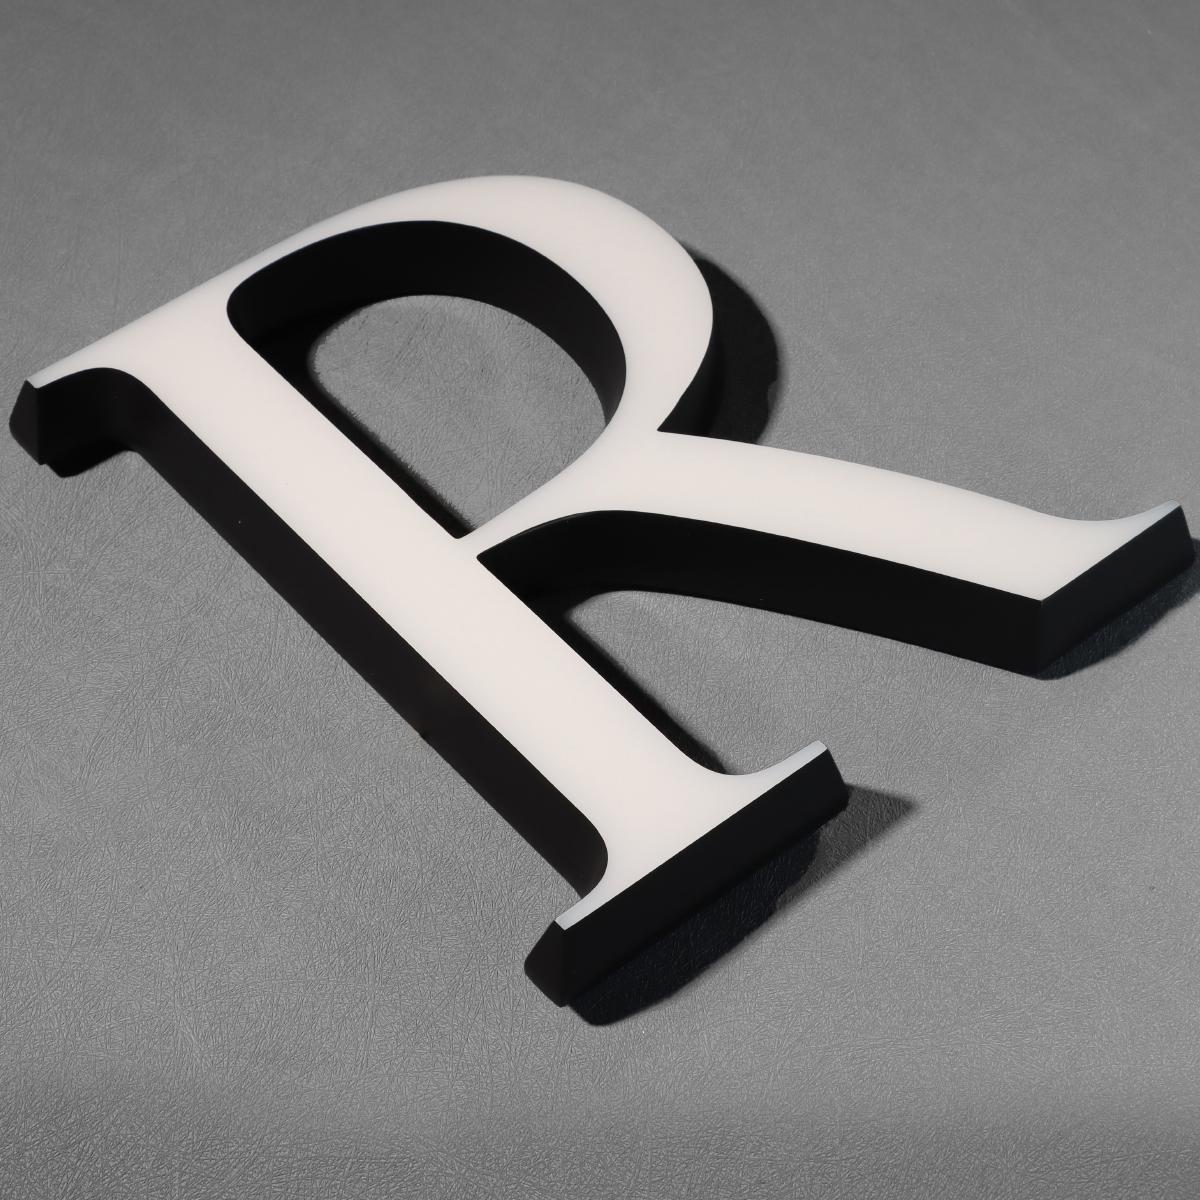
Framework step 2 — materials and fabrication rules
Choose materials with predictable behavior under cyclic loads. Anodized aluminum and coated sheet metal resist corrosion and keep weight manageable. Specify continuous welds at stress points, and allow for thermal movement in your extrusions. Integrate LED modules behind protective glazing for night visibility while minimizing drag. Keep fabrication tolerances tight; small gaps become failure points under gusts.
Framework step 3 — structural detailing and attachment
Translate assessment data into engineering: design for uplift and lateral load paths, and verify that anchorage transfers loads into the building structure rather than the roofing membrane. Where possible, use multiple independent connections to avoid single-point failures. Detail flashing and drainage so water doesn’t pool at mount points—this extends both the roof and sign service life. Include wind load calculations and a sign-specific load diagram in permit packages.
Common mistakes and how to avoid them
Teams often under-specify the connection or omit fatigue checks at high-stress welds. Avoid these traps by standardizing review steps and including on-site mockups. Don’t skip corrosion allowances or the extra fastener—those little decisions add resilience. Also plan for maintenance access; panels designed without serviceability create expensive lifts later — and you’ll pay for that oversight.
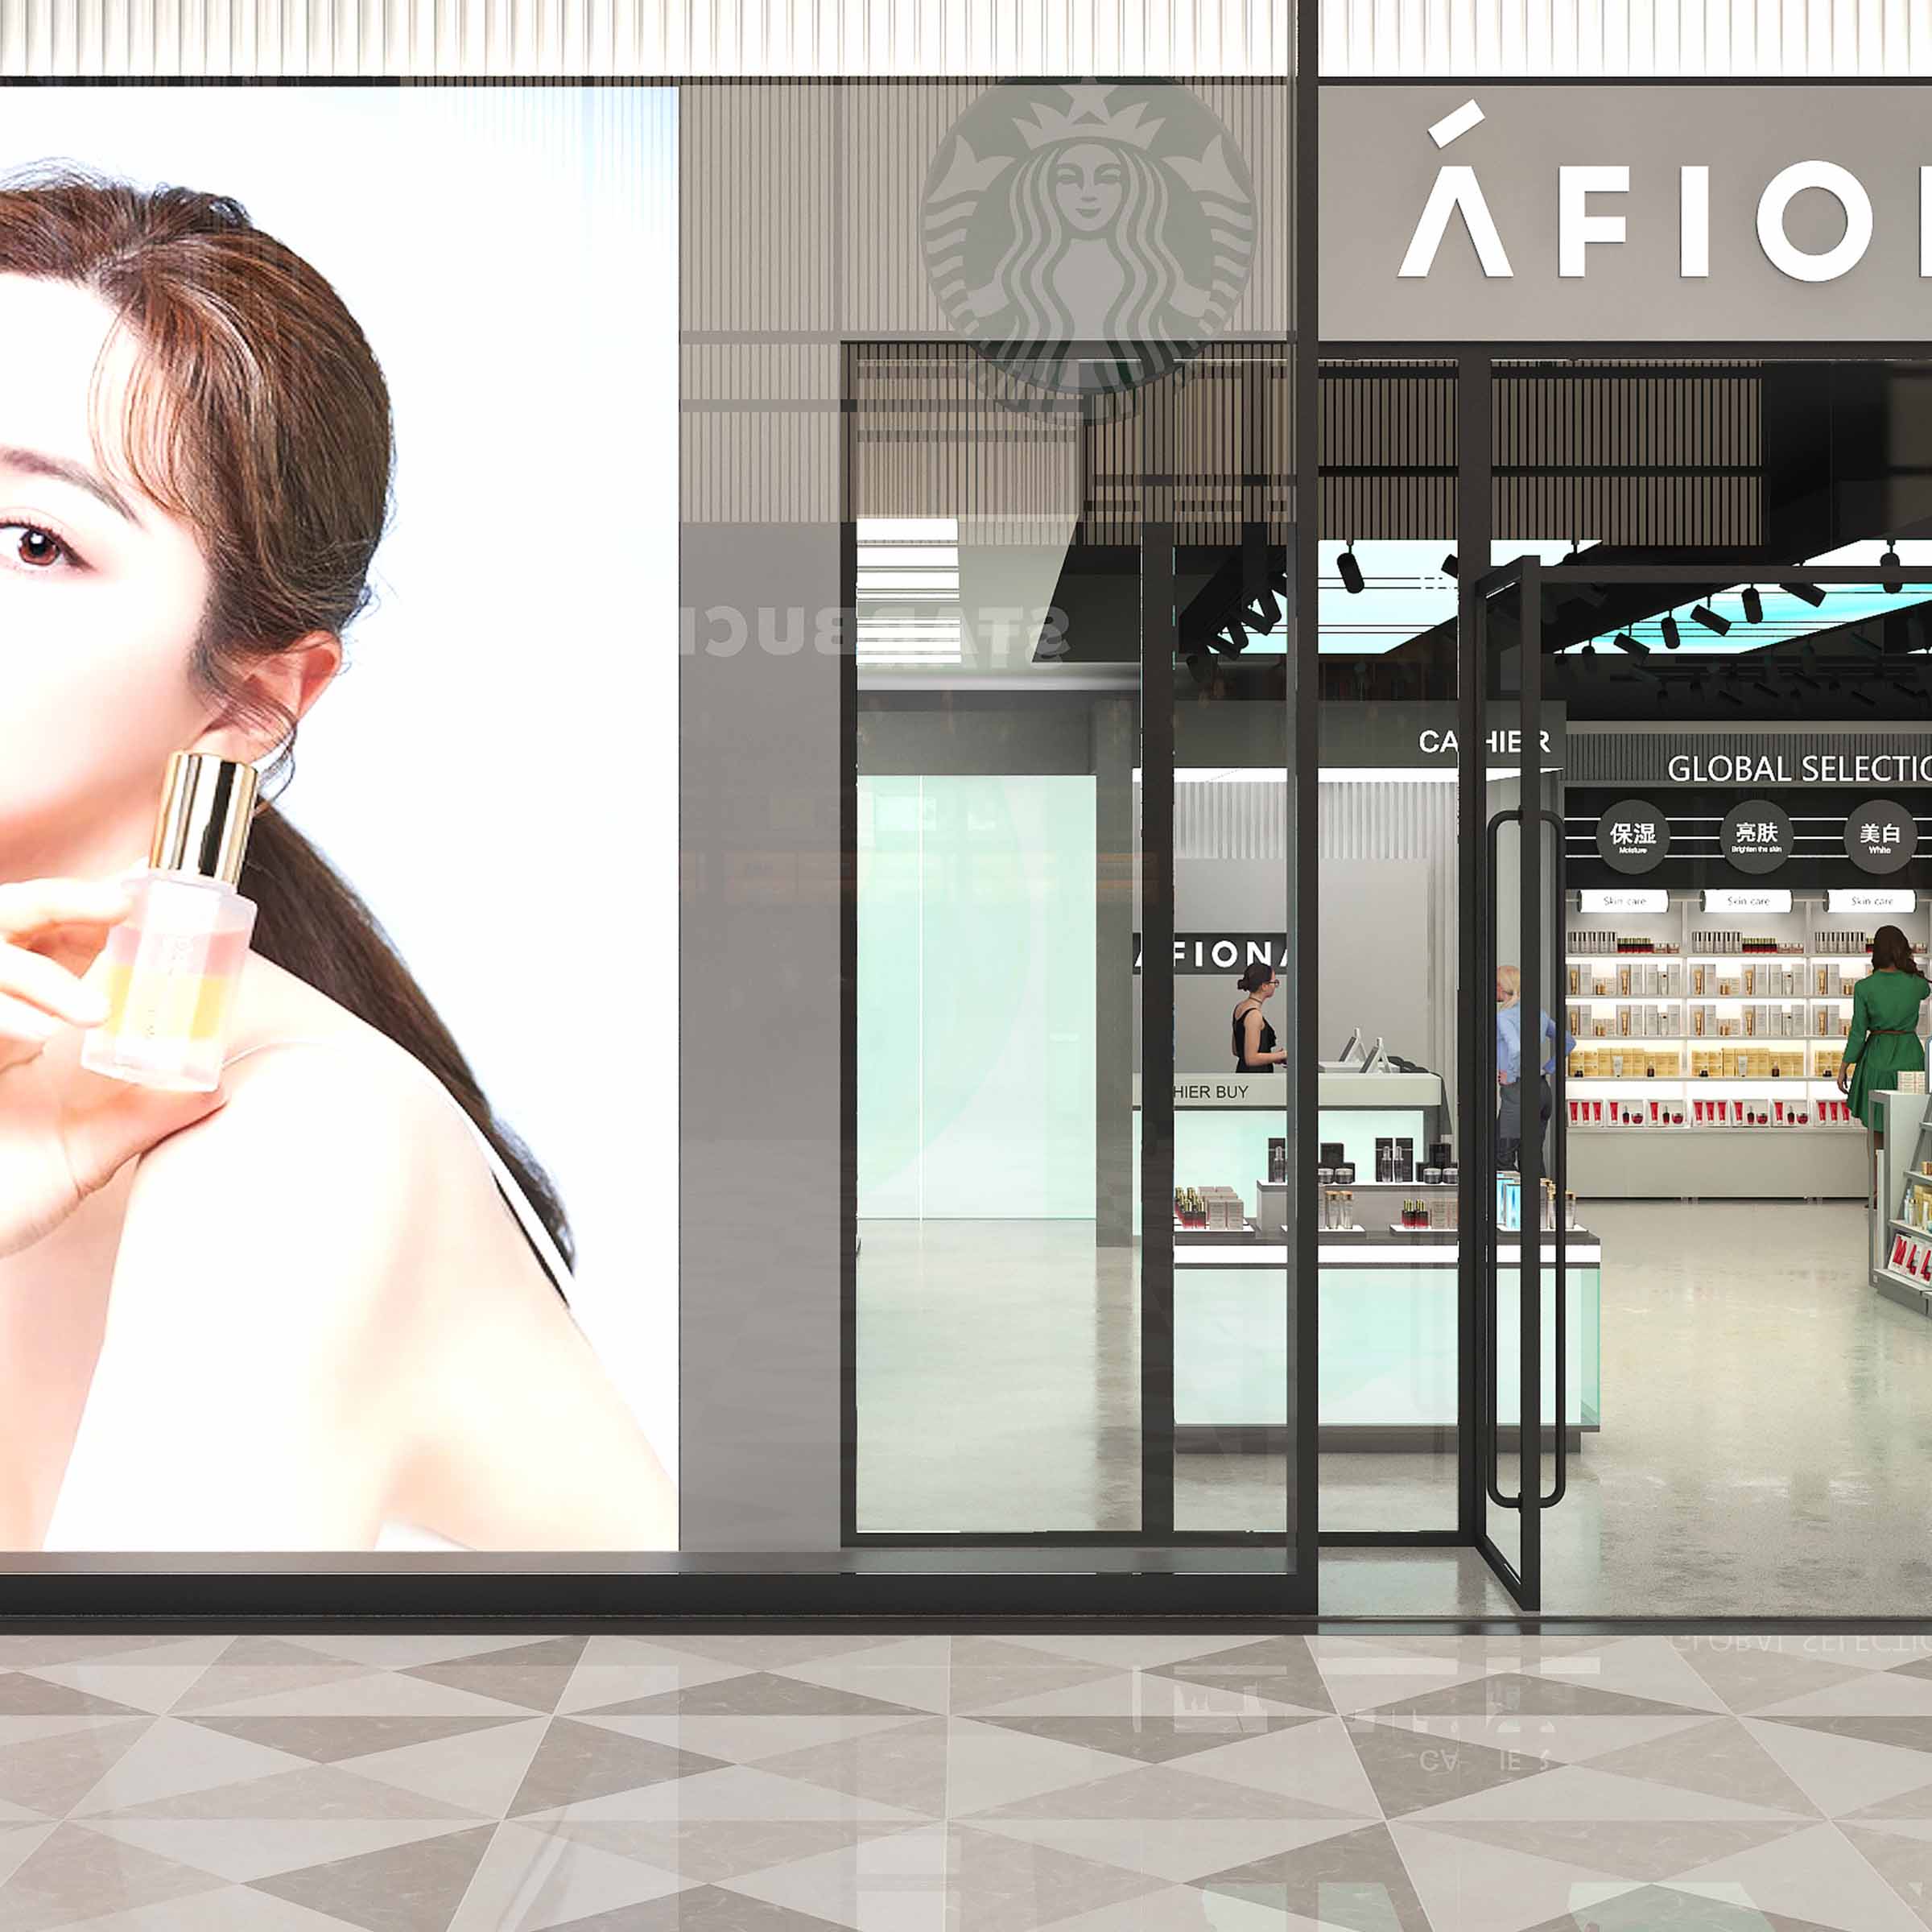
Practical integration with mall wayfinding
Roof identity signs should complement interior wayfinding rather than compete. Coordinate with the mall’s directory and lighting plans; align color temperature and brightness of rooftop LEDs with indoor displays and shopping mall directory signage to create a consistent brand presence at all viewing distances. A coherent system improves user orientation and supports brand recognition from both the street and aerial views.
Implementation checklist
Use this short checklist during procurement and installation:- Confirm wind-load calculations match site-specific exposure.- Specify anodized or PVDF-coated aluminum with explicit corrosion class.- Provide structural anchorage details tied to building framing.- Include on-site mockup inspection and sign-off.- Document maintenance access and spare parts for LED modules.
Evaluation metrics — three golden rules
Measure success with three straightforward metrics: compliance, durability, and serviceability. Compliance: verify sign and anchors meet local wind-load and building-code requirements. Durability: expect finish and fasteners to meet a defined corrosion class over a 10–15 year horizon. Serviceability: ensure routine access and replaceable LED modules without full disassembly. These metrics keep the project focused on real outcomes rather than abstract promises.
Follow this framework and you’ll deliver rooftop identity that performs under gusty conditions while projecting the intended brand image — practical, measurable, and repeatable. Cosun Sign. —