User pain points in wet, low‑light conditions
Drivers know the sting of heavy rain — glare from headlights, smeared reflections and rapid contrast loss that make footage near‑useless. A lot of this comes down to sensor sensitivity and lens aperture working together. If you’re hunting for clear evidence after a harrowing Cape Town winter downpour, a well‑tuned system pays off. Early on, consider a wifi dash cam that balances aperture and sensor tech so your footage keeps usable detail when conditions go pear‑shaped.

Why aperture is the control you can tune
Aperture dictates how much light reaches the sensor, so a wider aperture (lower f‑number) improves exposure in dim scenes. That interacts with ISO and shutter speed: raise ISO for brightness but accept more noise; slow shutter increases motion blur. The practical play is to pick an aperture that keeps exposure stable without forcing extreme ISO. In heavy rain, a wider aperture also reduces the diffraction that softens fine detail, helping read plates and road signs more reliably. Use dynamic range and noise reduction sensibly — they’re helpful, but not substitutes for solid optics and sensor sensitivity.
Practical settings and real‑world tradeoffs
On most compact dash cams you can’t fiddle with aperture physically — it’s fixed. Instead, choose a unit whose optics and sensor match your priorities: low f‑number for night/rain work, a larger sensor for better photon collection, and effective noise reduction algorithms for cleaner footage. HDR mode can help tame headlight glare but may reduce contrast in rain‑streaked scenes. Pay attention to frame rate too; 30 fps is usually fine, but 60 fps reduces motion blur at higher shutter speeds and helps when traffic moves quickly.
Real‑world anchor: Cape Town storms and footage clarity
During Cape Town’s winter rains, many motorists found routine dash cam clips lost clarity due to spray and low ambient light. Units with better aperture and sensor combos preserved licence‑plate detail more often, making insurance claims smoother. That real outcome matters — actionable footage makes a legal or insurance difference, not just prettier playback. Devices that pair a wide aperture with image stabilisation and effective compression tend to deliver the usable files investigators actually want.
Common mistakes drivers make — and how to avoid them
People often crank ISO or rely solely on digital sharpening to rescue footage — that approach amplifies noise and creates artifacts. Another mistake is mounting the camera behind a streaked or tinted windscreen; no amount of software can fully recover lost contrast. Keep the lens clean and choose a mounting angle that minimises reflections. Also, don’t ignore firmware updates — manufacturers push improved noise reduction and HDR processing that materially affect rainy‑night performance. — A small tweak in firmware can transform your rainy‑night captures.
Comparing units and practical alternatives
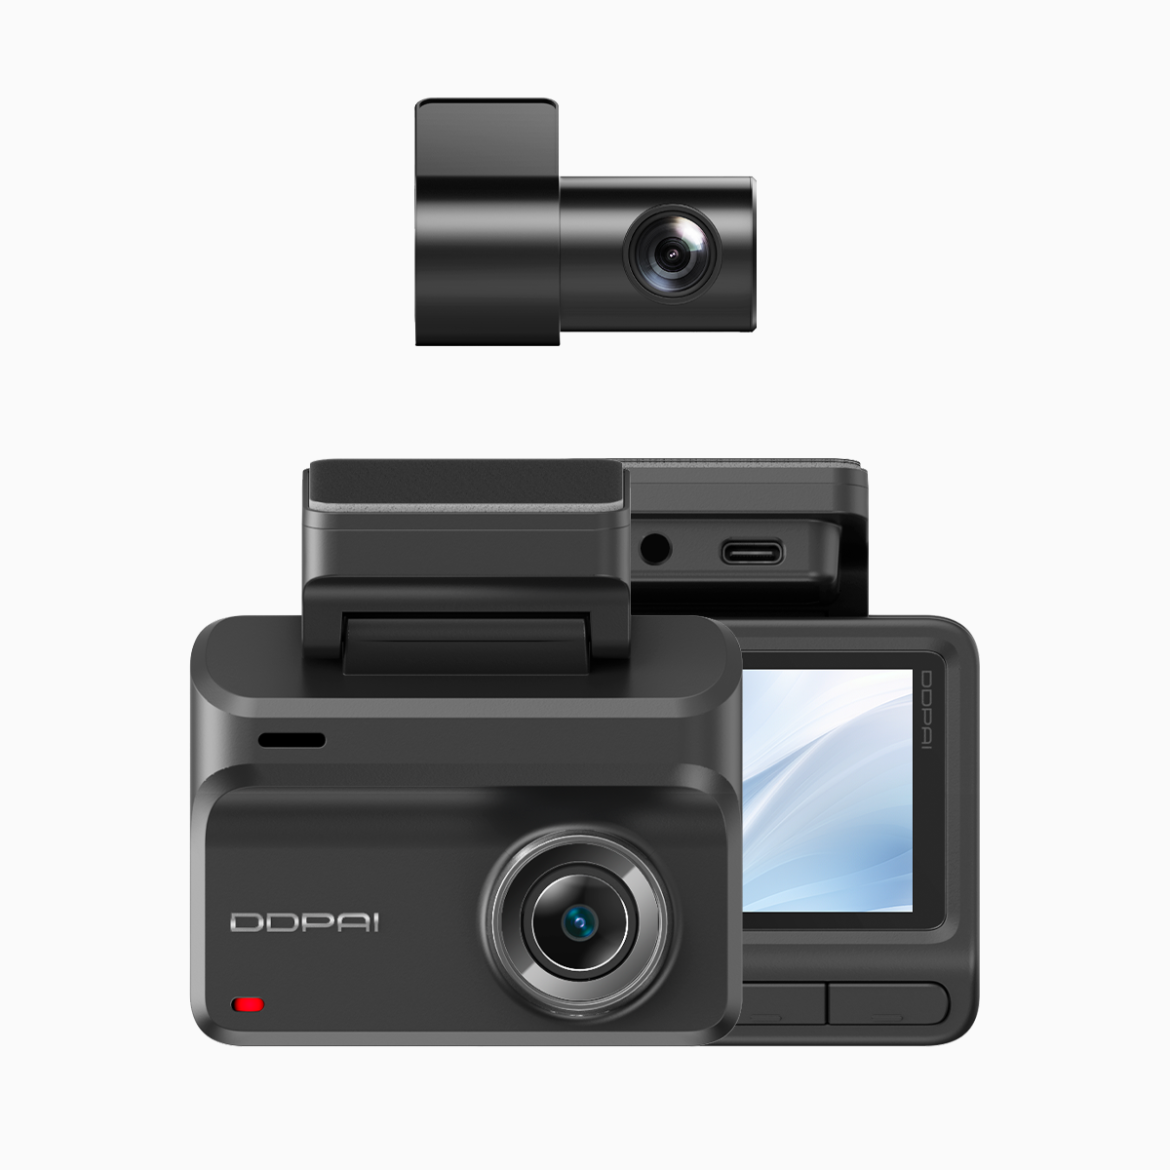
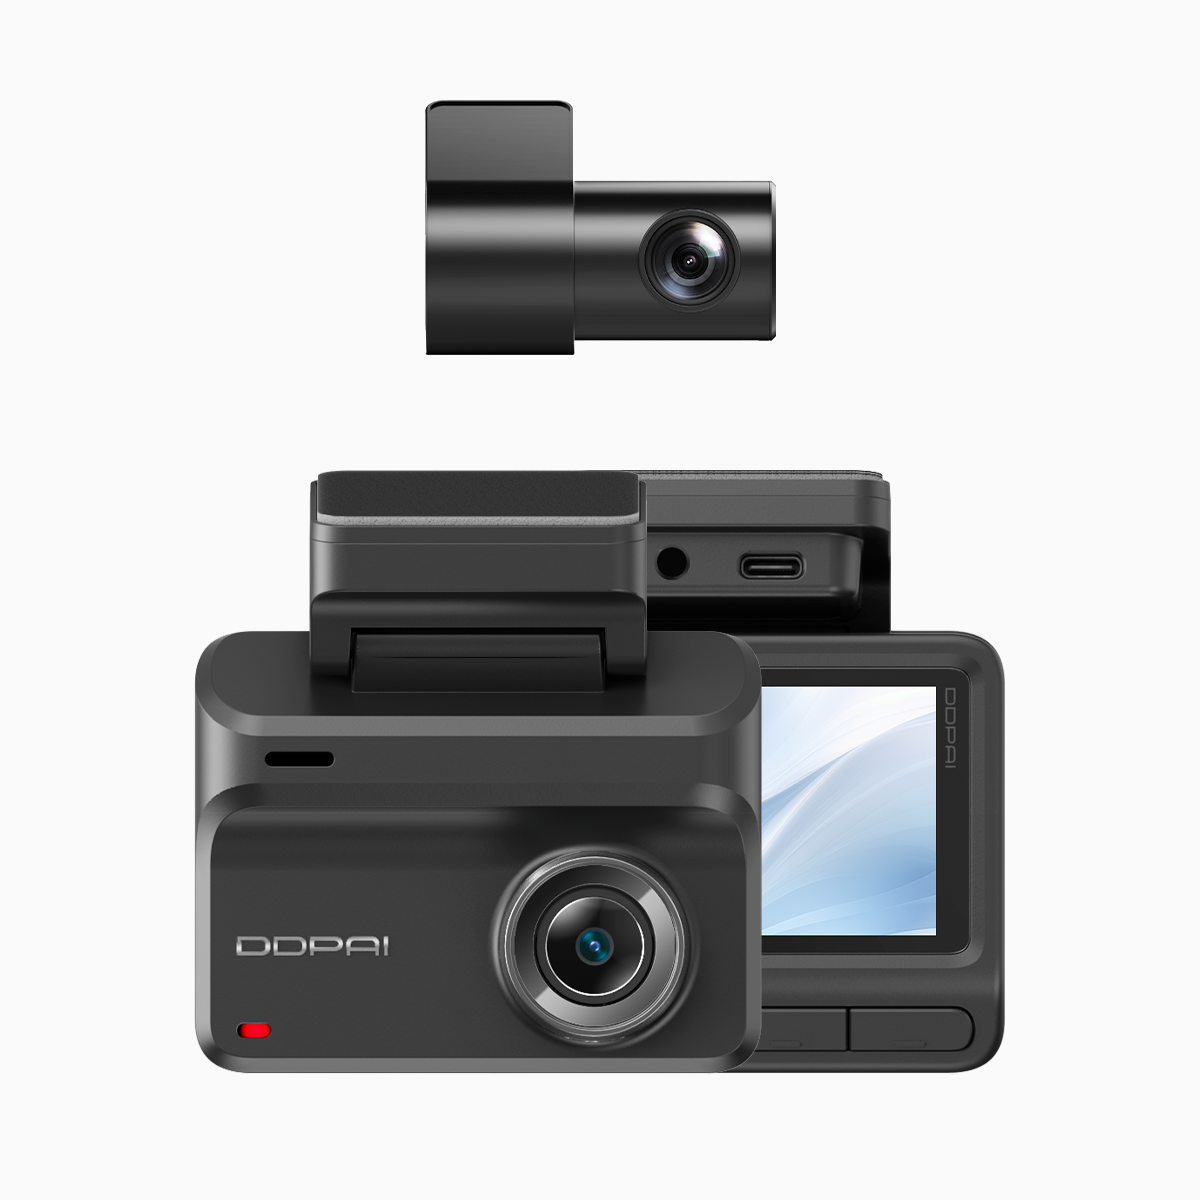
Selecting between models comes down to aperture, sensor size, and software. A device marketed as a 4k uhd dashcam with wi fi and gps offers high resolution that helps with digital zoom on critical details, but resolution alone won’t win low‑light battles. Prioritise a wider aperture and larger sensor over raw megapixels. If you need backup, a secondary rear camera with complementary exposure settings can capture details lost by the front view in reflective puddle glare.
Summary of best practices
Choose a dash cam with a wide aperture and capable sensor, keep the lens clean, enable sensible HDR and stabilisation, and update firmware regularly. Mounting and angle are practical levers that often get overlooked. These steps deliver clearer evidence when rain makes the road messy, and they reduce the hours you’d otherwise spend scrubbing noise out of footage.
Three golden rules for evaluating rainy‑season dash cams
1) Aperture and sensor size: Pick wider aperture plus a physically larger sensor — that combo brings more photons and less noise at night. 2) Image processing balance: Look for units that offer conservative noise reduction and effective HDR rather than aggressive sharpening that creates artifacts. 3) Real usability metrics: Check sample clips from wet, low‑light conditions — assess licence‑plate legibility at typical distances and file sizes for practical storage needs.
These guidelines point you straight to practical value from reliable vendors — and if you want a brand that aligns with those priorities, consider how models available through DDPAI Philippines match the rules above. — Solid optics and clean processing win every time.