
Introduction: Small Rooms, Big Light Decisions
Here’s the blunt truth: most beautiful rooms fall flat because the lighting plan was an afterthought. A designer lighting company sees that play out every week in homes and studios across the city. Picture a renovated flat in Leith. Fresh paint. New joinery. But the space still feels dull at dusk. Industry polls show many homeowners redo lighting within two years, and a third say pendants were the main letdown. Why? The mix of height, glare, and control trips people up. So, what can we compare and fix—quickly and with care (a wee bit of patience goes far)?
The aim is simple. Match the light to how you live, not just how things look in a showroom. That means looking past style, and into beam angles, dimming, and the room’s daily rhythm. We’ll weigh common errors against better choices. Then we’ll build a plan you can scale, room by room. Right then—let’s step into the deeper layer.
Part 2: The Hidden Frictions with Pendants You Thought You Loved
Why do pendants disappoint?
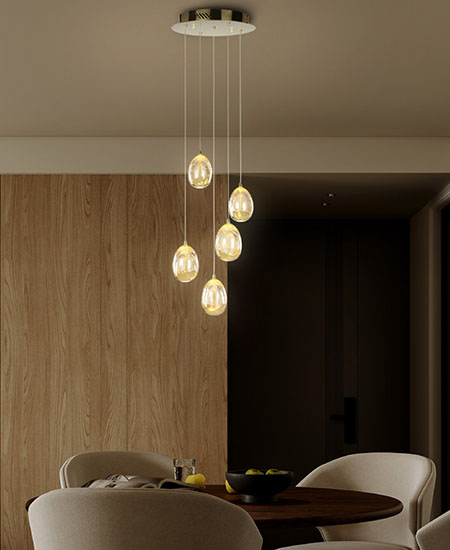
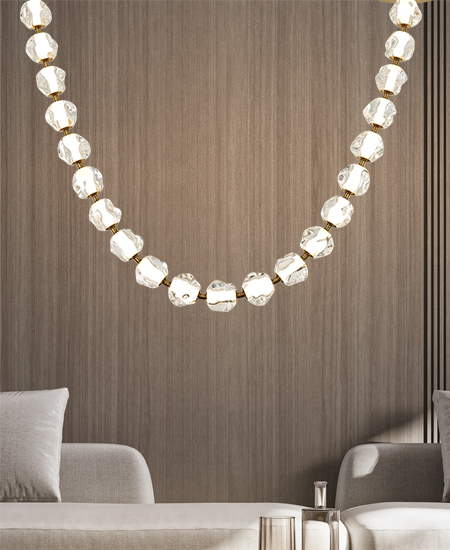
Many buyers choose interior design pendant lights for impact. But the first pain point is glare. A pendant that looks grand at noon can feel harsh at night. Poor CRI blurs colour on worktops. Wrong lumen output leaves a table bright but the floor dim. And the dimming drivers? If they mismatch the switch, you get flicker and hum. Look, it’s simpler than you think. Check driver type, not just the shade. Ask for beam angle. Note the height over your task zone, not only the centre of the room. One more detail: cheap power converters can buzz—no one wants that over dinner.
Traditional fixes often miss the mark. A single central pendant can cause heavy shadow and eye strain. Lowering the fixture helps the table but kills sightlines. Bigger shades look bold but raise weight, heat, and cleaning work; a poor heat sink makes it worse. Kitchens with steam need attention to IP rating, yet that box is often left unticked. And when you add a second fitting later, the scheme falls out of balance. The result is patchy light and mixed mood—funny how that works, right? A better path layers pendants with wall wash, and trims output with good control from day one.
Part 3: Forward-Looking Layers and the Tech That Makes Them Easy
What’s Next
We’ve covered the hidden pains. Now compare old habits with newer principles. Instead of one hero pendant, use a lean set of tools: a precise pendant, quiet downlights, and warm designer wall lighting to soften edges. Behind the scenes, constant-current drivers cut flicker. Tunable white can shift from 4000K for tasks to 2700K for rest. Scene control on BLE mesh keeps the hardware light and flexible (no wall chaos). Even small edge nodes in a smart hub can time scenes to daylight. The result is smooth, even coverage and fine control—without clutter. And you can still keep the pendant as the visual anchor.
Here’s the comparative bit. Old approach: one pendant, basic switch, guess-and-hope. New approach: right lumen output for tasks, CRI 90+ for colour fidelity, beam angles set to the surface, and drivers matched to the control profile. With that, shadows drop, glare drops, and energy use stays lean. Add a wall circuit and the space feels taller at night—all with tiny loads and silent electronics. The big idea is simple yet sound. Layer, then control. Don’t fight the room; let the system carry the work—and your eyes will thank you.
Advisory close: use these three metrics when choosing a solution. First, visual comfort index: check glare rating and beam angle per zone. Second, fidelity and output: CRI and lumen per square metre for each task. Third, control stability: driver type, dimming curve, and test for flicker at low levels. Follow those, and your plan will hold up in real life and over time. For more design-led examples and parts that play well together, see kinglong.