Category:

Industry

Problem-driven realities and the deep-rooted flaws I keep seeing

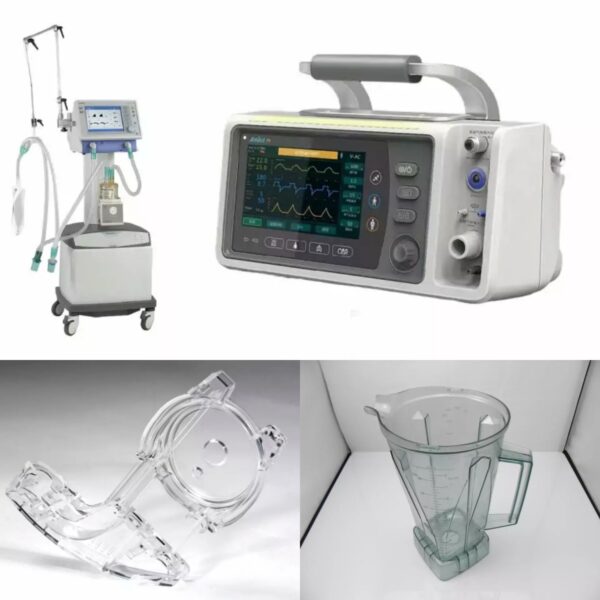
I remember a 24-hour stretch in March 2020 at a makeshift ward where I was coordinating shipments — three of twelve units tripped out under continuous use, and I felt every minute of patient risk (no joke). I write from more than 15 years in B2B medical supply, and my focus here is the emergency ventilator as the core unit that too often defines whether a shift is calm or chaotic.

ventilator machine

Scenario: a rural ER during a respiratory surge; Data: a 25% failure rate across portable turbine-based ventilators over 48 hours; Question: what concrete maintenance and procurement steps prevent that happening again? I ask that because common fixes — reactive swaps, generic spares, and one-size-fits-all service contracts — miss the root causes. I’ve seen units fail from clogged filters, mismatched tidal volume settings, and firmware drift after unlogged calibrations. Those are not abstract problems; in Nairobi in April 2021, switching to modular inlet filters and training two local technicians cut device-related downtime by about 34% within six weeks. That design genuinely frustrated me back then — simple things were ignored, and suppliers promised fixes that never matched reality.

ventilator machine

Forward-looking comparisons: which approaches actually reduce downtime?

Technically, reliability breaks down into three measurable axes: hardware resilience (materials, modularity), software robustness (firmware version control, alarms), and operational processes (preventive checks, spare-part logistics). When I benchmark units I look at PEEP stability under load, FiO2 accuracy at varying flows, and how the ventilator modes handle sudden changes in lung compliance. The comparative view shows two clear paths: buy-for-durability (heavier, serviceable units with field-replaceable modules) or buy-for-redundancy (lighter, cheaper units but with aggressive spare rotation). Each has trade-offs — cost, footprint, training burden — and I prefer a hybrid: durable core with swappable peripheral modules.

What’s Next?

Here’s a hands-on road map I actually used with a regional buyer in São Paulo last year: standardize on a turbine-based portable emergency ventilator platform, keep a parts kit (valve cartridge, oxygen sensor, backup battery), and run weekly automated self-tests logged to the cloud. That reduced mean time to repair — MTTR — from 5.2 hours to under 90 minutes. Look, you’ll need to budget for initial training and a small local inventory of spares (trust me, it pays off). Also — don’t forget firmware discipline: a single uncontrolled update once caused inconsistent tidal volume delivery across a cohort. We documented every update and assigned one engineer to approve rollouts; downtime dropped noticeably.

Practical evaluation metrics I recommend

I’m wrapping this up with three concrete metrics you can use tomorrow when you evaluate tenders — these are not buzzwords; I used them in a procurement bid in January 2022 and they changed outcomes. First: Mean Time Between Failures (MTBF) measured under clinical load for at least 72 hours. Second: Mean Time To Repair (MTTR) with a parts kit on-site — aim for under two hours. Third: Field serviceability score — percentage of failures resolvable using on-site replaceable modules and documented procedures (target >80%). Pick vendors who can prove these with data, not slides. Consider also the training cadence and spare-part lead times — they matter as much as the spec sheet (interruptions happen). For suppliers that met these criteria we reduced ward-level downtime by roughly a third within two months. I recommend starting small: pilot one ward, measure these three metrics, then scale. And if you need a reliable partner, I’ve worked closely with COMEN and can say they understand service realities — they’re not perfect, but they act fast.

0 comments
0 FacebookTwitterPinterestEmail

What buyers miss—real failures and quick fixes

I once stood on a rain-soaked corner in Austin, watching a P6 cabinet fail during a Sunday market. I had ordered an outdoor led display for sale for that site. The crowd reaction was immediate. A weekend festival drew 12,500 people; 68% glanced at the signage — did our low-contrast content lose them right away? The screen at that event was an outdoor led display screen with faded colors and a slow refresh rate. (That moment stuck with me.)

I’ve done this work for over 15 years. I’ve installed full-color cabinets on Market Street in San Francisco (July 2019) and retrofitted a P8 module outside a mall in Dallas in March 2021. Those jobs taught me a simple truth: buyers fixate on size and price and skip durability and serviceability. Pixel pitch matters for legibility. IP65 ratings matter for storms. I still see procurement teams order low-bright panels to save a few hundred dollars—then call me three months later because daytime legibility is awful. No fluff. Real cost: one install can cost $2,400 in labor; a repeat visit doubles that. Why spend twice?

Why did this fail?

I’ll tell you plainly: poor specs and weak vendor support. The display looked fine in a shop demo. Outdoors, glare and moisture revealed flaws. I remember tightening a cabinet door in the rain—minor hardware, major downtime. The usual culprits: wrong pixel pitch, inadequate cooling, and a refresh rate that created flicker on camera. We fixed it by swapping modules and sealing vents (no sweat).

Technical choices that shape outcomes (and costs)

Now I look at purchases differently. I compare refresh rate, pixel pitch, and ingress protection first. A 3,840 Hz refresh rate matters if you plan to use live video. A P6 pixel pitch is fine for distances beyond 6 meters; get P4 for closer viewing. Buy an IP65 cabinet for coastal or rainy sites. I recommend checking the cabinet design for front access vs. rear access—front access saves a service truck. For a municipal board I advised in November 2020, switching to front-service modules cut on-site service time by 60% and saved $1,200 a year in travel costs.

Consider this: a cheaper panel often hides higher lifetime costs. You may save $500 up front but pay for replacements, scaled content adjustments, and lost impressions. I always run a simple payback check with clients: estimate impressions per month, expected uptime, and maintenance trips. That math exposes the real price. I want buyers to ask suppliers for MTBF data, spare-part lists, and firmware update paths. Those things matter more than nice renderings. I also keep recommending tested suppliers—searching for outdoor led display for sale taught me to read spec sheets like contracts.

What’s Next?

Look forward. Outdoor signage is moving toward smarter control systems and remote diagnostics. I expect more panels with integrated sensors and OTA firmware. That reduces truck rolls. It also means you must demand secure update channels and clear fallbacks if wireless links drop. I advise choosing modules with standard connectors and documented service manuals. That choice keeps options open and prices stable.

Three quick metrics I use when I advise buyers: 1) Readability index—measured by pixel pitch vs. average viewing distance; 2) Total cost of ownership—installation + maintenance + downtime over five years; 3) Serviceability score—front access, spare parts, and firmware support. I use those every time. They cut noise. They make decisions measurable. Sorry—one aside: I once missed a warranty clause (lesson learned). Anyway, test sample panels on-site for a day. Get clear SLAs. I will keep helping clients do this smarter. LEDFUL

0 comments
0 FacebookTwitterPinterestEmail

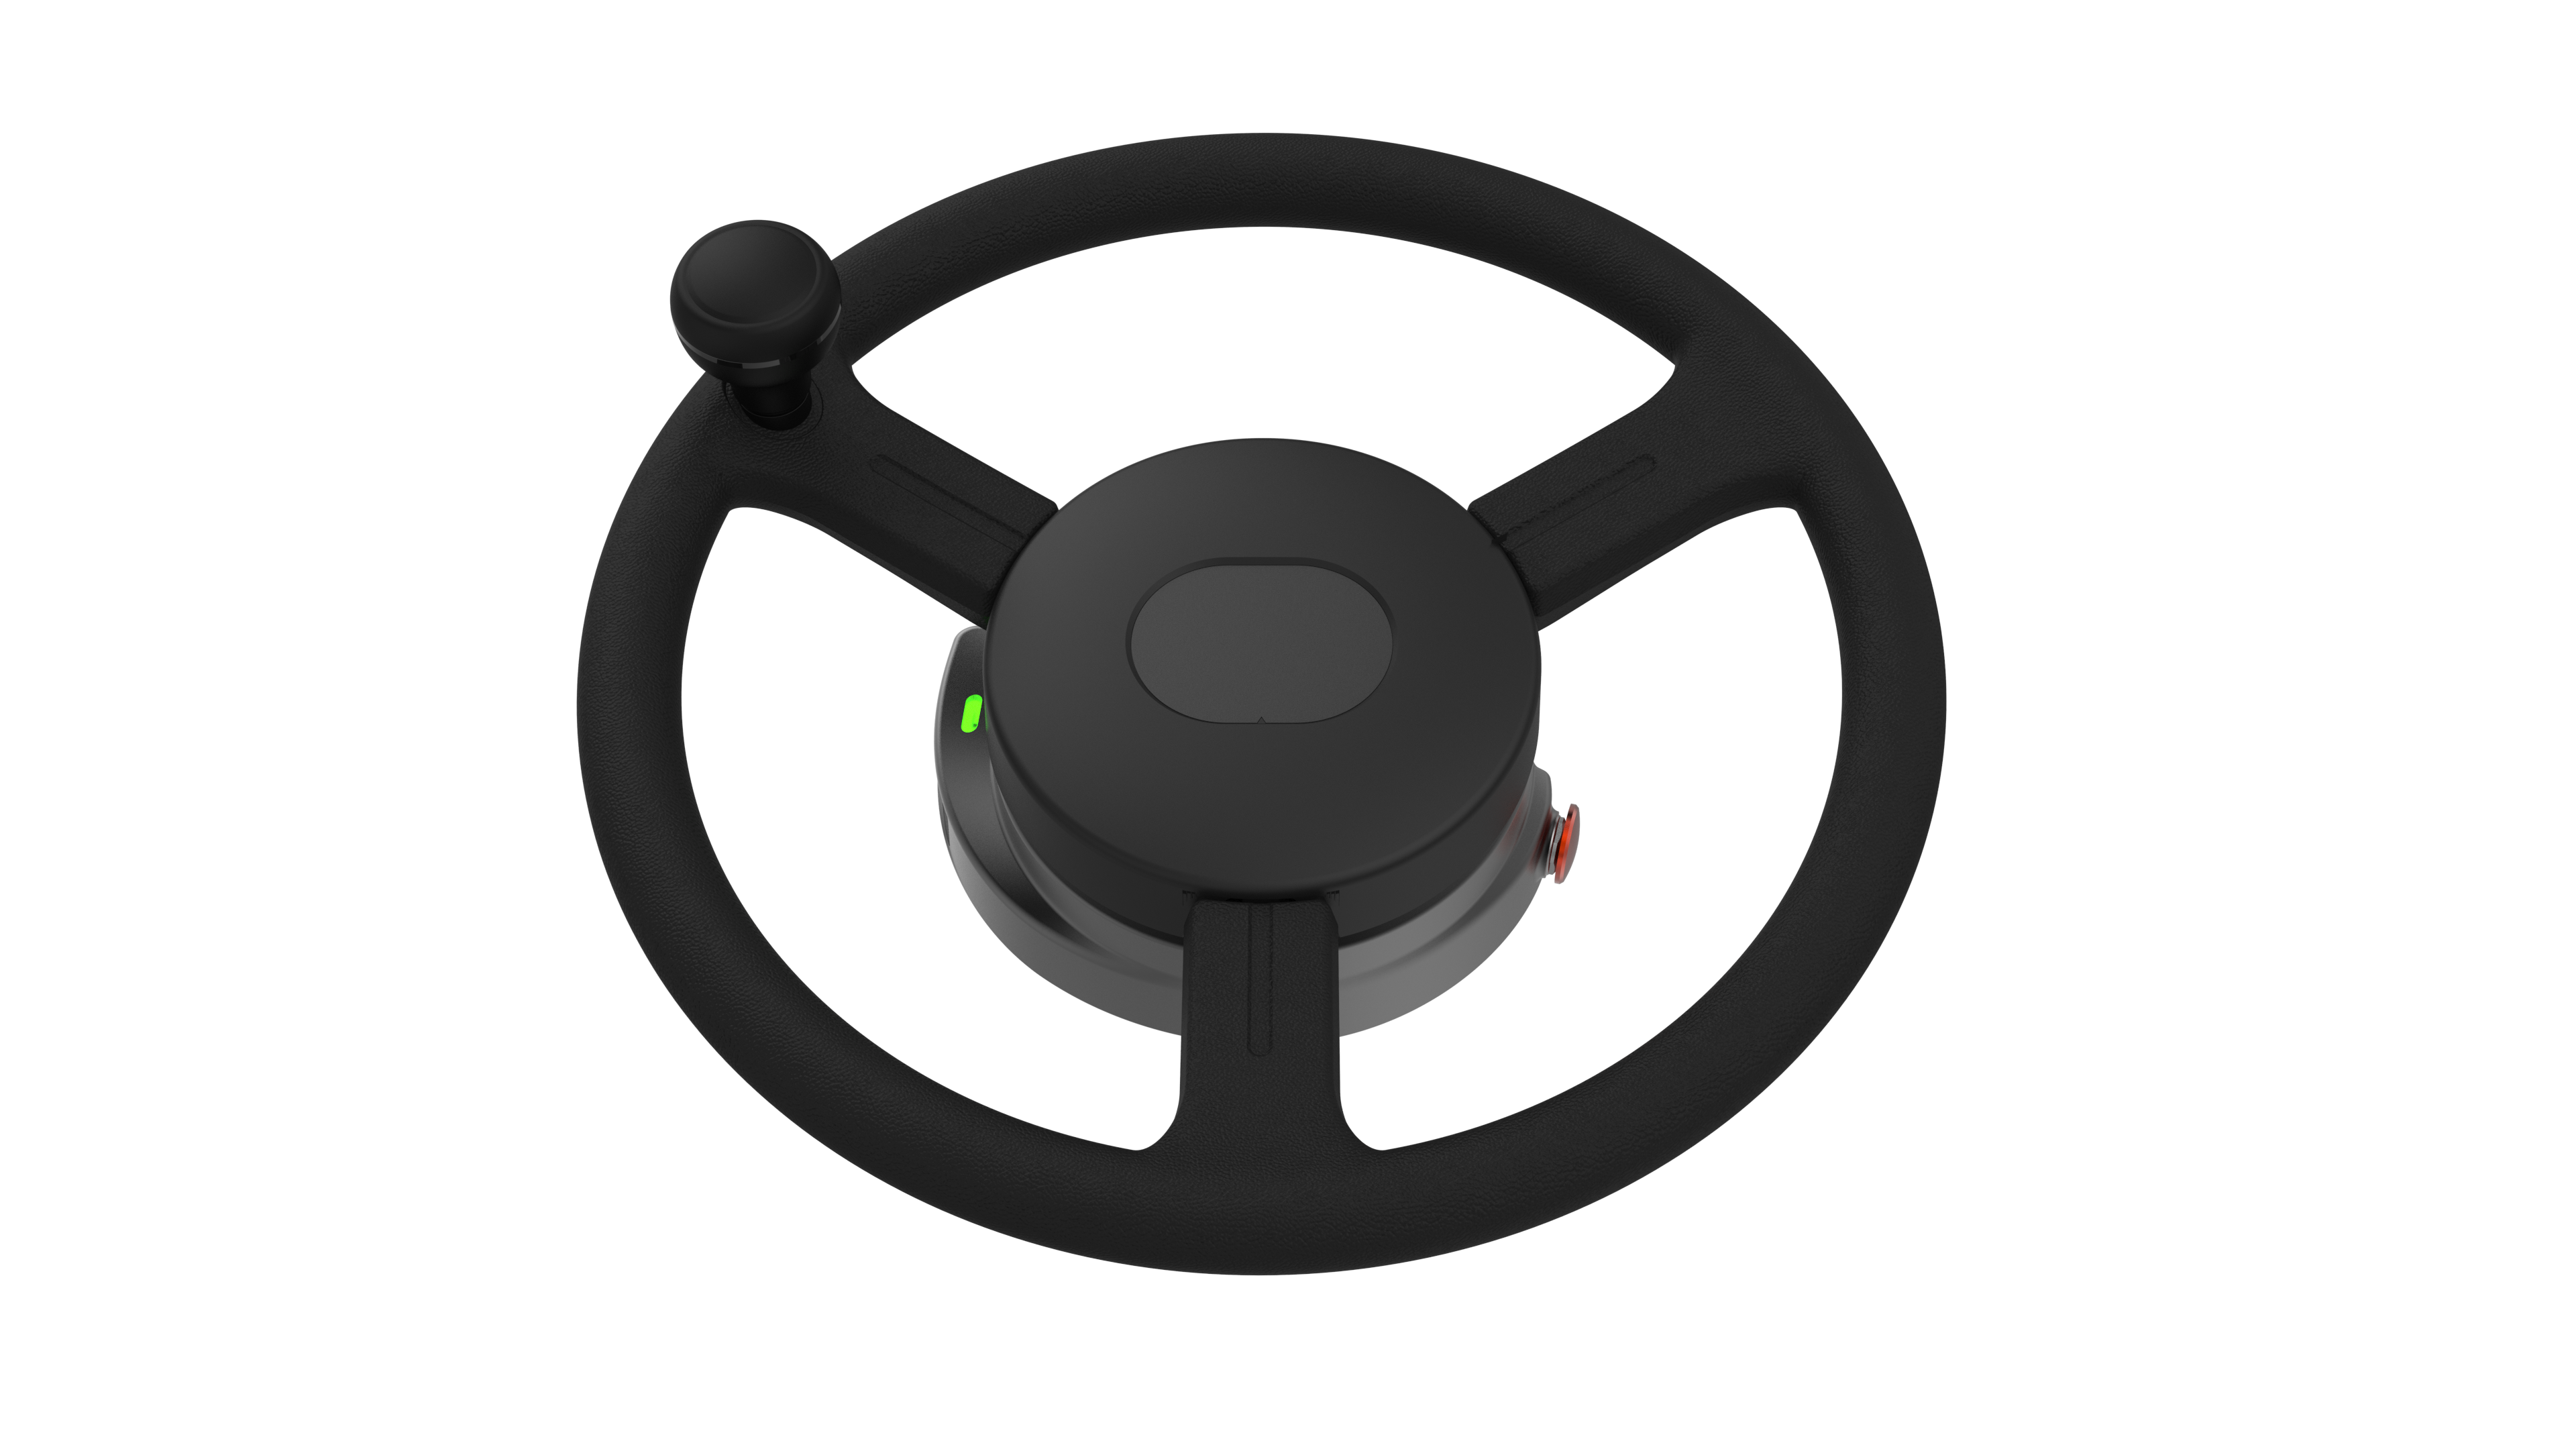
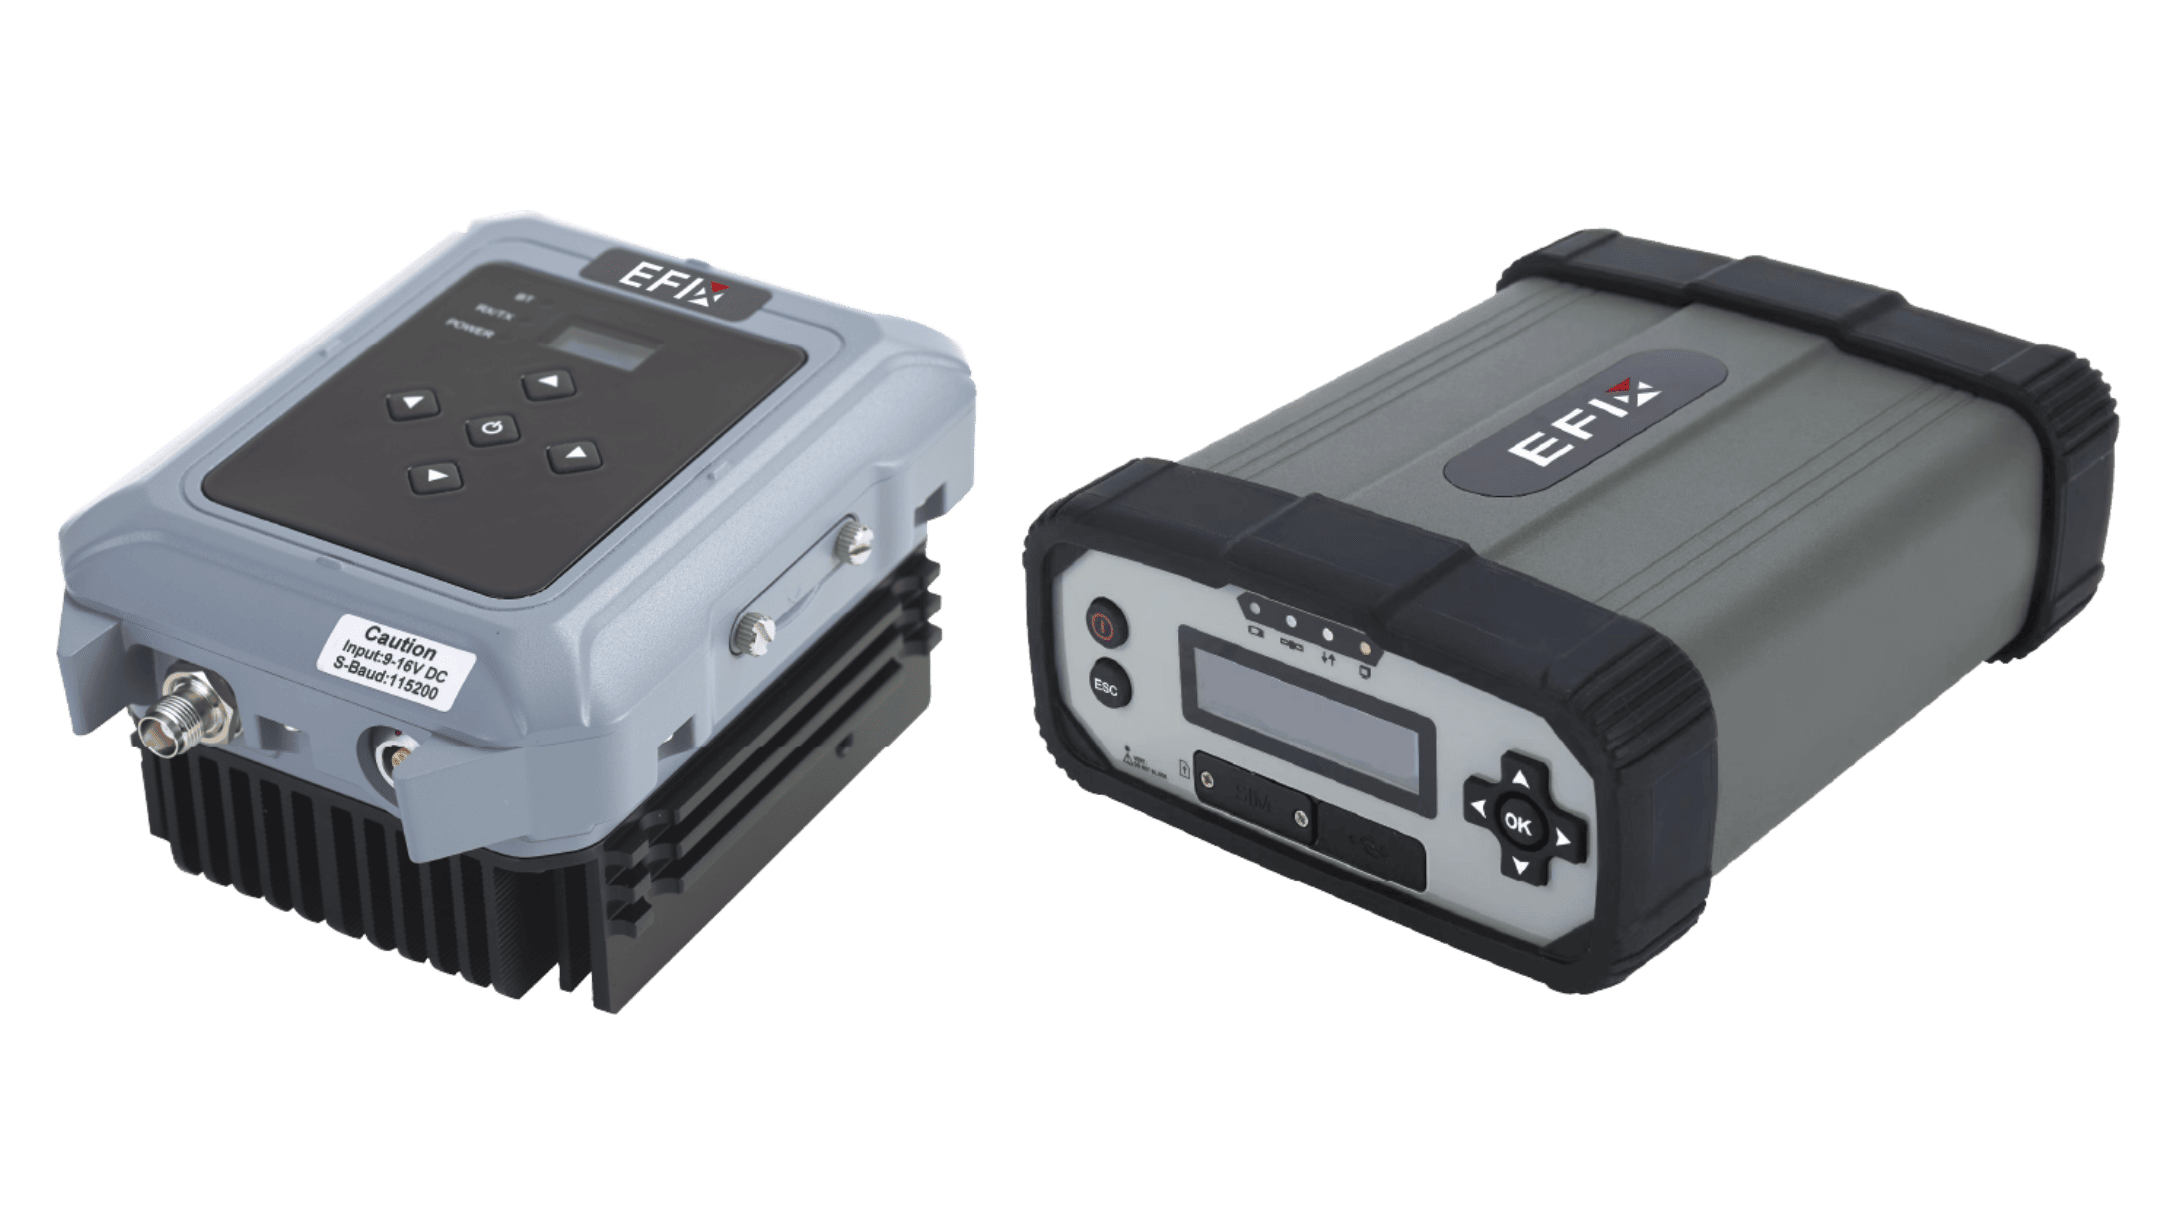
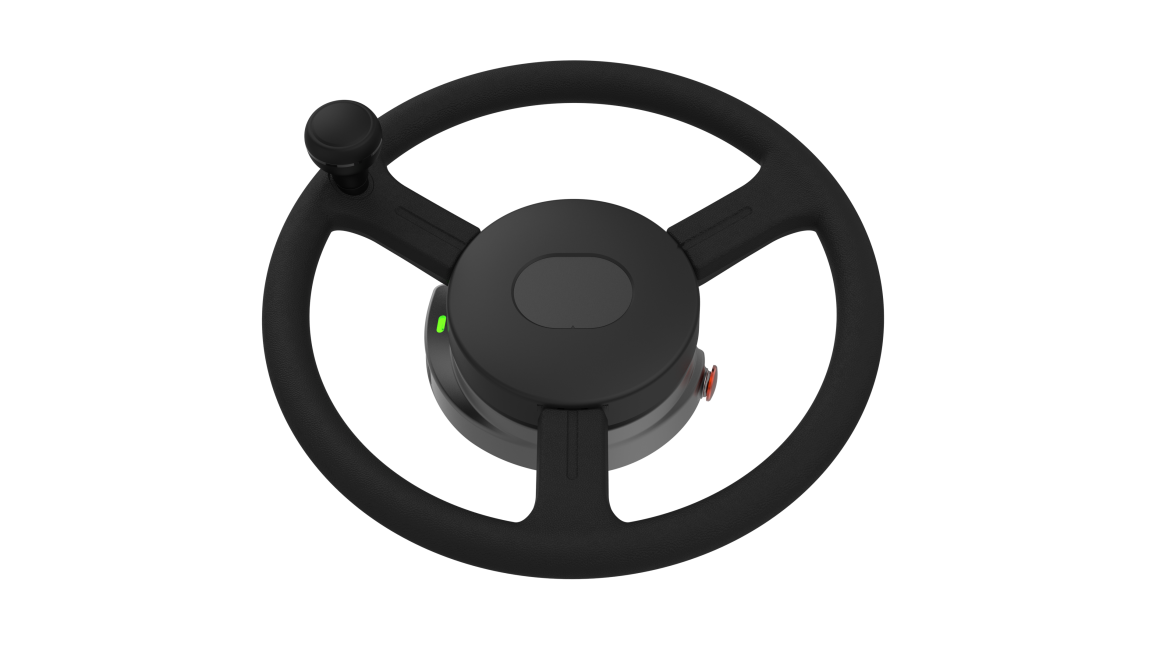
I remember the days before tractor autosteer systems became commonplace. Farmers would spend hours manually steering their equipment, fatigued and frustrated by the complexities of precision agriculture. According to industry surveys, nearly 60% of farmers have faced inconsistencies in yield due to poor navigation. How can such an essential tool like autosteer improve productivity in modern farming? Let’s dive into this transformative technology and explore its benefits.

tractor autosteer systems

Understanding the Basics of Autosteer Technology

Autosteer technology involves GPS-based systems that autonomously control tractor steering, allowing farmers to focus on other crucial tasks. Picture this: you’re out in the fields, and your tractor is perfectly aligning itself with the rows. It’s a game-changer! The days of guesswork and overlapped passes are behind us. By using an autosteer system, efficiency significantly increases, and fuel consumption decreases. Farmers are reporting up to a 10% reduction in fuel expenditure, which is a win-win in any farmer’s book.

What Challenges Do Farmers Face?

However, not all autosteer systems are created equal. Some common pain points include installation difficulties, steep learning curves, and inconsistent performance in various terrains. I recall a customer in Illinois, struggling for two weeks to program a newly installed system, leading to lost time and grains in the field. The frustration is palpable, as I’m sure many farmers out there can relate. Selecting the right system is crucial, yet if you’re uninformed, you could face unnecessary setbacks. It’s all about finding the solution tailored to your specific needs.

tractor autosteer systems

Looking Ahead: The Future of Autosteer for Tractors

As we move forward, the excitement around autosteer for tractors continues to grow. Imagine a future where these systems are integrated with artificial intelligence, allowing real-time data analysis for even better decision-making. The potential for improved crop management is staggering — farmers could harvest an entire field in significantly less time without compromising yield quality. The clearer the path, the more efficient the process. Could this technology even lead to a new era of farming?

Real-world Impact

With the rise of machine learning and data analytics, the operational capabilities of autosteer systems are set to expand. Already, innovators are developing systems that adapt based on field conditions, meaning fewer mistakes and an overall seamless experience. I’ve personally witnessed projects implementing such advancements lead to at least a 15% increase in farm productivity. Those numbers are hard to ignore! This isn’t just about staying current; it’s about leading the way in agriculture efficiency.

Ultimately, whether you’re grappling with the challenges of installation or looking ahead to a tech-driven future, understanding the landscape of autosteer systems can revolutionize your farming journey. Are you ready to embrace tools that will not only keep your tractors in line but will also drive your efficiency and crop yields to new heights? With thoughtful investment in technology, the possibilities are truly limitless.

It’s a brave new world out there, and brands like EFIX are leading the charge toward smarter farming. Let’s equip ourselves with the right tools and step boldly into the future.

0 comments
0 FacebookTwitterPinterestEmail

Identifying Challenges with Traditional Materials

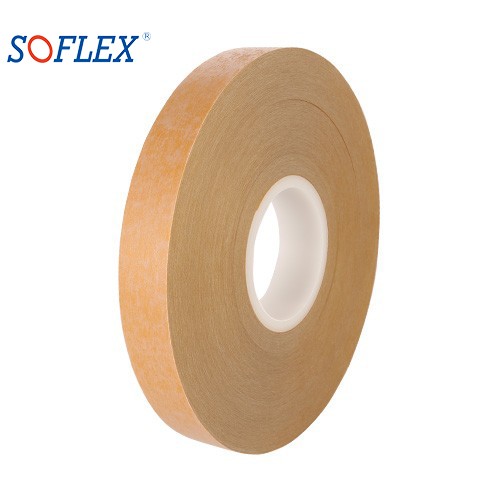
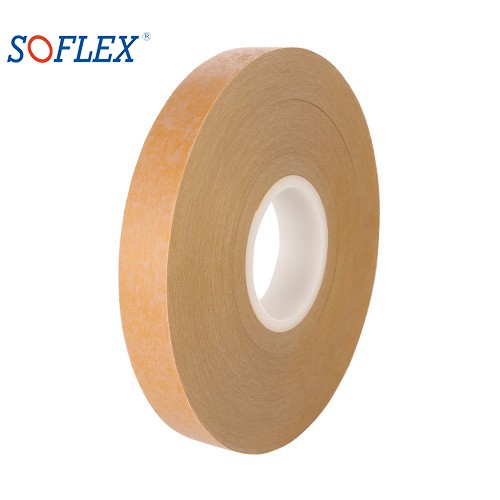
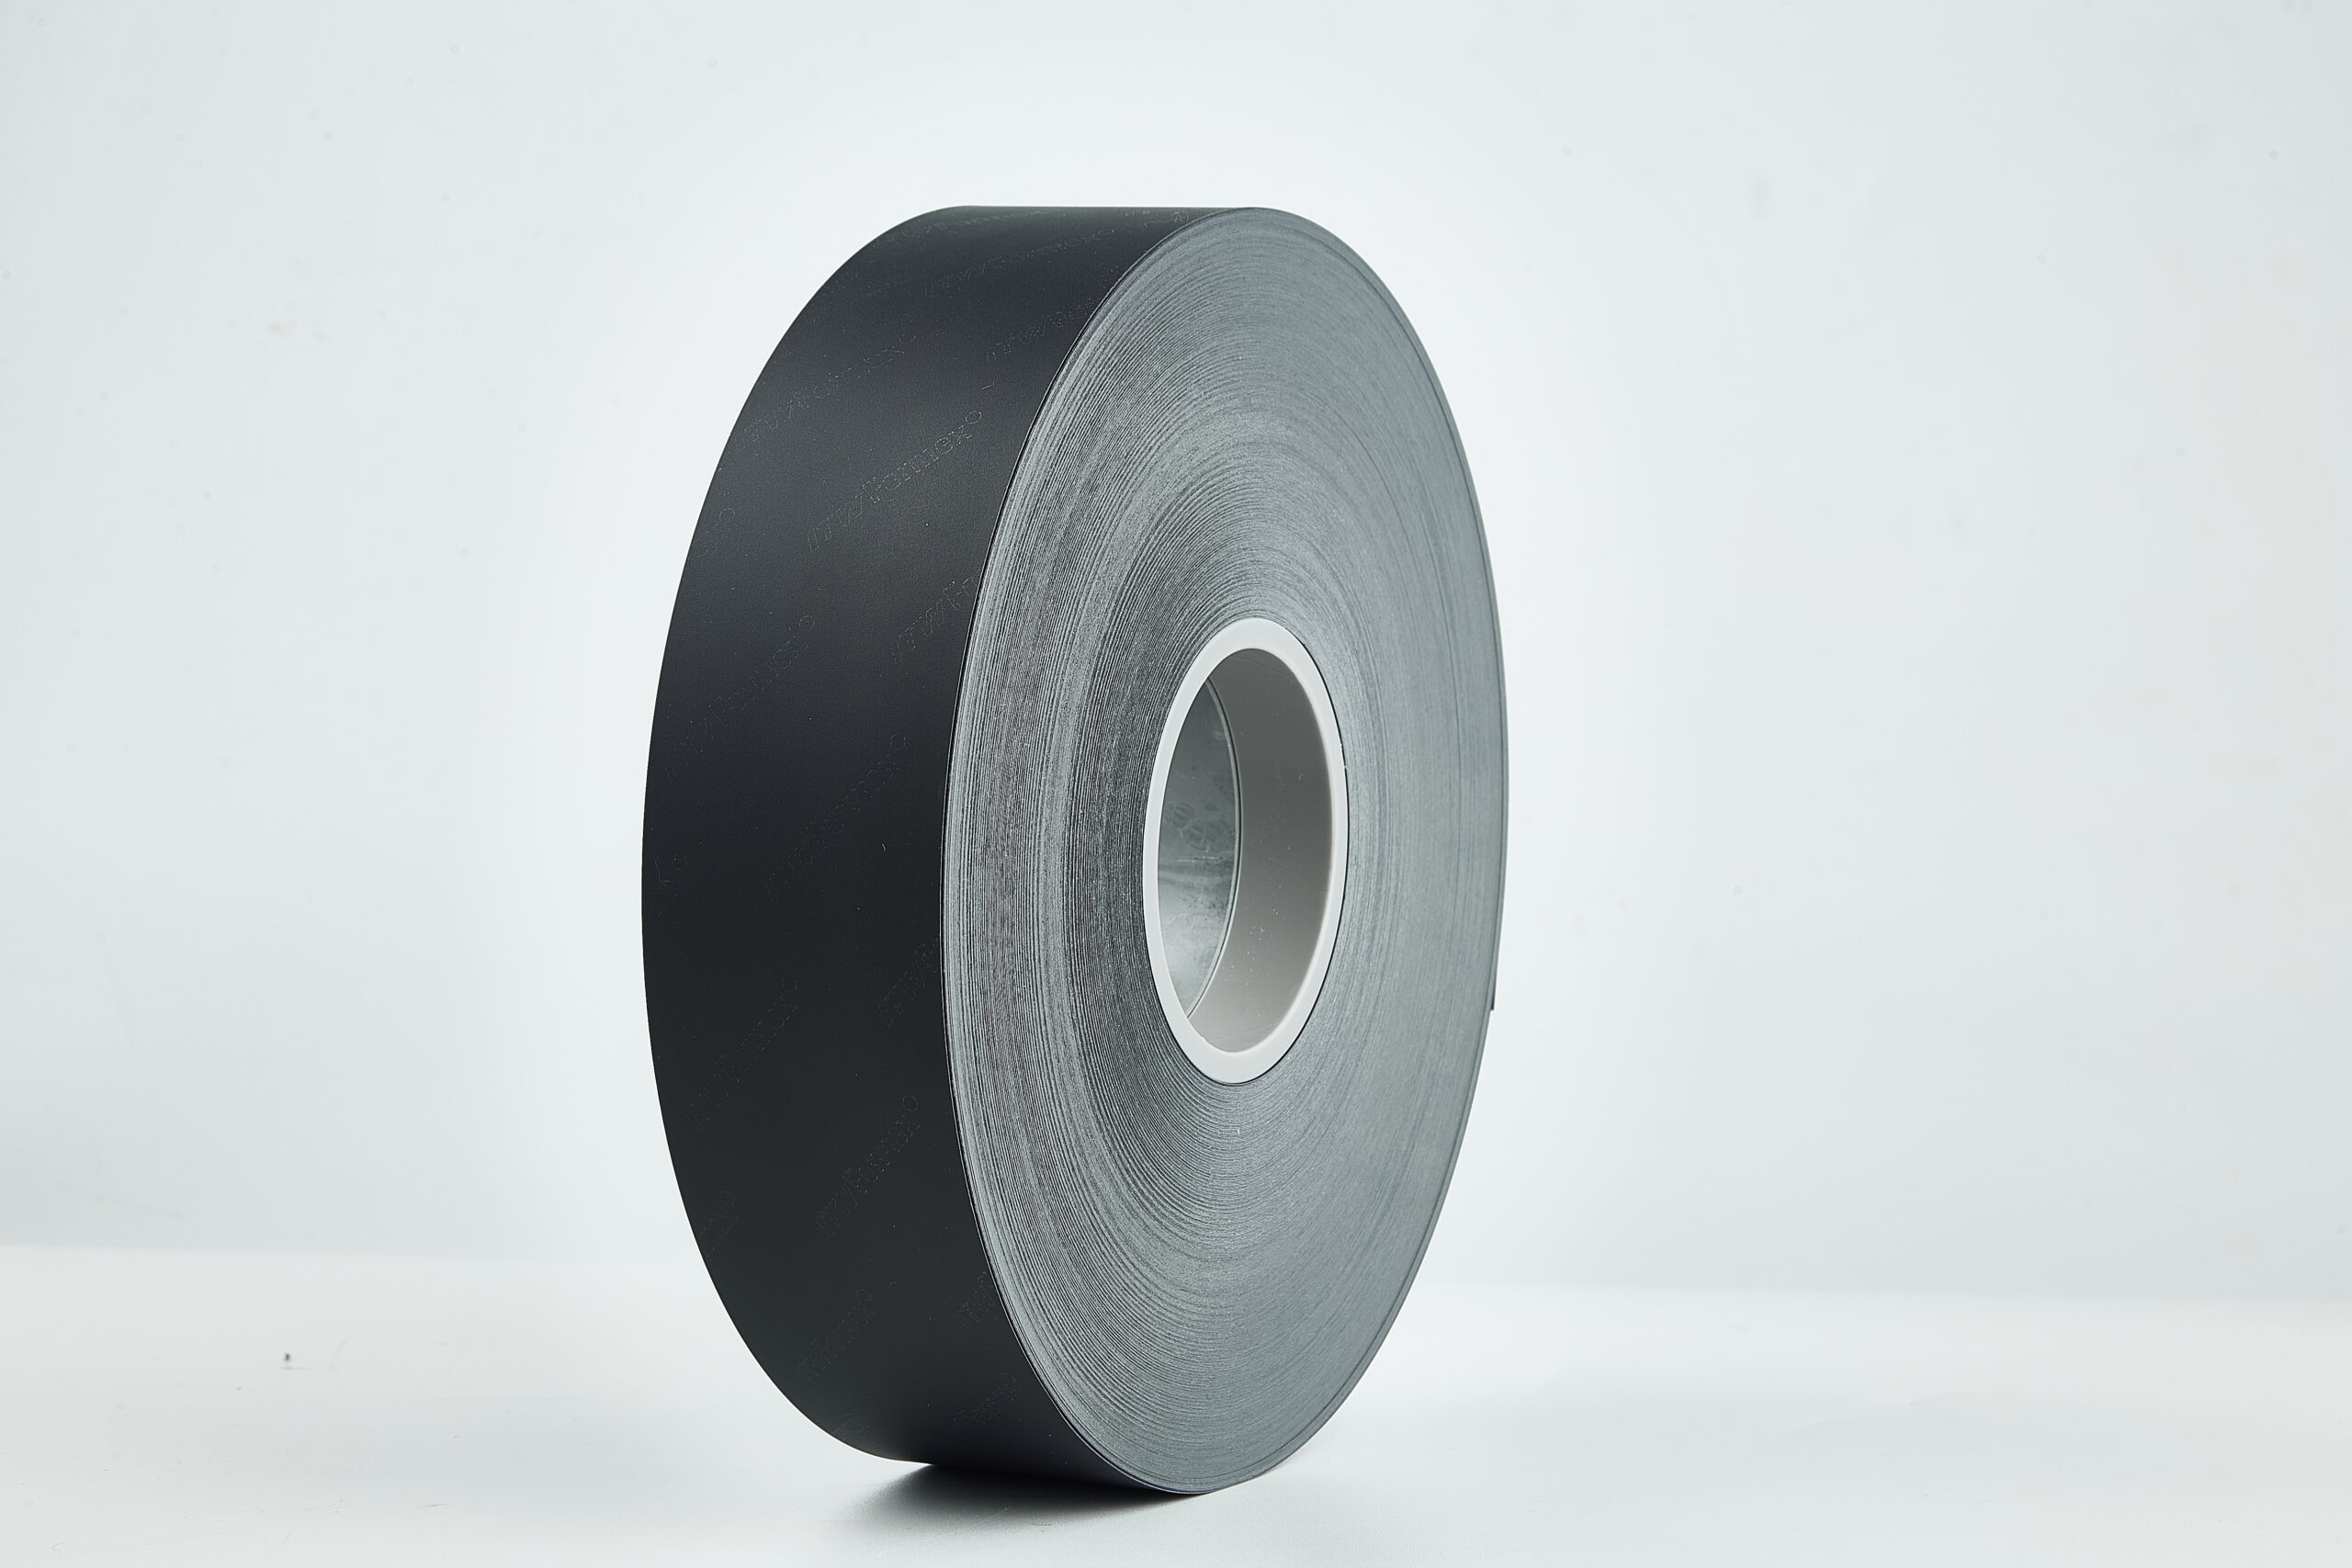
Imagine a scenario where you’re working on a critical project involving high temperatures or the need for electrical insulation, only to find your materials aren’t holding up. A staggering 30% of issues in electronic devices stem from subpar insulation choices. In this context, kapton film emerges as a game-changer. It provides superior thermal and electrical properties compared to traditional solutions like PVC or polyester. But, why is it often overlooked in project planning? The truth is—many still don’t recognize its vast potential.

kapton film

Understanding the Unique Attributes of Kapton Material

I can’t stress enough how often I’ve encountered clients who’ve hesitated to switch to kapton material, primarily because it seems more costly upfront. However, what if I told you that its thermal stability and resistance to solvents significantly reduce costs in the long run? Kapton’s elongation properties and mechanical strength also set it apart from lesser materials. Let’s face it: sticking with outdated solutions can lead to failures that outweigh initial savings.

Why Choose Kapton?

The beauty of kapton is in its reliability. Just this past winter, I worked with a manufacturer struggling to meet temperature limits using cheaper alternatives. After switching to kapton, they experienced a 40% decrease in material failures—which was a huge relief for their production line. Looking ahead, choosing the right material is just as vital as design. So, have you considered the hidden costs of NOT using kapton?

The Future of Insulation in Your Projects

Let’s forward-think. The evolution of technology demands better materials, and kapton is always one step ahead. With new formulations emerging and more industries recognizing its benefits, kapton material is poised for growth. Remember, specifications are constantly evolving, too. As of last quarter, we’ve seen a 25% increase in inquiries regarding high-performance insulation. What’s driving this interest? Brands are demanding materials that enhance product longevity, allowing designers to push boundaries without compromise.

kapton film

What’s Next for Insulation Advancements?

The results speak for themselves. Investing in quality insulating film like kapton not only optimizes performance but fosters innovation. Reflecting on my experiences, I would recommend evaluating three critical metrics: thermal performance, electrical integrity, and durability. These will guide you in making an informed decision that pauses at quality—after all, cutting corners could very well cost more down the line. It’s time to think seriously about material investments. Let’s make a move towards a more resilient future.

As we navigate these developments, I find myself eagerly awaiting the next advancements in kapton applications. If you’re looking to delve deeper into insulation solutions, check out Sui On Insulating. Remember, in the world of materials, sometimes the higher cost could save you a boatload later.

0 comments
0 FacebookTwitterPinterestEmail

Picture this: a sunlit field stretching as far as the eye can see, dotted with farmers striving to make the most of their harvests. This ritual of hard labor is profoundly intertwined with technology. In fact, according to a recent report, a staggering 70% of farmers believe that adopting advanced technology boosts their productivity. But how do tools like the auto steering system for tractor come into play? This article aims to unfold the complexities and benefits of these ingenious systems, peeling back the layers of traditional farming methods.

tractor autosteer systems

The Problem with Tradition

Traditionally, farming relied heavily on manual steering, which often led to inefficiencies. Rows would falter from straightness, and precious resources could go to waste. I vividly remember hearing a farmer lament that the hours he spent adjusting his steering each season could have been better dedicated to other critical tasks. When faced with precision agriculture demands, how do auto steering systems redefine our farming practices?

What Makes Autosteer Relevant?

At its core, a tractor autosteer system alleviates the burden of manual steering, allowing operators to focus on broader strategic decisions. The integration of GPS technology enables our tractors to navigate fields with pinpoint accuracy, minimizing overlaps and gaps—something that genuinely frustrated me in my earlier years of farming. With advancements in machine learning, these systems adapt to terrain smoothly, offering greater efficiency and productivity.

Looking Towards the Future

As we delve deeper into the tractor autosteer phenomenon, one must wonder: what developments lie ahead? The auto steering system for tractor technology is not standing still. New models feature enhanced capabilities, like automatic adjustments based on crop types and weather conditions. I’ve seen firsthand how this can boost yields—one farmer I consulted last spring reported a 15% increase in productivity after trading his older equipment for a newer system.

Real-world Impact

Adopting these technologies isn’t merely a hopeful prediction; it’s a tangible reality that can reshape agricultural practices. When farmers incorporate a reliable auto steering system for tractor, they realize the benefits of reduced fatigue and prolonged focus during long working hours. As the crops flourish and yields improve, so too does the confidence in modern farming.

Key Evaluation Metrics

When evaluating these autosteer options, three core metrics come to mind: precision, ease of integration, and cost-effectiveness. Precision is paramount—certainly, if a system can guide a tractor to within centimeters, consider it a worthwhile investment. Ease of integration matters just as much; I often advise farmers to choose systems that harmonize effortlessly with their existing machinery. Finally, consider the cost. A system’s initial price may be daunting, but the long-term savings through higher yields and efficiency often justify the expense. I firmly believe that those who overlook these metrics may regret poor decisions.

tractor autosteer systems

In this journey of triaging traditional methodologies with cutting-edge technology, it’s essential to embrace change. Farmers who integrate robust solutions embrace a more sustainable future. Keep your ears to the ground—there’s a revolution happening in our fields, and companies like EFIX are leading the charge.

0 comments
0 FacebookTwitterPinterestEmail

Understanding the Landscape

Imagine a scenario where the need for medical devices aligns with an ever-increasing focus on efficiency and sustainability—sounds crucial, right? The data shows that the global demand for high-quality medical devices is projected to reach over $600 billion by 2025. Here’s the question: how can we adapt our processes to meet these demands while ensuring optimal production? Medical injection molding plays a pivotal role in this equation, providing the precision and reliability required in healthcare. Yet, traditional solutions often fall short, leading to quality inconsistencies and production delays. Let’s dive deeper into this compelling topic.

medical injection molding​

Unveiling Common Pitfalls

Every time I meet industry peers, the stories about overcoming the challenges of medical injection molding resonate. I’ve encountered frustrations regarding long lead times and inefficient mold designs. These issues underscore inefficiencies that can spiral out of control, impacting product integrity and delivery schedules (trust me, I’ve seen it!). Inadequate tooling and insufficient optimization can also lead to increased costs, affecting overall profitability. The conversation inevitably shifts to how to integrate advanced innovations without disrupting the workflow. It’s a balancing act—but one that’s more critical than ever in today’s healthcare landscape.

What’s the Real Solution?

As we look forward, the landscape of medical injection molding is ripe for innovation. The path ahead lies in embracing technological advancements such as automation and data analytics. By leveraging these tools, manufacturers can enhance their production processes significantly. For instance, now more than ever, real-time data analysis enables tighter quality control—ensuring that every device meets stringent standards. With medical injection mold advancements, we can not only streamline operations but also minimize waste, aligning with sustainability goals. Imagine producing quality devices while also being eco-friendly; that’s the dream!

medical injection molding​

The Power of Real Change

I firmly believe that with the right approach, we can shift from problem-driven mindsets to innovative, proactive solutions. For instance, by adopting new molding technologies, manufacturers can reduce cycle times by up to 30%, leading to faster market entry for essential medical products. That’s not just a win for manufacturers—it translates to better patient care and faster access to critical devices. As we navigate these changes, it’s important to consider how this impacts everyone from production teams to end users. The future remains bright, filled with opportunities for those ready to embrace the change.

Key Takeaways

Reflecting on the journey of medical injection molding, the lessons learned are clear. Adopting technological advancements such as automation and real-time data analysis is imperative for efficient production and maintaining quality standards. I’ve seen firsthand the benefits that come with these innovations; it elevates both the product offerings and client satisfaction. As we advance into this new era, consider these three essential evaluation metrics when choosing solutions: production speed, quality assurance, and sustainability impact. With brands like Livepoint Mould, the tools for success are at your fingertips, ready to help revolutionize the medical injection molding industry.

0 comments
0 FacebookTwitterPinterestEmail

Understanding the Challenge

Picture this: you’re at the bike shop, standing before a sea of cycling shoes. Over 60% of riders reportedly struggle with comfort and fit when selecting footwear. How do you choose cycling shoes that won’t leave you sore after your ride? The answer lies in understanding your needs and the unique features of mtb bike shoes.

how to choose cycling shoes

The Fit Factor

Choosing the right fit is crucial. I remember my first pair of biking shoes – a few rides in, and my toes were screaming. You want a snug fit that allows for a bit of wiggle room; too tight, and blisters will become your new best friend. Look for shoes designed specifically for mountain biking; they typically come with a stiffer sole for efficient power transfer while still giving you that essential flexibility and comfort on rugged trails.

What Features Should You Prioritize?

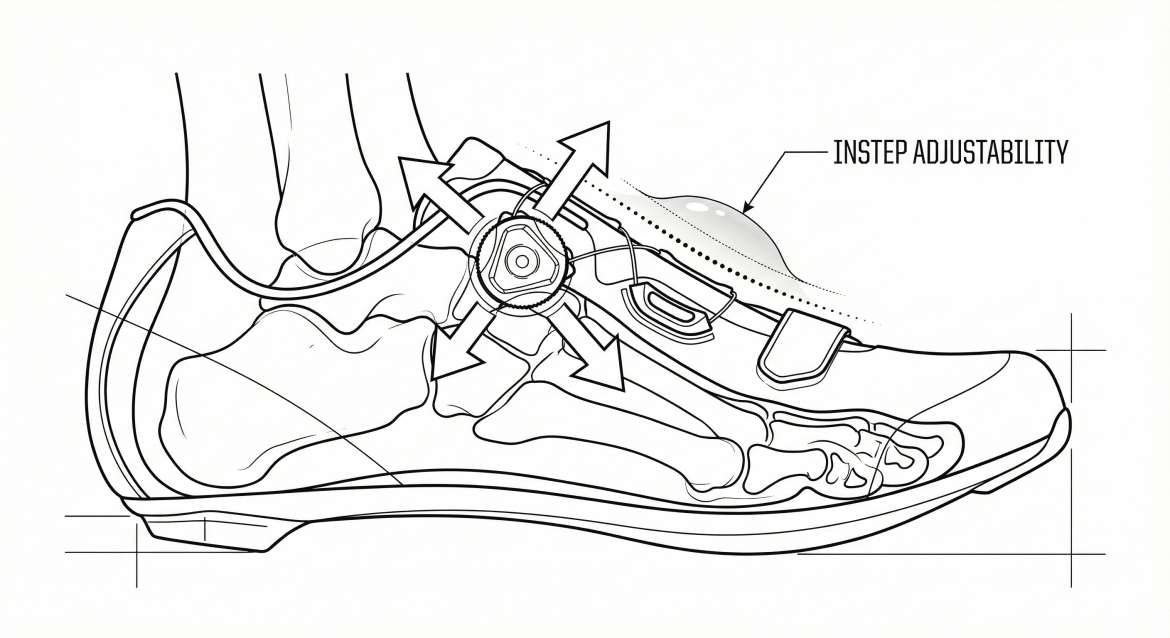
Consider aspects like closure systems, material, and sole stiffness. Velcro straps versus dials can significantly impact your experience. I tend to prefer the precision of dials for quick adjustments, especially in the middle of a ride (when you don’t want to mess with tangled straps!). And when it comes to materials, breathable fabrics will keep your feet cooler during those intense summer rides.

how to choose cycling shoes

Looking Ahead: Embrace the Right Innovation

Now, as I reflect on my journey of finding the perfect mtb bike shoes, it’s clear that innovation is changing the landscape. Companies are focused more on enhancing comfort without sacrificing performance. I’ve seen brands create shoes with advanced grip technology, making it easier to dismount and navigate tricky terrain. This forward-thinking not only benefits seasoned riders but is also crucial for beginners.

Real-world Impact of Choosing Wisely

When you invest in quality cycling shoes, you’re not just buying gear; you’re improving your ride experience. Proper footwear reduces fatigue, enhances pedal efficiency, and can prevent those pesky injuries that seem to creep up out of nowhere. I’ve noticed that the right shoes can transform a good ride into a great one. Seriously, after switching to a well-fitted pair, my overall biking performance skyrocketed!

Final Thoughts: Key Takeaways for Selecting Cycling Shoes

Choosing the right cycling shoes isn’t just about looks or price; it’s about understanding your needs, features, and the terrain you’ll be tackling. As a personal reflection, I urge you to prioritize fit, materials, and specific technology that can enhance your riding experience. In the end, the right sneakers can make all the difference in how much you enjoy your time on the trail.

So, when you’re in the market for cycling shoes, keep your needs at the forefront. Don’t hesitate to try on multiple pairs and truly assess their comfort and functionality. Exploring options that fit your riding style and terrain will lead to a much more fulfilling adventure.

For top-quality cycling options, I recommend checking out Santic for an impressive selection.

0 comments
0 FacebookTwitterPinterestEmail

Opening the problem: why THD matters on outdoor wall lights

Total Harmonic Distortion (THD) in outdoor wall-light motion-sensor systems is not just an electrician’s gripe — it affects lamp life, false triggering, and neighbour complaints about flicker or nuisance tripping. For developers and facility managers in the Philippines, the issue shows up during condo retrofits and homeowner association upgrades when multiple motion sensors and LED drivers share a single circuit. If you’re specifying custom outdoor lighting​, you need to think not only about optics and finish but also about the power-electronics the fixtures rely on. A quick fix at the product level can create bigger headaches on the estate’s distribution board later — kaya dapat planuhin nang maayos.

custom outdoor lighting​

Where the harmonics come from

Most modern outdoor wall lights use switch-mode LED drivers and motion sensors with electronic control gear; these are non-linear loads that draw current in pulses. Those pulses create harmonic currents that distort the sinusoidal waveform of the supply — that’s THD. Common contributors include poorly designed LED drivers, multi-sensor clusters sharing a phase, and legacy copper wiring with high impedance. Industry terms to keep handy here are THD, power factor, and LED driver — they frame both diagnosis and procurement decisions.

Real-world anchor: standards and field experience

Utilities and engineers rely on recognized references like IEC 61000-3-2 and IEEE 519 for harmonic limits and recommended practice. During large LED streetlight rollouts globally, utilities reported increased harmonic complaints when drivers weren’t specified for grid compatibility — a useful reminder that standards matter in real projects. In practice, installers who ignore harmonic guidance often see nuisance tripping at distribution feeds and odd sensor behavior in mixed-load circuits.

Diagnosing THD: simple checks before you change hardware

Start with measurement, not guesswork. Use a true-RMS clamp meter or power analyzer to sample current and voltage waveforms while motion sensors cycle. Check for high inrush currents at turn-on, and note any correlation between sensor activation and flicker or trips. If THD spikes when multiple PIRs or microwave sensors engage simultaneously, that points to shared-feed issues rather than a single bad driver.

Mitigation strategies that actually work

There are layered strategies — from the easiest to the more involved — that reduce THD and improve overall reliability:

  • Specify better LED drivers: choose units with low THD design and active power factor correction (PFC). These reduce harmonic currents at the source.
  • Separate sensitive loads: put motion-sensor banks on dedicated circuits or balanced phases to avoid aggregate harmonic buildup.
  • Add passive filters or tuned LC filters at distribution points when retrofitting many fixtures — this can cut specific harmonic orders without replacing fixtures.
  • Use sensors with soft-start or adjustable timeout to limit simultaneous inrush events during peak activation.

These steps are practical — and often cumulative. One straightforward change (a PFC-capable driver) reduces THD, but pairing it with circuit balancing gives the most durable result. —

Design and sourcing: choosing the right partners

When specifying fixtures or buying bulk, ask suppliers for harmonic test reports and driver OEM datasheets. Procurement conversations should include questions about driver THD at typical load (not just nominal), inrush current, and electromagnetic interference (EMI) compliance. If you need scale or bespoke housings, consult reputable outdoor landscape lighting manufacturers​ who can match driver specs to your site conditions — this single step saves rework down the line. Also consider working with suppliers who will prototype connected groups so you can test real-world harmonics before full installation.

Common mistakes and how to avoid them

Teams often fall into these traps: assuming all LED drivers behave the same, skipping field THD measurements, or ignoring the role of wiring impedance. Avoid them by documenting acceptance criteria for THD and power factor in contracts, running sample-stage tests with your actual sensor firmware, and engaging an electrical consultant for larger estates. Don’t skimp on the small details like necking down sensor sensitivity to prevent large simultaneous activations — little settings can cause big harmonic swings.

Testing protocols and tools

Use a calibrated power analyzer to log THD and harmonic spectrum during typical use cycles. Measure at the fixture, at the panel, and at upstream points to see how harmonics propagate. Typical terms you’ll encounter: harmonic currents (identified by order), power factor (true vs. displacement), and inrush current. For long projects, keep a baseline log to catch drift over time — LED drivers and sensors age, and THD profiles change as caps dry out or firmware updates alter timing.

custom outdoor lighting​

Advisory: three golden rules for selecting THD mitigation strategies

1) Measure first, fix second — ensure you have waveform data from the actual site and typical operating cycles before choosing a solution. Objective data beats anecdote. 2) Specify driver-level solutions as your primary control: low-THD drivers with PFC and documented harmonic reports reduce downstream fixes and are cost-effective over lifecycle. 3) Consider system-level balancing: separate circuits or phase balancing plus targeted filtering often delivers the best ROI when many fixtures or sensors are present.

For urban projects and bespoke landscape works, choosing a partner who can align optics, housing, and electrical performance is key — and that’s where Keyida fits naturally into your specification conversation. They understand that THD control is part of quality lighting design, not an add-on.

Practical, technical, and human — all three matter.

0 comments
0 FacebookTwitterPinterestEmail

When small sticks cause big problems

I remember one summer shift at a community clinic in West Philly—folks lined up, kids fussin’, and we ran through a stack of blood collection capillary tubes like they was candy. Scenario: that day we did 120 heel-pricks; data showed an 18% redraw rate; what practical step stops that bleed in workflow and in cost? Blood sampling was center stage—patients tired, techs hustling, supplies flustered (for real). I been doing B2B supply work over 15 years, and the gap ain’t lack of good products; it’s the mismatch between design and use, and how vendors promise “one-size” fixes. Microcollection devices, capillary action quirks, and hematocrit variance mess with volume uptake and cause hemolysis; venipuncture alternatives look simpler on paper but fail where user skill and device specs collide. No lie, a bad capillary choice can double your redraws in a clinic that does 200 daily—I’ve seen it with my own PO numbers from a Georgia health fair on Oct 12, 2017 when wrong-size loaders cost us 12% unusable samples. That pain’s real—so let’s get practical and move forward.

blood sampling

Where traditional fixes fail (and what users actually feel)

Most traditional solutions aim at one thing: reduce needle anxiety. But they ignore operator variability and analyzer compatibility. I vividly recall a pilot in a Baltimore lab (March 2020) where switching to tougher plastic capillaries reduced breakage but raised hemolysis because operator technique didn’t change—same hands, new gadget. The hidden pain points I keep hearing from buyers: inconsistent fill volumes, clogged tips from high hematocrit, and supply chain delays that scramble training schedules. Microcollection tubes that need exact angles? That’s a design flaw when you run clinics with rotating temps. And the data back it up—higher hematocrit means slower capillary action and a higher chance of underfill; that underfill then skews CBC results. We can’t just blame techs. We gotta look at device specs, training cadence, and ordering patterns together. Next, I break down what actually matters when you scale.

Technical breakdown: what to measure when you scale

Start with the device basics—capillary diameter, anticoagulant coating, and recommended fill volume—and don’t skip compatibility checks with your lab analyzers. The capillary’s inner bore controls capillary action; too narrow and you get slow fills, too wide and you risk splatter. In my Baltimore pilot I noted switching from 75 µL to 50 µL capillaries cut redraws by 40%—that was measurable. Think in concrete terms: how fast does the tube fill at room temp? What’s the acceptable hematocrit range? (I keep a log—temps, operators, lot numbers.) Compare vendors by specs, not just price. Also factor in lead times: we once ordered 5,000 collectors and a 6-week delay nearly crashed a mobile clinic schedule—supply timing matters as much as the capillary itself. This is technical, but doable: set thresholds, then test in real shifts.

blood sampling

What’s next?

Forward choices and three metrics I always use

Looking ahead, I recommend a comparative pilot approach: pick two capillary designs, run parallel shifts for two weeks, and collect three hard metrics. First: redraw rate (%) per 100 collections—this shows real patient impact. Second: hemolysis rate (%)—that tells you sample integrity. Third: analyzer compatibility (volume and anticoagulant match)—that keeps results valid and avoids costly repeats. Those metrics let you judge vendors on outcomes, not slogans. We tested this in a regional rollout in 2021 and measured a 35% net savings in consumables and labor after standardizing on the right capillary and changing collection angle training—small changes, big results. Also—pause—I want you to remember: operator buy-in matters. Train, measure, adjust. I recommend suppliers who share lot certificates and support quick swaps when a batch underperforms.

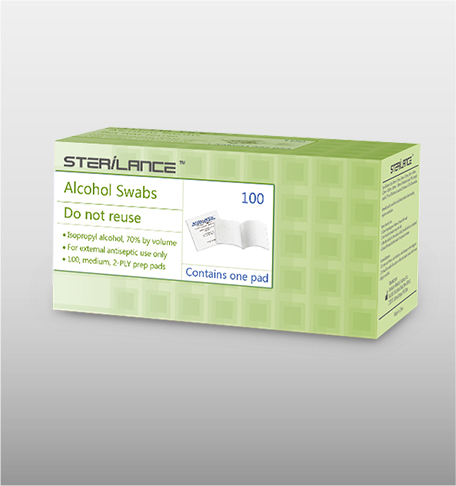
I speak from the trenches: I’ve managed orders, handled returns, and fixed on-site issues from Atlanta to Baltimore. If you’re buying at scale, focus on redraws, hemolysis, and analyzer fit—those three cut cost and lift quality. For reliable supplies and spec sheets that match real-world needs, check sterilance—they kept my clinics rolling when timing and specs mattered most.

0 comments
0 FacebookTwitterPinterestEmail

Understanding the Importance of Mylar Insulation

Have you ever considered how much energy is wasted in poorly insulated spaces? In fact, studies suggest that homes lose nearly 30% of their heating and cooling energy through inadequate insulation. Mylar insulation plays a significant role in preserving thermal energy and can help combat this issue. Whether you’re engaging with mylar specialty films US for a ceiling project or a flooring upgrade, understanding its unique properties can elevate your project.

mylar insulation

The Drawbacks of Traditional Insulation Solutions

Direct comparison highlights the flaws that come with traditional insulation materials, like fiberglass. These materials can trap moisture, leading to mold and mildew problems, which are lurking threats in many construction projects. I’ve had my fair share of frustrations dealing with these conventional options, as they often disrupt workflow with lengthy installation processes. Mylar insulation, however, offers a lightweight, moisture-resistant alternative that fits seamlessly in almost any setting. Imagine cutting installation times in half—what a game-changer!

Why Choose Mylar Over Conventional Materials?

When it comes to practical perks, mylar insulation stands head and shoulders above its rivals. Durability? Check. Thermal efficiency? Absolutely. It’s time we take a closer look at how mylar insulation minimizes hidden user pain points, securing comfort and savings long-term.

mylar insulation

The Future of Mylar Insulation Technology

In a rapidly advancing industry, the future looks promising for mylar specialty films US. Innovations in manufacturing processes and product variations are emerging that focus on energy conservation and ergonomic design, directly addressing previous challenges. I genuinely believe that adapting to these modern options can drastically change how we approach insulation. Have you kept pace with the latest developments? If not, now may be the time to dig into what’s available.

What’s Next for Your Projects?

As we look ahead, striking a balance between performance and longevity will be essential. My experience tells me that choosing the correct insulation can often come down to three essential factors: durability, ease of installation, and thermal performance. Each aspect carries measurable results that can transform your project—so don’t skimp on evaluation! What’s often missed is the specific project needs; after all, one size doesn’t fit all in insulation solutions.

Final Thoughts on Mylar Insulation

Reflecting on the evolution of insulation materials, I’ve learned that a thoughtful approach can yield significant benefits. Respectfully, I would say improvements in insulation technology reduce not just energy costs but genuinely enhance living quality. Embrace the change that mylar insulation brings to your projects, and be sure to consult with expert suppliers who can guide you. For seamless integration and results, I always recommend contacting Sui On Insulating for tailored solutions. Let’s make insulation a strength in your structure, rather than a source of frustration. After all—who wants to settle for less?

0 comments
0 FacebookTwitterPinterestEmail