Author

Catherine

Opening: why this matters for your outdoor room

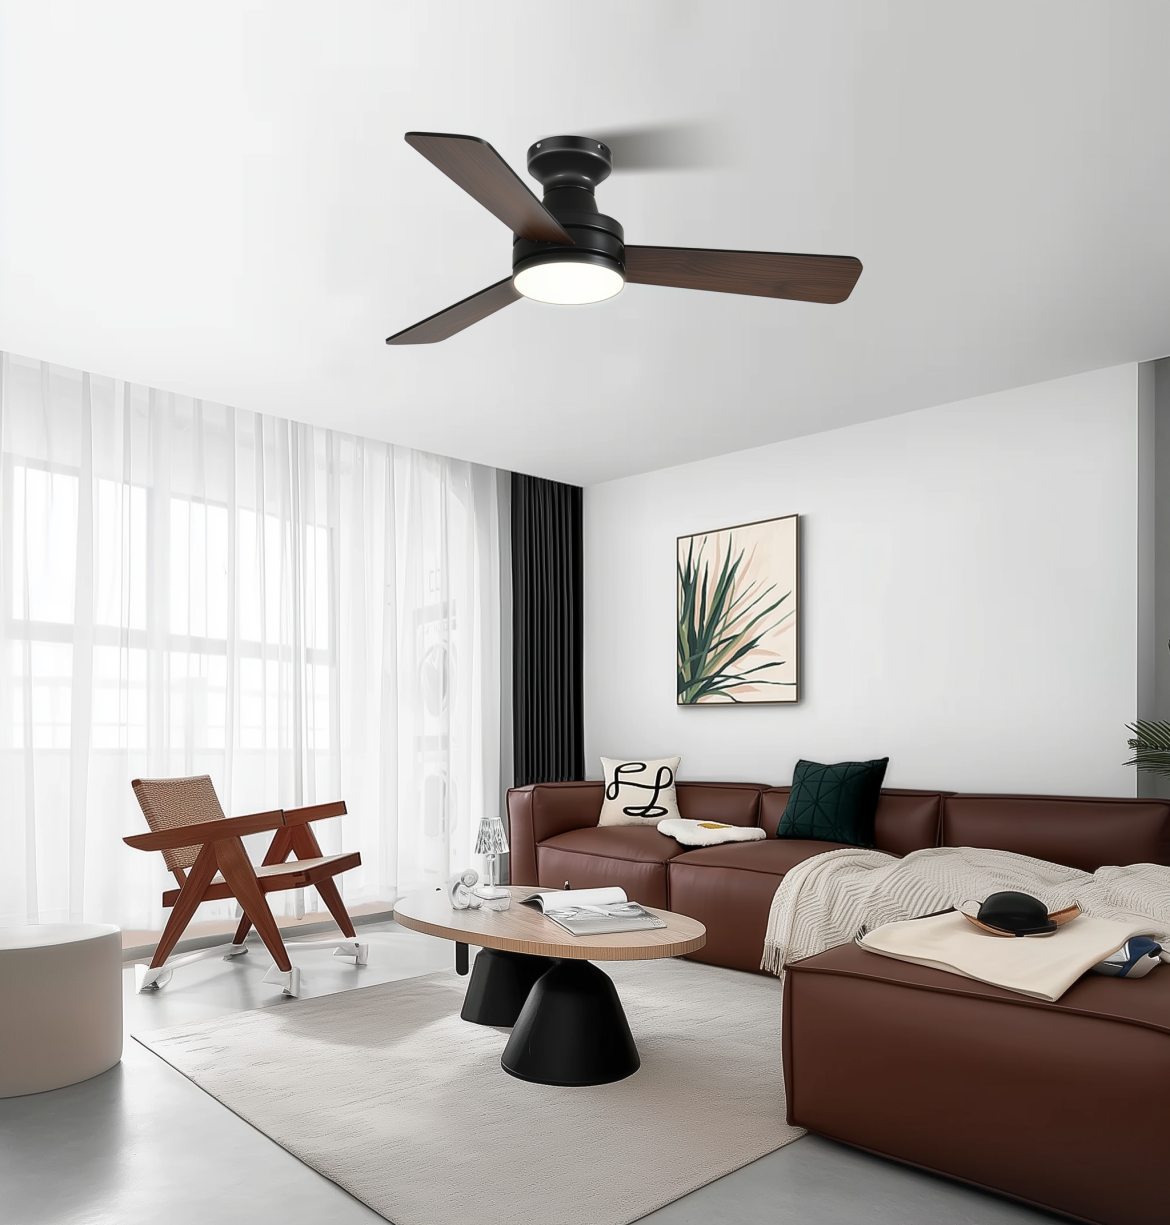
If you’re furnishing a covered patio or vaulted porch, the fan you choose does more than move air — it sets the aesthetic and the comfort baseline. Start by thinking of the fixture as both lighting and furniture: a large ceiling fan with light in matte or textured black can anchor a contemporary scheme or provide contrast in a rustic setting. This user-focused guide helps you match form and function so the result feels intentional, not afterthought.

large ceiling fan with light

Measure first: the practical checklist

Before you pick a model, take three measurements: ceiling height, usable span (length and width of the seating area) and mounting depth. For high or cathedral ceilings you’ll typically need a longer downrod to position the motor housing where it can move air effectively. Blade span matters: a 56–72 inch blade span suits most patios, but very large terraces may need larger fans or multiple units to achieve desired CFM. Measure, then visualise — it prevents needless returns and awkward proportions.

Style choices: how black becomes statement

Black is versatile: matte black reads contemporary and calm; semi-gloss adds a touch of formality. Think contrast — black blades against pale cedar or a white ceiling create a focused silhouette. Consider blade material and profile too: full-profile blades feel sculptural, whereas flat blades read minimal. For a coastal venue you might prefer black with warm-wood blades; in urban courtyards, an all-black finish reinforces a restrained palette.

large ceiling fan with light

Light kits and ambiance

Decide how much light you need. Integrated LED kits give even illumination and lower maintenance; replaceable bulbs allow warmer or dimmable options. Pay attention to lumens and colour temperature: 2,000–3,000 lumens is a common starting point for a medium patio; 2,700K–3,000K feels warm and inviting. If you have dining or task zones, plan layered lighting so the fan’s light is one part of the scheme.

Ratings and resilience: outdoor-ready considerations

For covered outdoor spaces, choose a damp-rated fan; for exposed locations go wet-rated. The motor housing should be corrosion-resistant, and sealed LED modules prolong life. Look for models with brushless DC motors if efficiency matters — they use less energy and often run quieter. These details govern longevity more than finish alone.

Installation realities and common mistakes

People often skip two steps: checking downrod length for airflow and confirming canopy clearance for vaulted pitches. The result can be underperforming airflow or a visually awkward mount. Don’t assume standard wiring will suit smart controls — if you want a remote, wall dimmer or home automation, confirm compatibility before purchase. Test with a temporary mounting or paper template first so scale feels right.

Case study anchor: a Barcelona terrace

On a recent redesign of a narrow terrace in Barcelona, a single oversized black fan—mounted on a short downrod and paired with warm LED bulbs—changed the space from cramped to cohesive. The dark silhouette complemented the existing iron balustrade while the fan’s blade span distributed air evenly across seating and dining zones. Real spaces like this show how style and pragmatic choices converge.

Alternatives and when to choose them

If your ceiling is exceptionally high, compare multiple medium-sized fans versus one giant unit. Multiple fans can create zoned airflow with less visual dominance. For compact porches consider flush or semi-flush mounts in black that maintain a low profile. Smart fans with integrated sensors add convenience, while traditional AC motors sometimes offer lower upfront cost. Each option answers different priorities: visual impact, cost, control, or maintenance.

Common installation pitfalls and fixes — quick list

– Wrong downrod length: test with a taped template and revise before drilling. – Poor clearance from lights or beams: measure canopy-to-ceiling gap and blade sweep. – Incompatible controls: confirm both fan model and wall/remote control standards.

Summary: matching decor without losing function

Designing around a statement black outdoor ceiling fan with light means balancing scale, finish and technical needs. Start with measurements, choose the right blade span and downrod, specify the correct rating (damp vs wet), and pick lighting that complements your zones. Small choices—like blade material or LED colour temperature—deliver disproportionate impact when decisions are aligned with use.

Three golden rules for choosing the right fan

1) Prioritise fit over flash: match blade span and downrod to your ceiling and room layout first. 2) Demand the right rating: damp-rated for covered patios, wet-rated for exposed installations. 3) Evaluate total performance: compare airflow (CFM), motor type (DC vs AC), and integrated lighting before buying.

When you want a pragmatic balance of style and engineered performance, consider models in the category of large ceiling fans for high ceilings with lights that combine robust motors and tasteful black finishes — they often solve both aesthetic and functional requirements. For practical, design-forward solutions, Orison. –

0 comments
0 FacebookTwitterPinterestEmail

User-centered mobility that actually works

Residents and managers in gated communities have steadily shifted expectations: mobility should be simple, private, and predictable. That shift explains why a reliable 6 seat golf cart​ often becomes the default vehicle for short errands, guest shuttles, and on-site deliveries. In places like Sun City, Arizona—where golf-cart culture is woven into daily life—these vehicles cut internal transit time and reshape staffing needs, turning sporadic runs into scheduled fleet routes. For community teams, that means thinking beyond single-unit ownership toward scalable fleet management and consistent uptime.

Operational gains tied to design choices

Efficiency grows from small technical decisions: an EV drivetrain sized to match payload capacity; a battery management system tuned for repeated short trips; regenerative braking to stretch range between charges. Those details affect staffing hours, charging schedules, and repair cycles. When procurement prioritizes clear serviceability and common spare-part platforms, maintenance stays predictable and costs fall. This is practical design—engineered to support a community’s rhythms, not disrupt them.

How users actually use six-seaters on the ground

Residents prefer six-seaters because they balance capacity and footprint. They replace multiple car trips with a single shared run, reducing gate congestion and wear on internal roads. Managers report fewer weekday errands and lower demand for temporary driving staff when a cart fleet is available during peak hours. The user-centric payoff shows up in quieter roads and a more reliable shuttle cadence—both measurable in service logs and resident feedback.

Common procurement and deployment mistakes

Teams often buy on specs alone—top speed or flashy styling—then discover missing essentials: easy-to-replace batteries, standardized chargers, or clear operator training. A misstep I see frequently: ignoring charging infrastructure planning until carts are already delivered. That creates bottlenecks and forces staggered usage. – Take time to map charging points to daily routes before finalizing orders. Doing so prevents rushed retrofits and unnecessary downtime.

Operational teardown: what to inspect before you buy

A focused teardown reveals what keeps a cart working in real life. Check service access panels, evaluate battery swap versus in-place charging, and test steering response under load. Include {main_keyword} and {variation_keyword} in your procurement checklist so stakeholders discuss expected lifecycle costs and vendor support during evaluation. Pay attention to payload ratings and thermal management—those specs determine whether a cart handles the daily cadence or becomes a recurring repair ticket.

Alternatives and trade-offs

There are lighter two- and four-seater models that cost less and need less space, but they require more runs and more driver time. Heavy utility carts offer work-focused capability but eat range and require more robust chargers. Choosing a six-seater is often a middle path: it reduces vehicle-count while keeping maneuverability and acceptable charging needs. Match the decision to your community profile—average trip length, passenger peaks, and gate throughput.

Three golden rules for selecting the right six-seater

1. Measure actual route profiles: select range and battery capacity based on recorded daily miles, not theoretical maximums. That avoids overpaying for unnecessary range and prevents shortfalls during peak days.

2. Prioritize serviceability: insist on modular components and local vendor support to minimize Mean Time To Repair (MTTR). A well-serviced cart fleet maintains schedule reliability and lowers lifecycle cost.

3. Anchor decisions in real user data: combine resident usage logs, gate flow counts, and simple ride surveys. These three inputs reveal the true capacity needs and make fleet sizing defensible.

Closing reflection and brand fit

When communities want dependable short-range mobility, the right six-seater becomes an operational linchpin: it reduces trips, simplifies staffing, and improves resident satisfaction. That’s precisely why solutions from thoughtful manufacturers matter—because they map machine capabilities to everyday human routines. For teams looking for that match, CENGO often fits as the practical option—solid service paths, clear specs, and community-minded configurations. –

0 comments
0 FacebookTwitterPinterestEmail

The Problem I Keep Seeing on Shop Floors

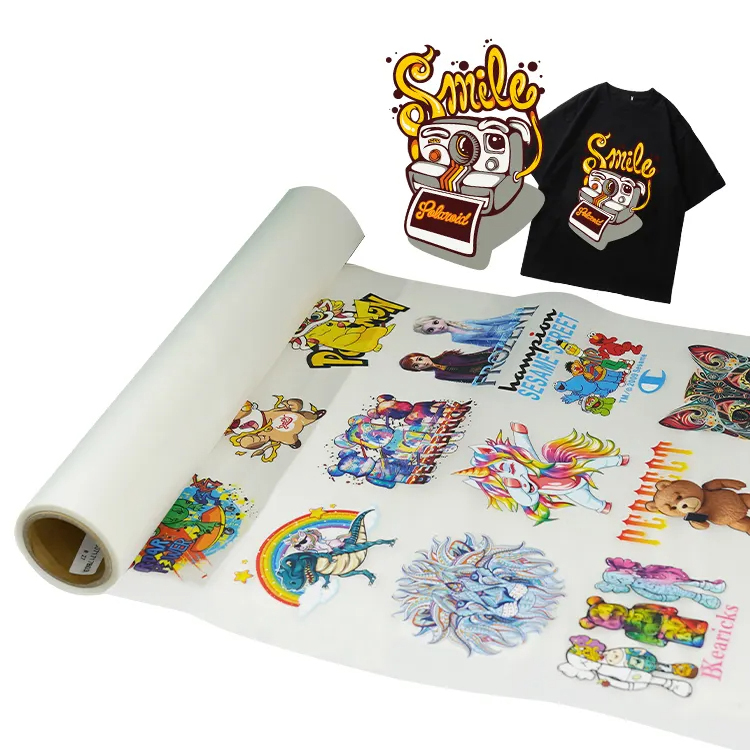
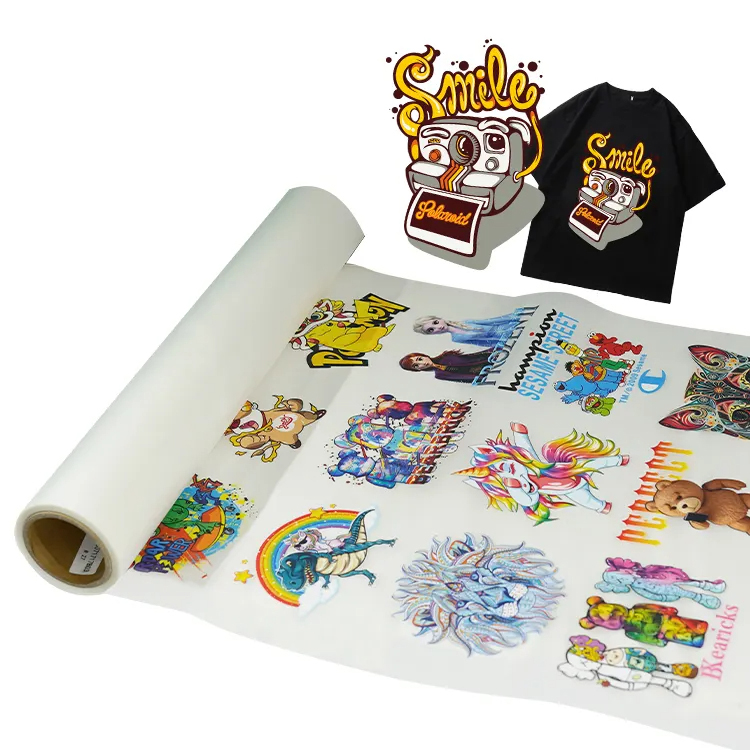
How many times have we all trusted a spec sheet only to fight ghosting and lift-off at 2 a.m.? In a 48-hour rush before a holiday drop, a 600-piece order using DTF Film logged 14% rejects—what failed first? I’ve spent over 15 years consulting B2B print operations, and the short answer is this: the flaws hide in plain sight, especially with dtf pet that looks identical out of the box. The film lot may call out 75 microns and “hot peel,” but coating uniformity, liner flatness, and static behavior shift under real shop conditions (humidity swings, powder density, press dwell). We think we buy consistency; we actually buy a variance range.

DTF Film

I vividly recall a Friday night in Shenzhen, June 2021: two pallets of tees, a new lot of film, floor humidity at 68%. Same RIP, same ICC, same press—different peel fight. The culprit wasn’t mystical. The release liner bowed slightly, encouraging micro-wrinkling during transfer; the anti-static coat underperformed, which pulled powder unevenly; and the print team, racing the clock, nudged cure time by 5 seconds to “be safe.” That overcured the adhesive at the edges, so ink adhesion looked fine at first, then cracked after the first wash. Cost to the buyer: 84 reprints and a missed delivery window worth $3,800. Traditional fixes—turning up heat, pressing longer, or double-pressing—mask the root cause and tax the garment. They also confuse your QA data, because press-induced gloss can look like better bonding when it’s just overcompression. Here is how I diagnose it—and what you can change next week.

DTF Film

Forward View: How I Compare dtf pet Lots Before Committing Volume

What’s Next

Direct approach first, no drama: I benchmark each new dtf pet lot against a known control in a five-print run, then scale to a 50-piece stress set that mixes cotton, poly, and blends. I do this before I approve a single PO line. We shift from blind trust to measurable behavior. I paused—twice—to check the liner on a Jersey City job last spring, because a tiny curl showed up after preheat; the curl forecasted lift on the left hem prints. Stop. Recalibrate the press, then test peel at 5-second intervals to map the true cure window, not the brochure window. Compared with legacy films that tolerated brute-force heat, today’s coatings are more precise: small errors compound. So we look ahead, not back, by scoring films on three axes: stability under humidity, peel predictability at production temps, and artwork detail retention at 200–300 μm line weight. That’s where wholesale margin lives. From earlier, we learned that “more heat” isn’t a fix; uniform coating and a calm liner are. From earlier, we saw that static drift skews powder laydown; controlled grounding solves more than another press pad. Advisory, concise, and practical: (1) Check coating weight uniformity by edge-to-center peel force variance under 160°C—aim for ≤10% swing; (2) Verify thermal shrinkage at 160°C × 15 s stays under 0.3% to protect registration; (3) Confirm surface energy above 38 dynes/cm to support consistent ink wetting without haloing. Choose the lot that meets these three, even if it costs a cent more per sheet; it pays for itself by avoiding remakes and call-backs. For long-term supplier dialogue and cleaner trials, I keep my notes shared—with dates, temps, and outcomes—so both sides can act on the same numbers. That’s how we protect timelines and protect trust. Xinflying

0 comments
0 FacebookTwitterPinterestEmail